
There’s nothing else in this world like a Polaroid photograph. And that magic is still retained even 50 years after Edwin Land’s company created the first integral instant photograph for the SX-70 camera.
But when something is described as magic, there’s a need to tame it to create the best possible photographs. Everyone who’s shot a Polaroid has felt that familiar sinking feeling of losing shots because of bad exposure, intense contrast, or bad colors.
So in this guide today, we’re going to learn how to take show-stopping, frame-worthy Polaroid photographs. The kind of shots that make you feel like Andy Warhol walking through a party full of celebrities — or at least the kind of photo your mom can be proud of.
Here are my top 5 tips for taking better Polaroid photographs. These tips work for any kind of Polaroid camera, ranging from the incredible SX-70 camera to the newer Polaroid Now+ cameras.

1. Use a flash
The number one rule of Polaroid club is that you need to use a flash.
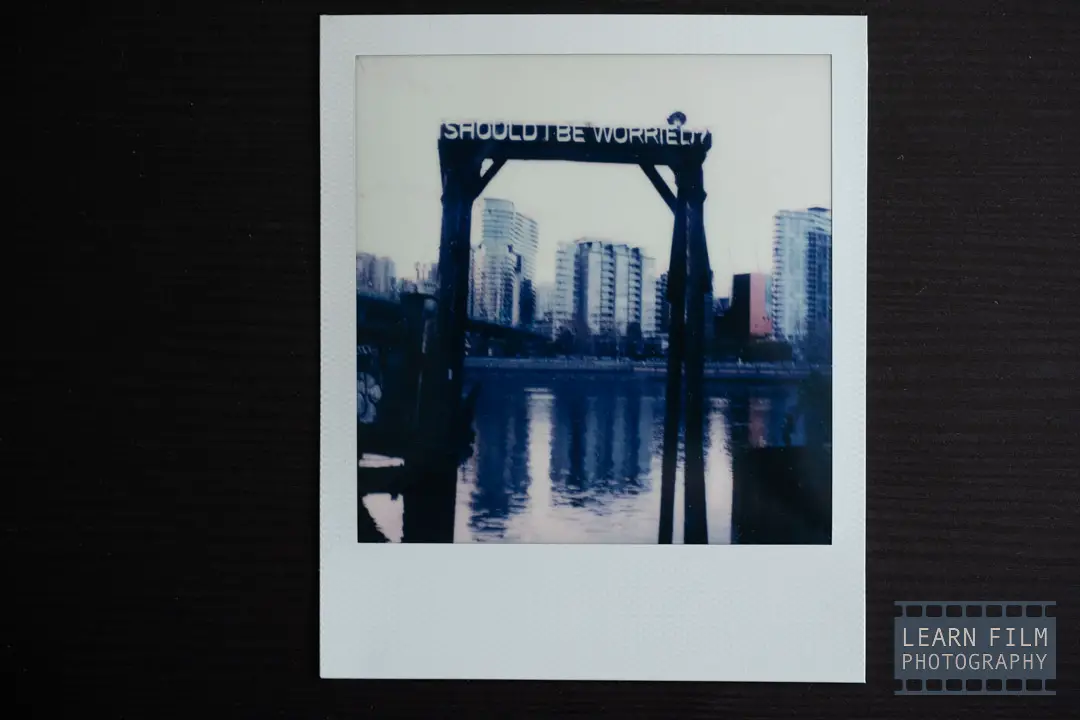
Polaroid film has a very low dynamic range, and you only get one chance to capture your photo. if your subject is underexposed, they will disappear into the darker, greener, obscurer parts of the image.
Even outdoors, using a flash is usually a deciding factor in whether your subject’s skin is smooth and flattering, or if the dark shadows will reveal every flaw.
This is especially important with the Polaroid SX-70, where the ISO 160 film requires a lot of light to get a fast enough shutter speed for a good exposure. If you’re using one of these cameras, the MiNT Flashbar II will unlock a lot of artistic potential (including the use of off-camera flash!) that is otherwise impossible. Find the MiNT Flashbar on Amazon or straight from the manufacturer on eBay.
2. Fill the frame
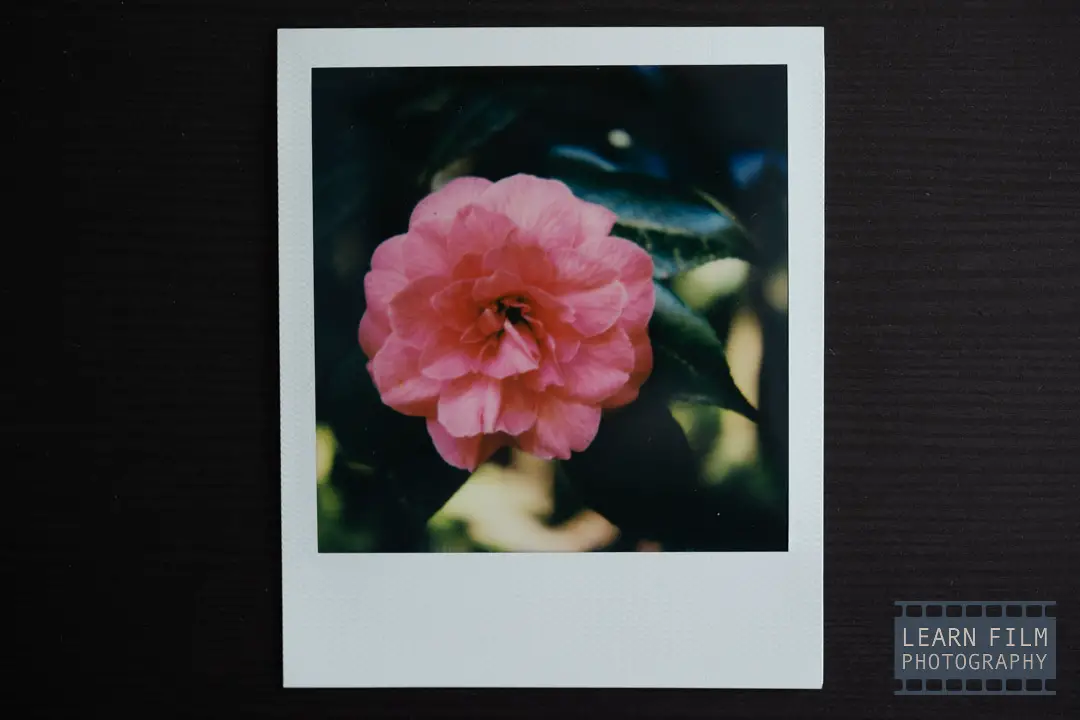
After using flash, the next most important lesson that you should learn early is to fill the frame. You can’t crop a Polaroid, so you have to get the composition just right at the start, otherwise, you won’t be able to see your subject.
As well, fine details are less likely to blur or fall into the darkness when they’re closer up. And colors feel more true to life when you get up close.
The SX-70 is the master of close-up photos. But if you want to take it a step further, getting a macro-like close-up filter (like this one on eBay), can open up a ton of unique perspectives in your photos.
3. Shoot with the sun behind you
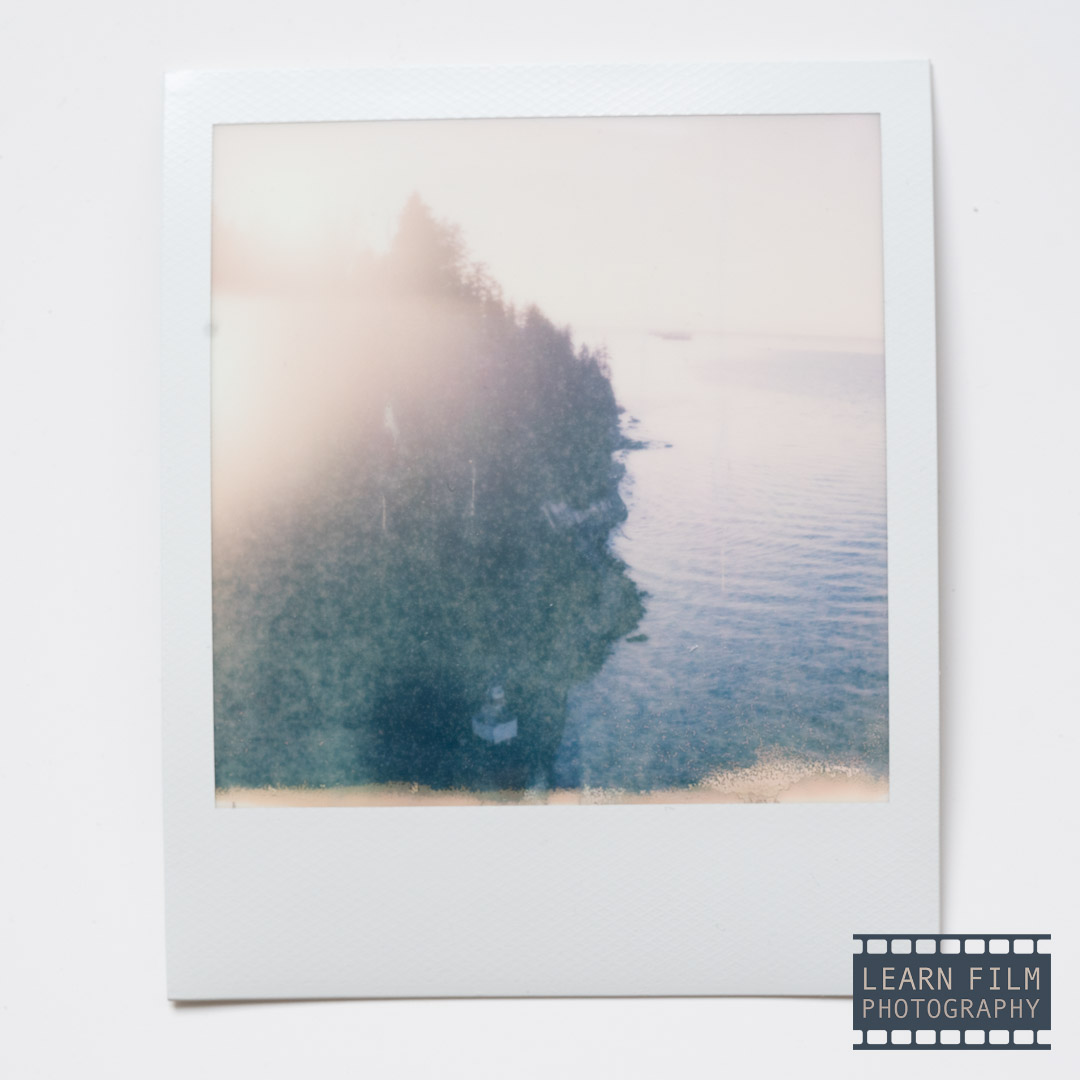
Harsh sunlight is the enemy of a good Polaroid photo. Unless you have control over the shutter, with models like the Now+ or the MiNT SLR 670, you won’t be able to accurately expose for your subject if the sun is behind them.
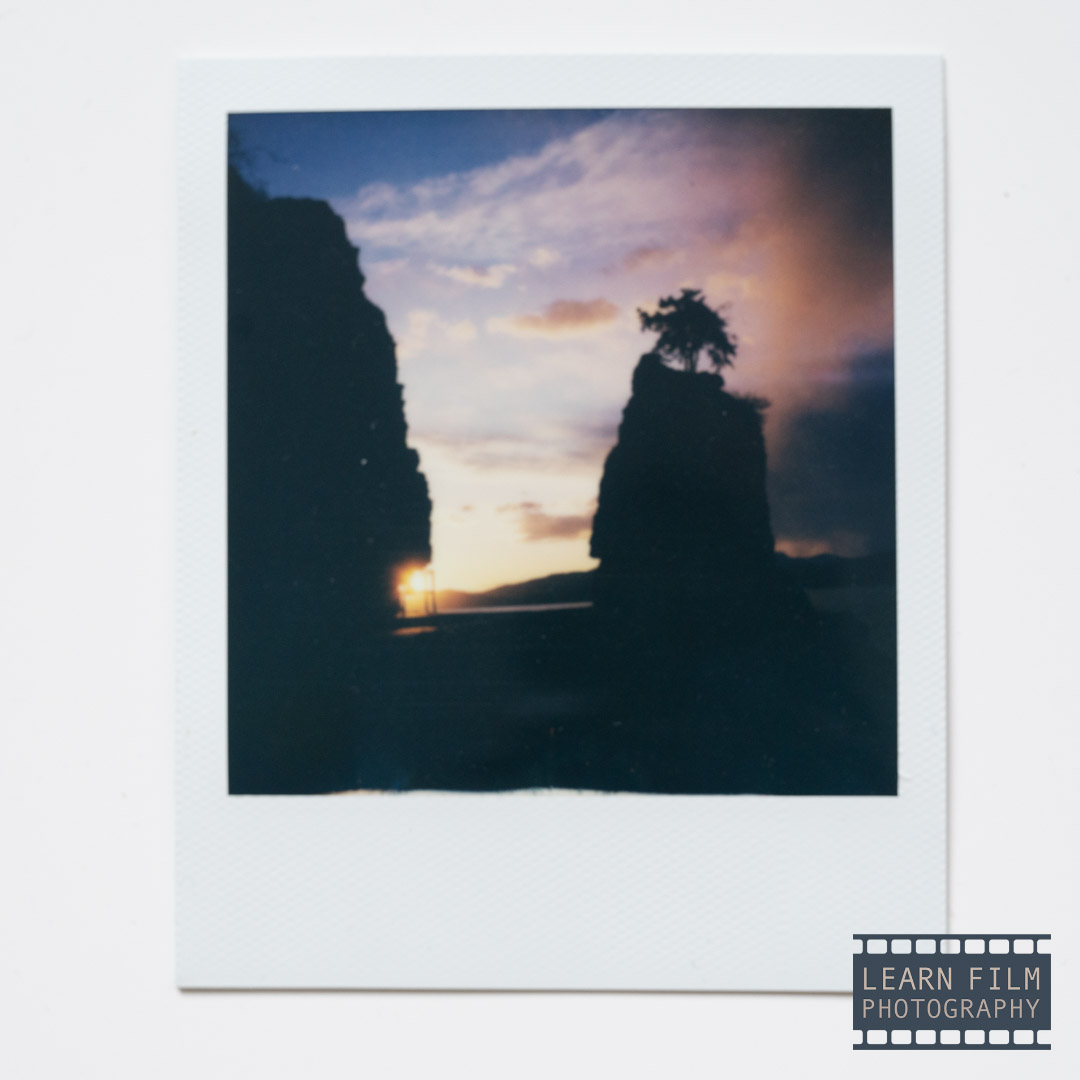
The best way to get a good image on a Polaroid camera is to shoot with the sunset behind you. That way, your subject will be highlighted by that incredible sunset glow.
If the sun is in front of you, the camera will almost always put them in the shadows, where your subject will become darker, greener, and more obscured.
Use exposure compensation when the sun is behind your subject
If you do want to shoot with the sunset behind your subject, you’ll need to use exposure compensation, or get up really close to your subject. This tip only applies to SX-70 shooters, who have that white/black wheel on the front of the camera.
When the sunset is behind your subject, the sky in the background will be very bright, while your subject’s face will be dark. In practice, this is a very tricky scenario for most cameras to shoot in.
By moving the wheel towards the white side, you will tell the camera to overexpose your image so that your subject will be bright enough. With Polaroid film, though, this usually means the background will be almost fully white — even at sunset when the sky isn’t quite as bright.
If you want to keep that brilliant sky, you’ll need a flash like the MiNT Flashbar II.
4. Store your film in the fridge
To save money, you’ll need to buy Polaroid film in bulk 5-packs (like these ones here). But buying in bulk means that you’ll have more film than you need at a given time.
Warm temperatures will give the film an unflattering reddish/yellow tint. So keeping it in the fridge is essential for creating natural-looking images.
Try to use the film within 3-6 months for the best images — fresh film is always more reliable than old film.
5. Don’t let film develop in the heat
The worst place for a Polaroid photo to develop is on the dashboard of your idle car. Any conditions that are above 82.4°F (28°C) will leave that same reddish/yellow cast over your image.
If you’re planning to bring the film on a picnic or camping, try storing it in the cooler or ice box for the best results. You don’t want the film to freeze, but to be just cool enough to develop normally.
6. Store your shot film in a breathable box
I used to store Polaroid film in an old tin box. But after finally reopening it a year or two later, the images smelled like vinegar. This is a clear signal that they’re breaking down and will someday soon crack and fade away.
That process was sped up because the Polaroids were unable to off-gas the volatile chemistry. Keeping it in a sealed tin container likely sped up the process and affected many of the other Polaroids that wouldn’t have started the breakdown process this early.
The very best storage containers for Polaroid photos — like film negatives — are smaller boxes that have perforations for these gasses to escape.
Polaroid makes cute cardboard boxes like this, which you can find on Amazon here. Or, you can use purpose-built PrintFile or Lineco boxes. These companies are dedicated to researching methods for archival storage of film negatives.
7. Clean your rollers
The last tip I have is one of the most important ones. If you’ve ever had your images come out with a line down the sides or middle, it’s because some dust got on the rollers.
The rollers have a bit of grip to them to feed the Polaroid image through, but that often means they also capture any fine particulates that come into contact with them.
Clean the rollers with a warm, damp cloth every couple of packs to make sure the images come out as perfect as possible.
And those are the top 7 tips for taking the best Polaroid photographs! Do you have any other tips? Let me know down in the comments below! I’d love to hear your methods for creating better photographs.
If you have any questions, feel free to reach out on Instagram, or join the official Learn Film Photography Facebook group!

By Daren
Daren is a journalist and wedding photographer based in Vancouver, B.C. He’s been taking personal and professional photos on film since 2017 and began developing and printing his own photos after wanting more control than what local labs could offer. Discover his newest publications at Soft Grain Books, or check out the print shop.