Believe it or not, there was a time when sharpness wasn’t just a slider in Photoshop. Photographers had to rely on manual methods of making images sharper, and were often able to do it in some surprising ways. Some of the classic images that we see are just as sharp as modern cameras, yet they did it with a medium that feels characteristically unsharp. Most photographers before digital even had to rely on manual focus to get those perfectly sharp images.
But there are a surprising number of little-known techniques that make images on film sharper without using photoshop. Here’s what I’ve found from sleuthing, and from much of my own photography practice. These tips range from pretty basic tips to some advanced techniques that can only be done on film. But if you’re finding that your film images just aren’t sharp, then there’s definitely something on this list you can do today to get sharper images.
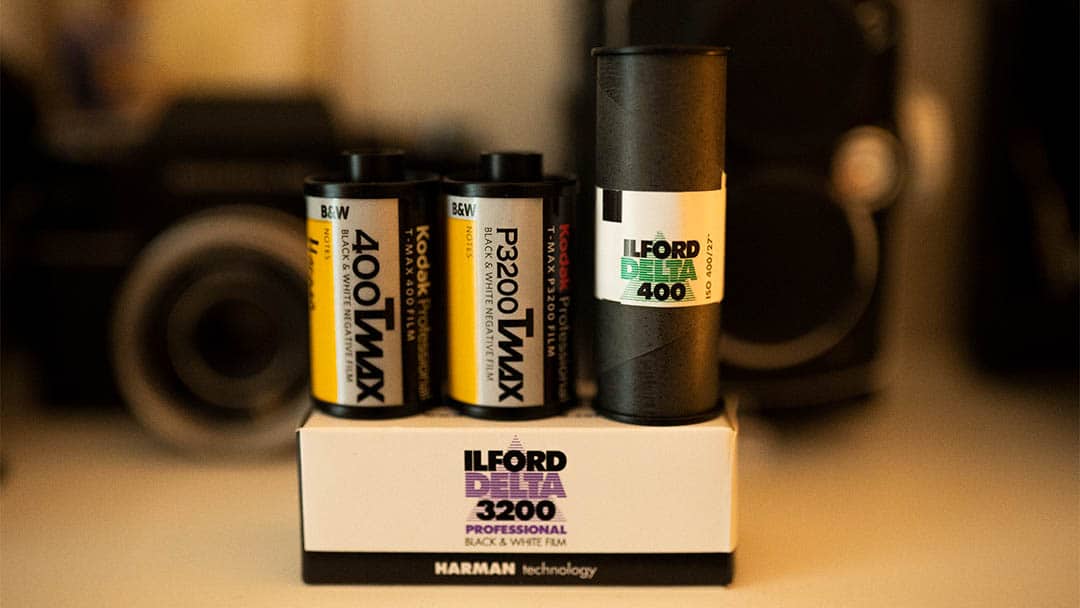
1. Use T-Grain films
By far the easiest way to up your film sharpness game is to use T-Grain emulsions. These are films like Ilford Delta 100, or Kodak TMax 100 that are using the latest film grain technology to make sharper, finer-grain images. These films are exceptional in the film game — sometimes even a little too good. But if you have a professional application where you need to get as much detail as possible, then these films are what you need.
The only downside to T-grain films is that they can be a little finicky in the development process. Even as little as a 10% change in agitation or development time can make a big impact on the outcome of these films. So I don’t recommend these to people who are just starting out. But when you’re a seasoned photographer and film developer, T-Grain films will give you a look you can’t get anywhere else.
If you’re new to film, or want to learn what else is out there, check out this handy guide to choosing the right black and white film stock for you.
2. Use High-Acutance Developers
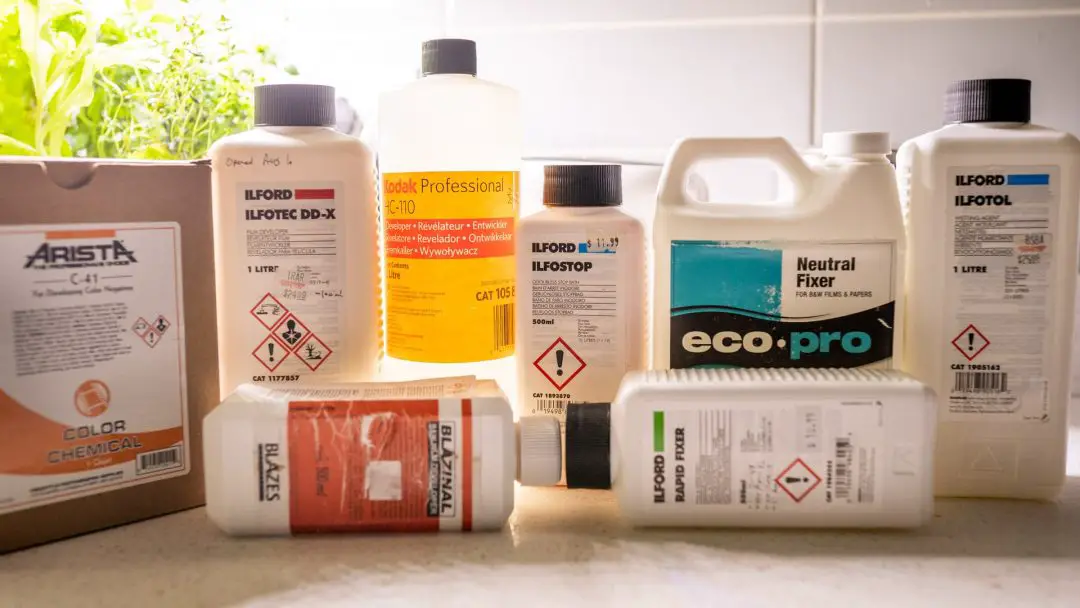
There are so many different developers out there, and every one of them has a different effect on the look of a roll of film. It can be hard to choose the right one for your rolls when they all do things slightly differently. The term for developers formulated to create sharper images is high-acutance, or high-acuity film developers.
The most popular high-acuity developer is Rodinal, or Blazinol in Canada. Rodinal also happens to be the oldest developer that’s still being produced. It’s famed for producing grainy, but sharp images and having more than a 30-year shelf life even after being opened.
3. Place your subject in the highlights

There’s a lot more to photography than simply pointing your camera at something and coming out with an interesting image. Film seems like it makes it easier, but the people who made film popular again on Instagram have learned the hard way that film isn’t as forgiving as people say it is. If there was just one piece of advice I’d give to film photographers, this would be it.
Film captures more detail in the highlights than it does in the shadows. Pushing film when developing, cannot bring out more detail than was physically captured by the silver in the emulsion.
This means if you’re shooting portraits, be sure to turn your subjects to the light. If they’re in the shadows, it’s possible that the details will become muddy and unrecoverable. This is especially true when using contrasty films, or when underexposing to push this film.
Some developers are better at bringing out shadow detail than others. Especially with T-Grain films, it’s important to use the right developer combination, or development type. I’ve written extensively about how to get more details out of the shadows in images, including using alternative development techniques like stand development. Learn more about getting shadow details on film in this article.
4. Agitate your film less during development (Ansel Adams’ technique)
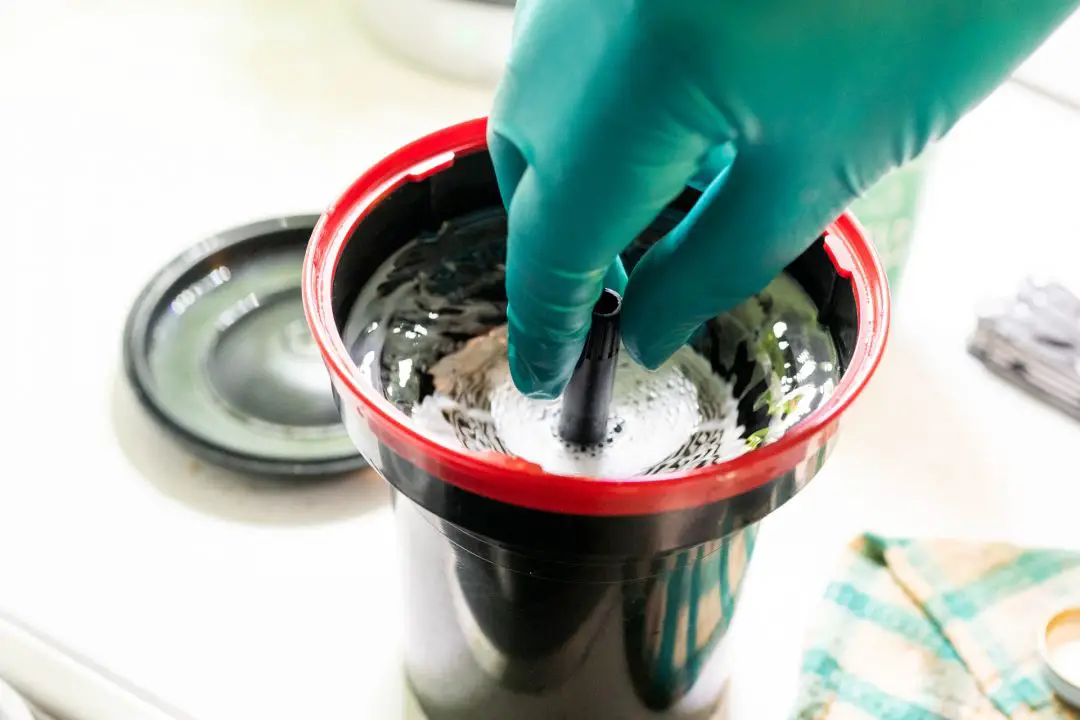
It’s no surprise that agitation during the development cycle affects the outcome of the negatives. But exactly how agitation affects the film is a little understood, but vastly important art. There is a surprising amount of research that went into the ways agitation changes film, and one of the biggest findings is about a process known as “edge effects.” So how does film agitation affect sharpness?
As a general rule, less agitation during development allows more time for the developer to diffuse between the grains, creating contrast between the dense highlights and less-dense shadow regions of the film. This process of diffusion is what creates image-sharpening edge effects on the negative.
Ansel Adams came to love this method and exclusively used it for a period of his history. According to Troop and Anchell, the authors of The Film Developing Cookbook, (find this film developing Bible on Amazon here) Adams’ used this method for his famous “Moonrise” image.
The way to use minimal agitation is simple. Instead of doing inversions every minute, reduce the inversion frequency to once every 3 minutes, and increase the development time by 50%. I spent a week writing, and even spoke to an expert on the different ways to agitate film here. Even seasoned film photographers I know who have been developing their own film for tens of years have gotten some good tips out of that piece.
To make this method work the best, be sure to properly agitate your film off the start. The first stage is where most development happens, so it’s important that the developer is well-mixed and spread evenly through the development tank.
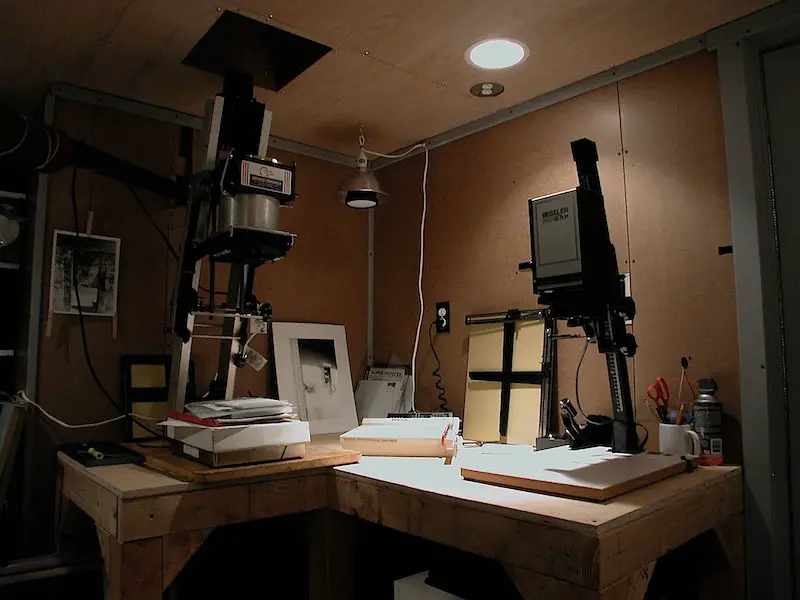
5. Use the Split Grade Printing Technique
Split-grade printing is a really cool technique that’ll create incredible prints with perfectly controlled contrast. It’s only possible to do with multigrade printing paper and enlarger filters. So older paper stocks won’t be able to use this technique.
Split grade papers have two emulsions — one high-contrast blue-sensitive layer, and one lower-contrast green-sensitive layer. The one filter can be used to control the highlights, and the grade-five filter can be used to control the shadows.
Using this system, it’s possible to get sharper images by creating more edge edge contrast. Think about portraits taken with Rembrandt lighting. The subject’s eyes will be bright, but under their cheekbones and the shadow cast by the nose will be darker. Using split grade printing, you can accentuate those features by specifically burning just the shadows to bring more tone to the highlights. This is essentially sharpening an image in a nutshell, where you control micro-contrast to make sharp lines appear more dominant.
6. Create an Unsharp Mask when darkroom printing
This is one of those tricks that was so good, it made it to the digital world. If you look around in photoshop, you’ll see an option to make an ‘unsharp mask’ — two words that when together, don’t exactly sound like they’d make your image sharper. But through the magic of physics, they somehow do.
The theory behind an unsharp mask is easier than they are in reality. If you’re a large format photographer, you’ll also have an easier time with this method than with 35mm or 120 films.
In the darkroom, a printer will create a slightly blurred, low-contrast positive copy of the negative. Then, they’ll sandwich those two films, or plates together perfectly, and print through them together. The effect is that the sharp, contrasty negative will produce deeper black lines. This works, because the blurry positive cancels out some of the less contrasty, unsharp areas of the image.
If you want to learn more about this technique, Wikipedia actually has the best description I’ve seen of the process both in the darkroom and Lightroom. It’s pretty niche these days, unfortunately.
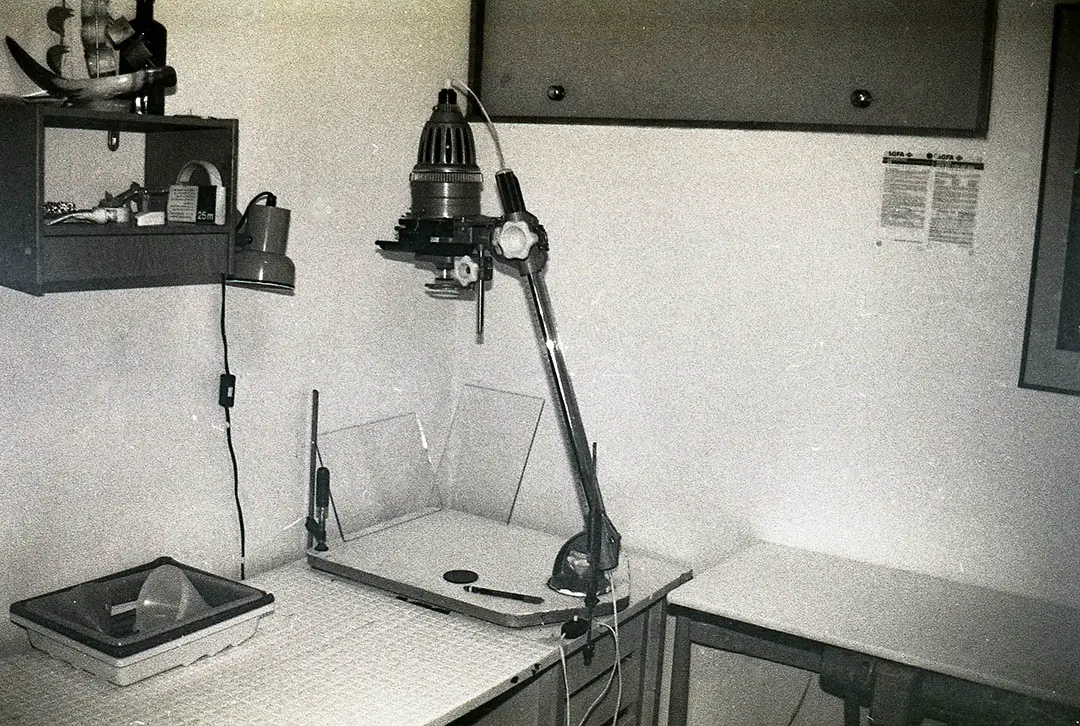
7. When printing, stop the enlarger lens down two stops
Enlarger lenses suffer the same issues as regular camera lenses. At wider apertures, they have a smaller depth of field, and suffer from vignetting as well as lower sharpness in the corners.
Since we’re printing on a perfectly flat surface, depth of field isn’t an issue in the darkroom. But all but the very best lenses — photographic lenses included — perform their best when they’re used one or two stops below their maximum aperture. Stopping down reduces vignettes, and ensures the entire image is completely sharp throughout. The difference in sharpness between prints made when the enlarger lens is wide open and when stopped down is significant. The Naked Photographer made a video comparison to show just how big a difference this made in the resulting images.
But stopping down too much (around 4-5 stops) will reduce overall contrast and sharpness as diffraction begins to ruin images. Diffraction is when the light is so compressed through a small aperture, that the waves begin to interact and cancel each other out when they expand to the size of the sensor or print.
So if you’re using a fancy F/2.8 enlarging lens, typically it’ll produce the sharpest images around f/4 or f/5.6.
For printing 8x10s, the aperture won’t make much of a difference. So if you need a little more time for dodging and burning, it’s okay to use a smaller aperture. As always, the artist makes the print — not the enlarger.
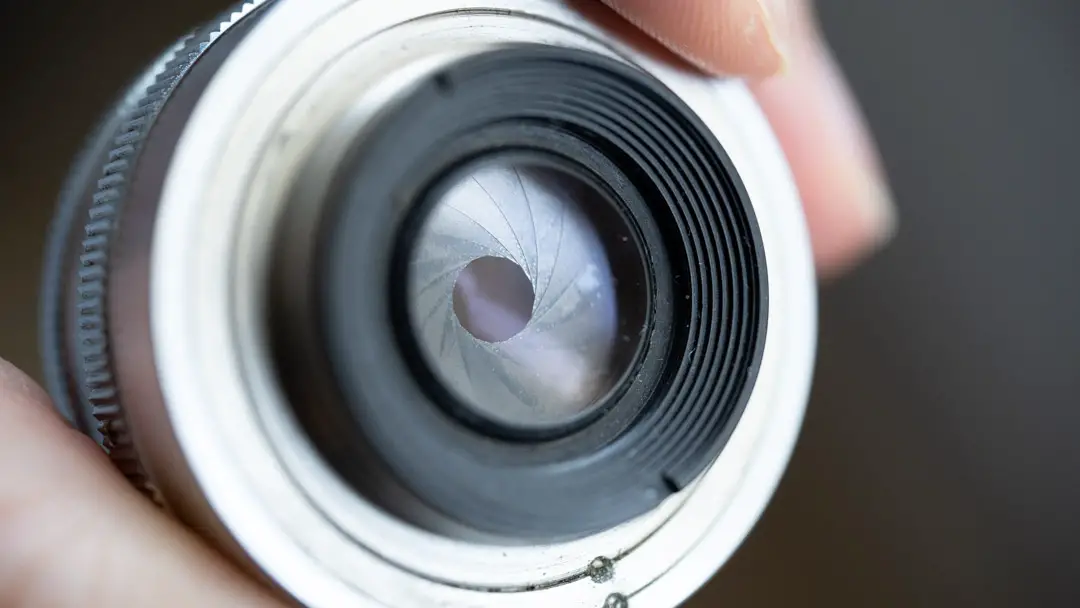
8. Test your camera lens to find the sharpest aperture
The lens is the best place to start when you’re looking to get the sharpest images possible. It’s no secret that smaller apertures are typically sharper, especially on older camera lenses. Most people say the sharpest position on any lens is around f/8, but that isn’t always true with wide-aperture prime lenses.
Luckily this is surprisingly easy to do on a film camera without burning through a roll of film. I had to do this recently when I was calibrating my Zorki 6, a Russian Leica that typically has problems with the focusing distance and viewfinder alignment. Since you can’t see through the lens, you have to trust that the built in rangefinder has it right. Spoiler alert, when it comes to Russian cameras, it’s usually off in one place or another.
The easy way to test the sharpest aperture on a lens is to open the camera back, set the camera on bulb mode, and hold the shutter open. Place some mostly-clear scotch tape over the metal lines that guide the film edges, and place a loupe, or magnifying glass against the tape. With the shutter still open, you can see the image exactly as it would form on the negative. Play around with the lens aperture, and see where it looks best.
This is easy to do on most cameras. But it could require using something like a shutter release cable to hold it open.

9. Use a Selenium Toner on your negatives or prints
Toning your prints with selenium makes your prints look richer in the shadows, and can add a moderate reddish/purplish glow. Selenium toner doesn’t increase the physical sharpness of your prints — but it does deepen the black portions, which adds contrast to the image, and effectively makes the prints appear sharper.
Selenium toner reacts with the metallic silver in the print, forming silver selenate, which was thought to increase the archivability of prints. While there has been recent doubt about it’s archival properties (we may just have to wait a hundred more years to see if selenium-toned prints fade or not), it is a cool way to add some color and life to your prints.
According to the Ilford Harman Selenium Toner technical datasheet, this product can be diluted anywhere from 1+3 for maximum tonal changes, to 1+20 to keep the B&W intact while increasing the theoretical archivability. Ilford also recommends keeping a reference print next to the print in the toner, that way it’s easier to see the gradual changes happening.
A bottle of selenium toner is fairly cheap, but once opened, it should be used within 6 months according to the technical datasheet. Also, always handle this product with nitrile gloves in a well ventilated area. Here’s a link to the type of gloves I use every time I develop and tone my prints. As an eczema sufferer, I am prone to flare ups when developing and toning prints, but these gloves have absolutely saved my hands over the last couple years, and I’m never going to be able to go back to other types of gloves again.
10. Expose your film at box speed
One of the biggest misunderstandings in the world of film photography is that overexposure makes better images. In the world of chromogenic color films (and Ilford Xp2), overexposure is extremely well tolerated. But in B&W films (except XP2), over-exposure can actually significantly reduce image quality.
In fact, Ilford’s technical data sheets often have a passage about saving film after ‘inadvertent’ overexposure by using speed-reducing fine-grain developers like Perceptol. But why doesn’t B&W film tolerate overexposure as well as color films?
Overexposing black and white film increases the density in the negative, reducing the micro-contrast that creates detail in the negative. Over-exposure also makes negatives more difficult to scan digitally, further reducing the image quality by requiring the scanner to increase ISO.
So the best way to keep your B&W film as sharp as possible it to shoot it at box speed. Many films can be developed at box speed and shot between one stop over and one stop under without suffering serious image quality losses. But when you really need that extra sharpness, always expose the film as close to box speed as possible. The only exception is Ilford Delta 3200, which I personally have found the best results when it’s shot as ISO 1600.

11. Use a film camera that takes modern lenses
If you’re a digital photographer switching into film, chances are you’ve got a collection of DSLR lenses from either Canon or Nikon. If that’s the case, you’ll have a very easy time getting amazing results on film. Nikon is especially great, because you can use fast, and sharp Nikkor lenses with every single Nikon SLR ever created. So you can take your insanely sharp and versatile Nikkor 70-200 f2.8, or 24-70 f2.8 and throw it on a Nikon FM2, which is one of the greatest film SLRs ever made.
Canon EF shooters will have to go for some of the more recent film SLRs to use their lenses. But that can open up all kinds of possibilities as well. For example, I just picked up an old Canon EOS 630 for $20. This camera allows me to use my excellent Sigma Art prime lens collection with autofocus! The camera was built in the ‘90s and early 2000s, so it’s a safer purchase than older electronic SLRs from the ‘70s and ‘80s that are prone to corroding electronics and poor workmanship.
I’m so excited to run some rolls through it and share them here. For advanced photographers, this is one of the best deals that can be had in all of photography right now.
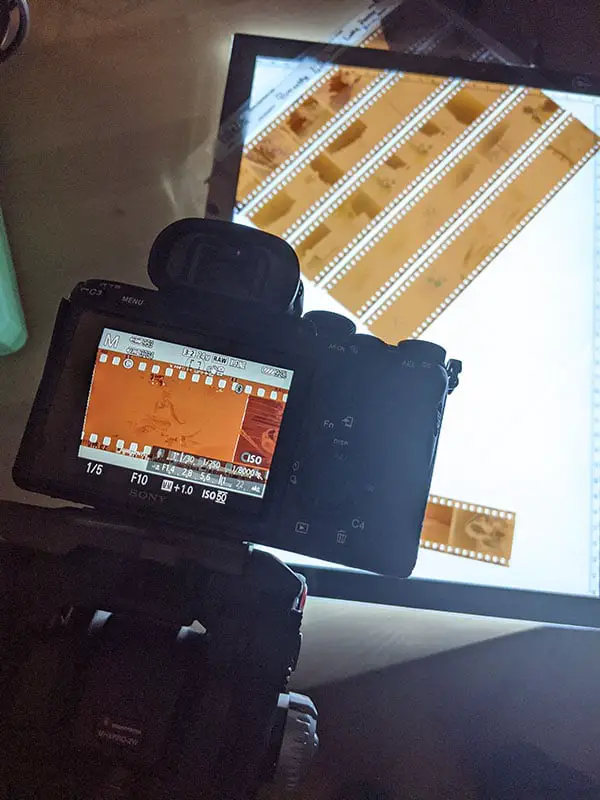
12. Scan film with a DSLR instead of an Epson V600
I recently discovered the magic of scanning film with a DSLR, and it’s made a very big difference in the quality of my film images. The Epson V600 scanners haven’t been changed at all since they were introduced back around 2009. Camera and scanning technology has come a long way since then.
When I started scanning with my DSLR, I did a comprehensive test to see the image sharpness between the Epson V600 and my incredible Sony A7III. The differences are very stark. In the DSLR, you can actually make out the image grains. But the Epson V600 struggles to reproduce the details that are in the negatives. It’s also very difficult to get accurate color from the same film strip using an Epson scanner, making DSLR scanning the best option, albeit more difficult and expensive.
If you’d like to see the differences when zooming in on film scanned with a DSLR and a negative scanner, take a look at this article, where I also talk about all the problems I ran into and how I solved them.
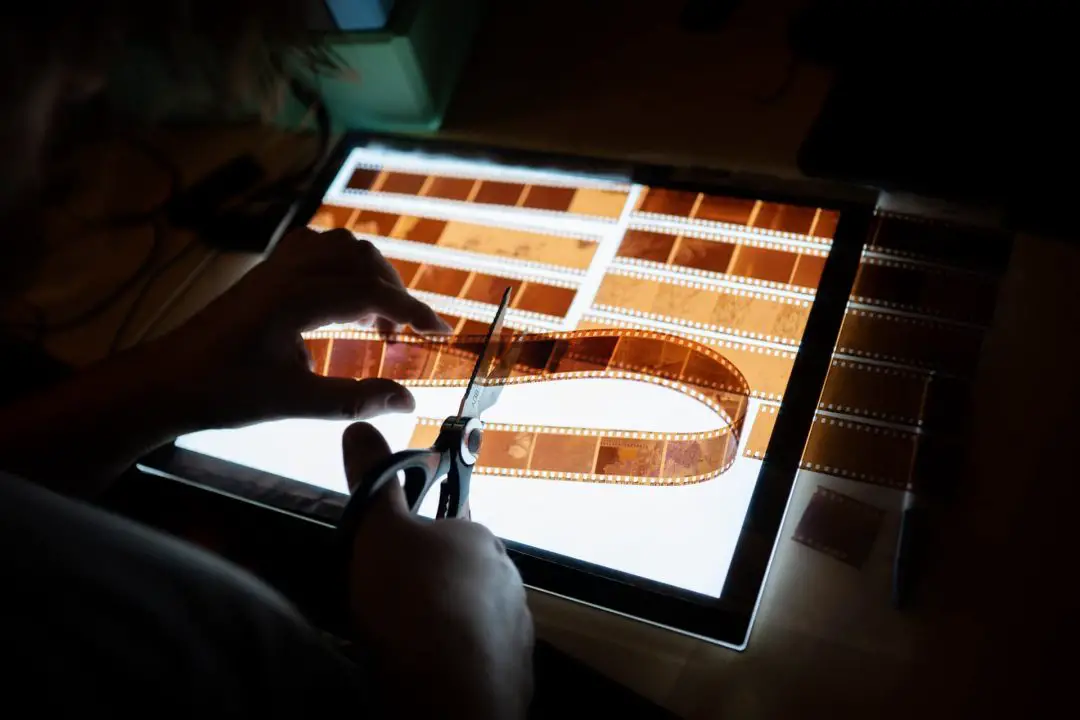
13. Scan film with the emulsion-side up
It shouldn’t be a surprise, but there is a right way and a wrong way to scan your film. If you’re scanning with your DSLR, there seems to be an endless number of factors that will get in the way of your images. One of the best tips that I’ve recently heard up in a conversation between the voices behind Doing Film Things and Pushing Film on YouTube. These two were ranting about Kodak Ektar, when they got into the finer details about scanning film, and I highly recommend giving this episode a listen if you’re having some trouble.
One of the topics that came up was about scanning the film emulsion side up. For those who don’t know, the film is set up so that the numbers face the right way when the emulsion is down. So turning the negatives over will make the numbers and images appear backward. But the benefit of doing it this way is that you’re not scanning the film through the film base. Instead, you’ll scan just the sharp image-forming layers where the magic happens. If you’ve ever shot a photo through glass, you’ll know how a little glare can ruin an image. The same thing happens when scanning through the base.
14. Low ISO films are sharper than high ISO
To some of the seasoned shooters out there, this might seem obvious. But there’s an interesting reason why lower iso films are sharper than high ISO films.
The reason low ISO films, like TMax 100 and FP4, are sharper than high ISO films, like Delta 400 and Tri-X, is because they use smaller, and more tightly-packed grains. This means the films have more photo-sensitive grains per square centimeter than faster films, creating an overall sharper image.
Low-ISO films also tend to show more contrast than high-grain films and appear far less grainy. The reason for that comes down to how the grains work. A larger grain doesn’t need as much light to become developable as a small grain. But the smaller grains can be packed together much tighter. But fast films often have small grains packed in with the larger grains — not all of them are the same size. That means that if the smaller grains don’t receive enough light to become developable, they’ll be washed away in the fixer, leaving spaces between the grains. In effect, this is what causes some images to feel grainy and others clean, even on the same roll of film.
15. Increase your shutter speed
People who are new to photography in general might not know about this, but it’s important to learn how to increase your shutter speed when you want to get sharper images. One of the biggest problems people face is tiny amounts of motion blur that can ruin sharpness.
Many people teach using the reciprocal rule as a way to ensure there’s no motion blur in your photographs. The rule states that your shutter speed should always be as fast, or faster than the focal length of your lens. That means that if you use a 50mm lens, you should be shooting faster than 1/50th of a second.
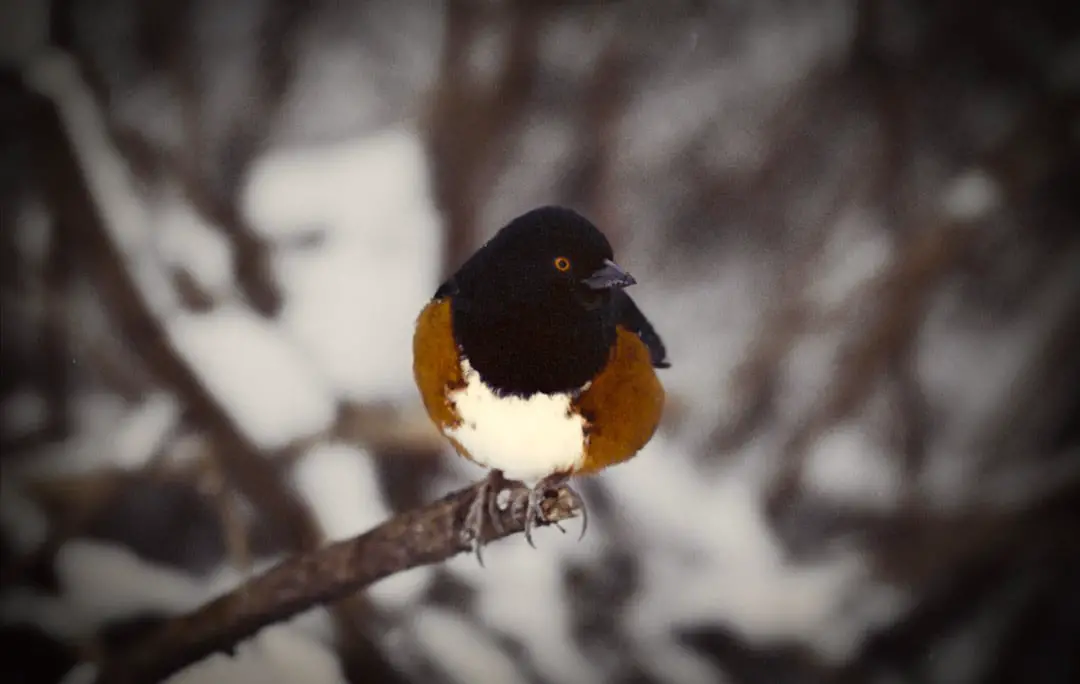
In theory, it’s a nice, simple system that works fairly well with film cameras, since they’re far more forgiving than high-megapixel digital cameras. But if you’re capturing action, you’ll need something a little faster. Birds in flight, for example, will still show motion blur when shooting as fast as 1/750 of a second.
The two variables that can help you get a faster shutter speed are using lenses with larger apertures, and using faster films. The faster the film, though, the less sharp it’ll be (as mentioned in the section above). And shooting a lens wide open can also cause images to be less sharp overall, depending on the options. So the process of getting the perfect shutter speed for your situation is always a bit of a give and take.
16. Bonus Tip: take out your tripod
If you’re reading this blog, you’re most likely a human (although, I’d like to give a shout out to Google bot). And all humans introduce some amount of camera shake. It doesn’t matter how steady you are, you can’t expect to get many good photos when hand holding the camera, and shooting below the reciprocal rule. You might get lucky every ten shots, but those cost a lot of money.
When you need sharp images, even when shooting at the reciprocal rule, you’ll get better photographs using a tripod. You can then use a lower ISO film and a smaller aperture without worrying about the shutter speed — unless your subject is moving.
Tripods also open up whole new worlds for photography. Using one of these, you can capture the stars at night, blur the clouds, and water. For this reason, a tripod is an absolute necessity for landscape photography. But even in studio portraiture, or other professional mediums, a tripod will take your images to the next level.
17. Bonus Tip: Use a larger film format
For the same reason that lower ISO films and sharper than high ISO films, the image format will make a big difference in your images sharpness.
Although a roll of 120 film doesn’t have room for as many shots as 35mm, it contains the same amount of photographic surface area. That means that if you’re shooting a 6×6 negative, you’ll have 3 times the amount of photosites in a single image than you will on 35mm. And that makes a major difference in the image sharpness.
Larger film formats show far less grain, and can produce smaller depths of field than 35mm. But they are, of course, more expensive. Whether or not that’s worth it is up to the photographer. But many medium format cameras, and especially large format, can produce images that are far more detailed than even digital cameras are currently capable of. That’s a big reason why many people are still shooting film.
Disclosure Statement: Some links on this blog post are affiliate links, which means that I receive a small commission on any sale resulting in those links clicked. This does not affect the prices of the items for sale, but it does help me continue blogging. All of these items are ones that I have used and bought with my own money. None of these items were gifted to me for the intended purpose of advertising. Read more about affiliate links in the affiliate policy.

By Daren
Daren is a journalist and wedding photographer based in Vancouver, B.C. He’s been taking personal and professional photos on film since 2017 and began developing and printing his own photos after wanting more control than what local labs could offer. Discover his newest publications at Soft Grain Books, or check out the print shop.
Amazing. Thanks !