
This guide is going to show you everything you need to know to get started developing your own film at home.
Developing film at home is an easy process. I’ve probably screwed up in almost every way possible when developing film, and still come away with usable negatives almost every time. Here’s proof of all the times and different ways I’ve screwed up (and how you can avoid making these same mistakes).
I’ve developed over 200 rolls of film at home in the last year alone using a minimal setup. The lessons in this guide are applicable to both color and black and white film, though the processes are a little bit different. Color film chemicals come in a C41 developer kit, and developing requires a sous vide (also known as an inversion circulator) in a water bath to regulate temperature
Home Film Developing Equipment Checklist
Development Chemicals ~$50
| Development chemical | Product name | Where to find the best price |
| Developer | Rodinal (Blazinol in Canada) | Amazon USA (find this locally in other countries) |
| Indicator Stop Bath | Ilfostop | At local store |
| Rapid Fixer | Ilford Rapid Fixer | At local store |
| Single-use starter pack | Ilford Simplicity Kit | Amazon |
Home Film Developing Equipment Checklist
Here is all the equipment you need to develop film at home. 1L glass storage bottles will keep your reusable film developing chemicals safe longer than plastic, so long as they’re filled to the top. For chems that are used one shot, use PET plastic Wine Saver bags to keep them fresh.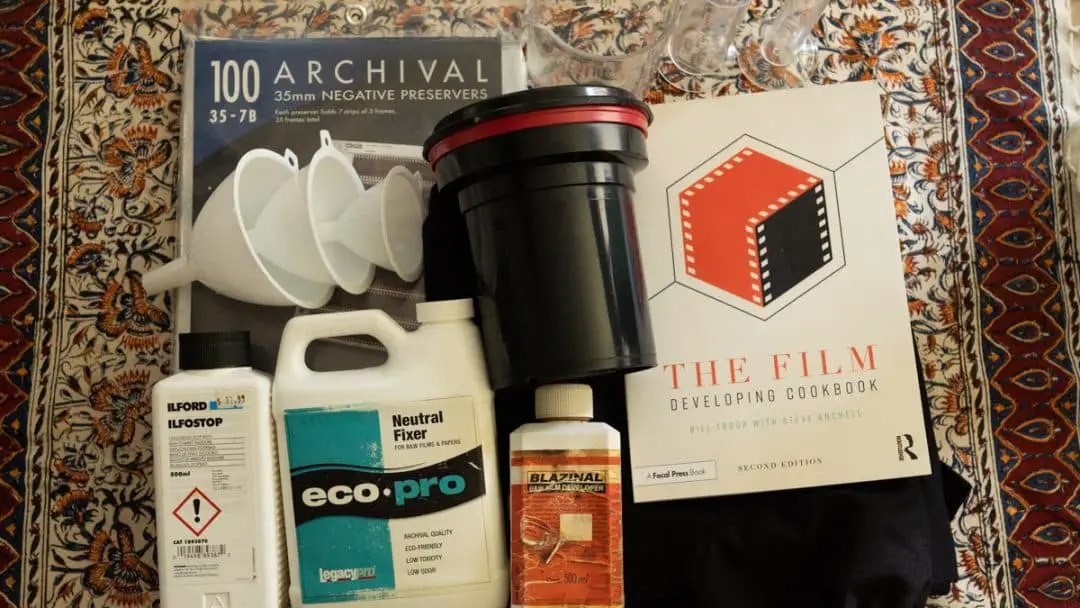
Required supplies ~$75
| Item | Required if using Ilford Simplicity? | Where to find the best price |
| Paterson Developing Tank with 2 reels | Yes | Amazon |
| 500ml Beaker for mixing and pouring development chemicals | Yes | Amazon |
| Graduated Cylinder for measuring | No | Amazon |
| Set of funnels | No | Amazon, or Dollar Store |
| Storage bottles | No | Amazon, or 1L growlers from a local brewery |
| Negative sleeves | Yes | Amazon, local film store |
| Scissors, sharpie | Yes | Dollar store |
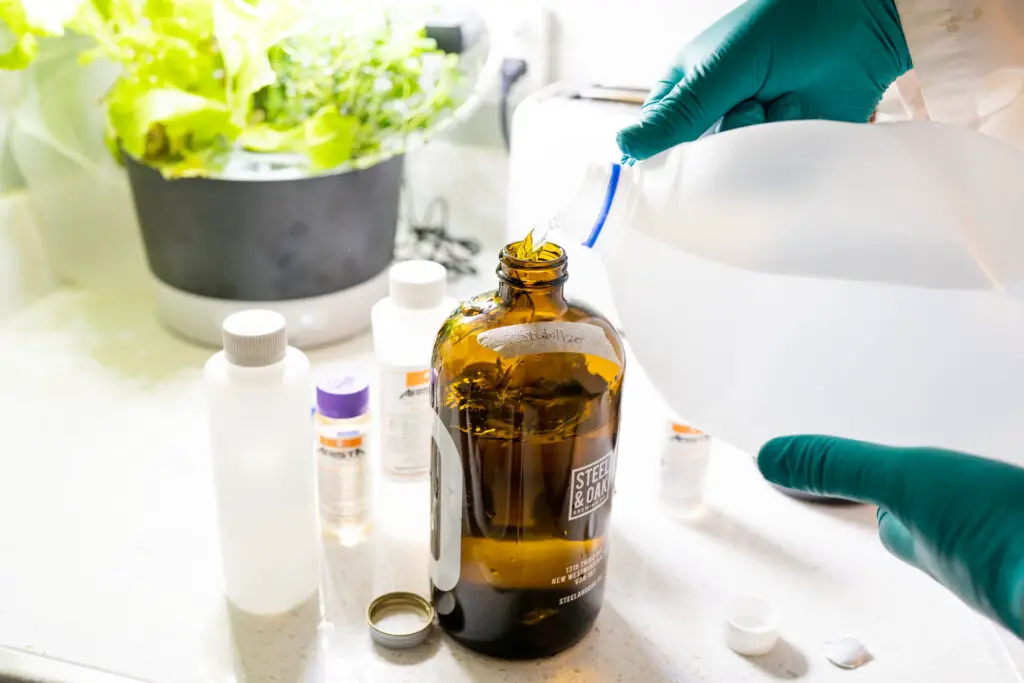
Step 1. Mix and store chemicals
On all of the chemicals, there will be a set of ratios that look like 1+#. The number is the amount of water per 1 part of the developing chemical. Since the Paterson Development Tank holds 500mL (enough for 2x 35mm reels, or 1x medium format film), divide 500 by 1+# to find the amount of chemical to measure.
Let’s take fixer for example. Whether you use Ilford or Kodak rapid fixers, both require the 1+4 dilution for films. Divide 500mL by 5 to get 100mL of fixer solution, topped up with 400mL of water.
Clean one of the glass bottles with soap and water, then pour in the fixer solution and properly label the bottle. Rinse the graduated cylinder and beaker 3 times before measuring other chemicals to avoid contamination.
Next, follow the same step for the stop bath, and then mix the developer. Leave the developer in the beaker until the film is loaded and ready to go. Learn more about film chemical storage, and how to make them last longer in this article.
Where do I find film development times and developer dilution information?
Most films come with some suggested development times inside the box. However, the greatest resource for development times and combinations is the Massive Dev Chart.
This is the most complete, free resource available for film and developer combinations.Film Dilution Developing time in Rodinal at box speed Kentmere 400 1+25 / 1+50 7.5 minutes / 20 minutes Ilford HP5 1+25 / 1+50 6 minutes / 11 minutes Ilford Delta 400 1+25 / 1+50 9 minutes / 20 minutes Kodak Tri-X 1+25 / 1+50 7 minutes / 13 minutes JCH StreetPan 1+25 / 1+50 10.5 minutes / 22 minutes
What is the difference between film developer dilutions?
The different dilutions can create different looks. Using Rodinal, a 1+25 dilution will develop the film faster, and with more contrast than a 1+50 dilution. If you’re looking to create negatives with the bare minimum of contrast, use larger dilutions like 1+100.
With developers like HC-110, D-76, and Xtol, smaller dilutions (using more developer) will result in negatives with finer grain due to solvents that eat away at the silver particles on the film. Using larger dilutions with less agitation typically produces sharper negatives with more shadow detail.
Step 2: Load your film into the developing tank
Loading your film is a delicate task, and I’m only going to be able to go over the process here briefly. If you’d like a more in-depth article, I’ve written a longer guide with a number of tips here.
The film has to be loaded in complete darkness. But any bathroom without a window will do just fine. Wait 30 seconds to watch for stray light, and plug it up with a towel under the door.
120 film can be unwrapped with your hands alone, but 35mm will require a pair of scissors to cut off the film leader and separate the film from the canister. Make sure to round off any sharp edges at the front of the reel to stop the film from snagging.
Then, in the dark, find the sharper point on the reel. Grab the tip of the film between your index finger and your thumb, and pull the film into the reel. Once the reel has gripped the film, twist one side until the film is one completely.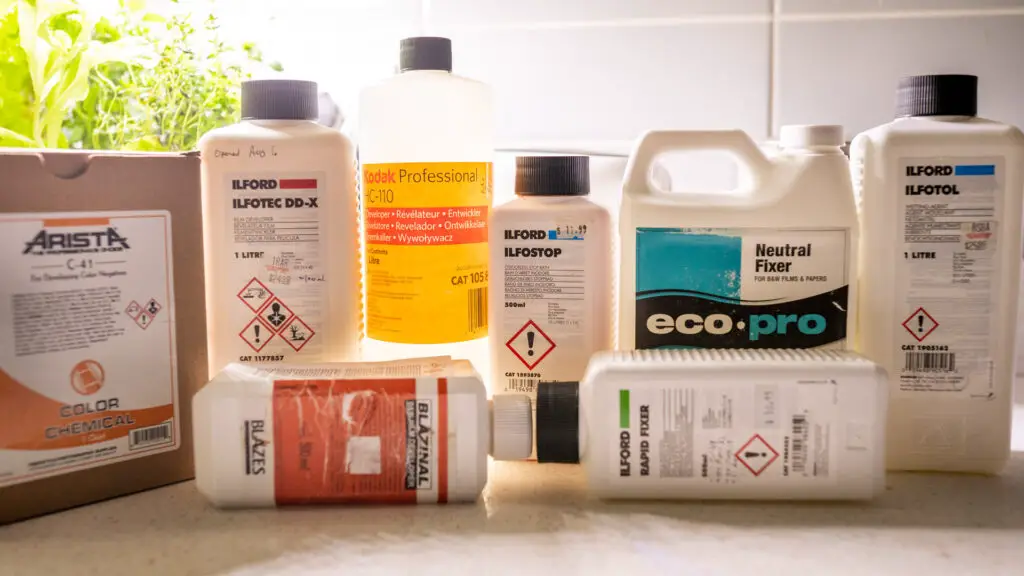
Step 3: Develop → Stop → Fix
For 120 film, pre-rinse the film for 1 minute in room-temperature water. 35mm film does not need to be rinsed.
Set an additional 5 seconds more than the developing time on your timer, start, and pour the developer into the tank quickly. Once it’s in, use the spin stick to spin the reels for the first minute. Change the direction of the spin frequently to break up the flow of water to avoid patchy development.
This first minute of developer agitation is critical, as any unevenness in development will be amplified throughout the process.
Then, after the first minute, it’s time to start inversions. What this means is to gently turn the tank upside down while spinning it at the same time.
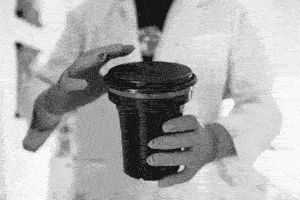
Complete a set of three to four inversions every 30 seconds if the total developing time is less than 5 minutes, or once every minute if the developing time is more than 5 minutes.
After the inversions are complete, gently tap the dev tank on a hard surface to dislodge air bubbles.
For more information on agitation, and some extra tips on how different agitation methods can change the outcomes of your negatives, take a look at this article.
How to stop film
Once the timer runs out, it’s time to pour out the developer and pour in the stop bath. The stop bath is a strong acetic acid solution that decreases pH so the developer can no longer be active.
The stop bath only needs to be used for 30-seconds. Complete one set of inversions, and then pour the stop bath back into a bottle for reuse, rinse the film, and pour in the fixer.
Some photographers prefer to skip the stop bath altogether to save time, water, and money. Here’s a look at a few methods for skipping the stop bath.
How to fix film
Fixing film is the last step that needs to be completed in the darkness. This is where the excess silver that hasn’t been exposed to light is removed from the film.
Most fixer solutions require 3-5 minutes to completely remove silver from the film. During that time, complete regular inversions every minute followed by a quick tap. Once the time is done, be sure to save the used fixer solution in a bottle to be taken to a film developing store where it can be recycled for free.
Fixer is an environmental toxin, and shouldn’t be dumped down the drain if possible.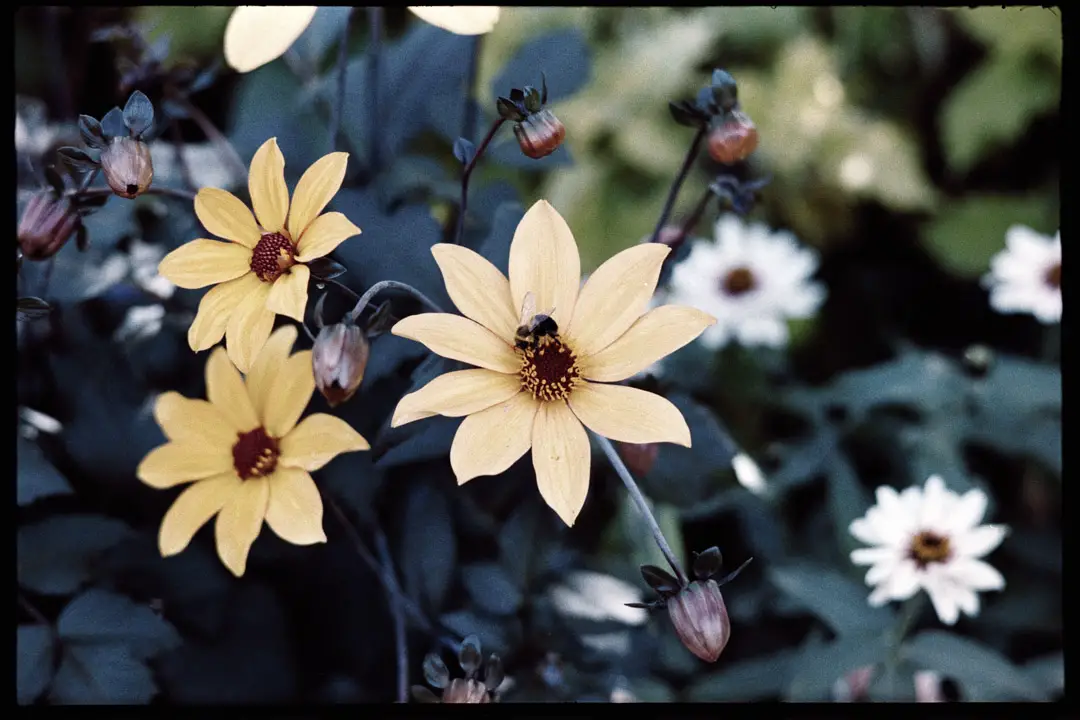
Step 4: Washing film using The Ilford Rinse Method (Non-hardening fixers only)
Rinse using the Ilford Rinse Method to completely remove fixer (to preserve the film for life) as follows:
- Fill the tank with water and complete 5 inversions
- Empty and fill the tank and complete 10 inversions
- Empty and fill the tank and complete 20 inversions
Note: The Ilford Rinse Method only works if you’re using a non-hardening fixer. If you’re using a Kodak fixer, be sure that either it’s a non-hardening fixer, or that you haven’t added the optional hardener that’s in Part B of the powdered formula.
After the rinse is finished, the film is ready to hang and dry, after an optional rinse with a wetting agent to prevent water stains. 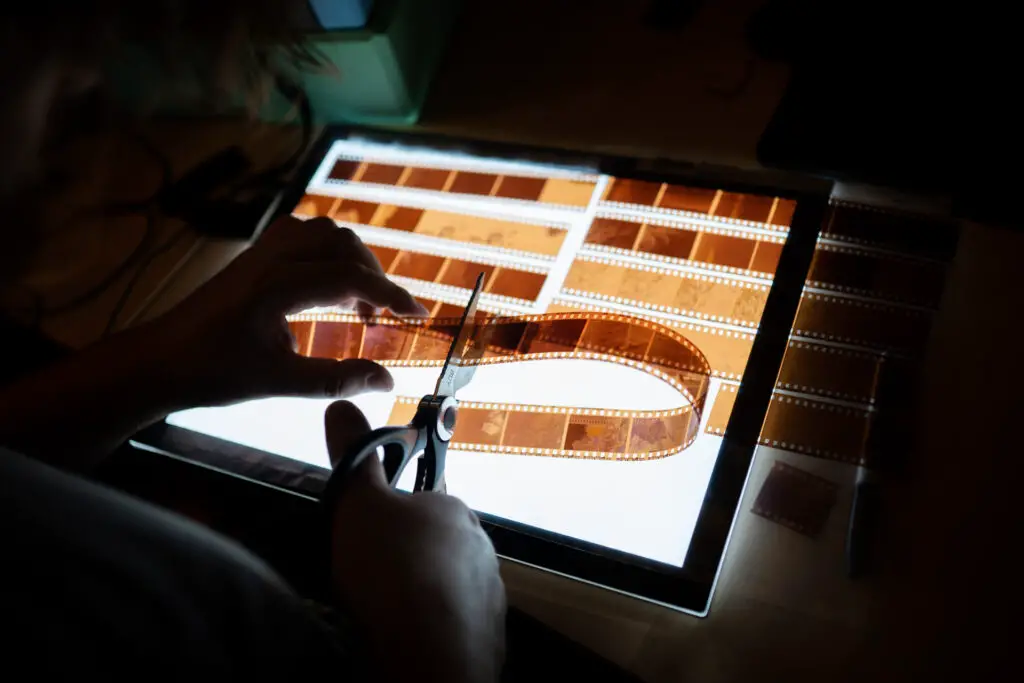
Step 5: Dry, cut, and store the film
At this stage, I pull the film of the reels and if there’s still liquid on the reels, run the film between my fingers to remove the excess water.
Then, run the shower on hot for 5 minutes to dry the film faster, and prevent curly negative, and hang the negatives from the shower bar if possible, or using jute rope and binder clips.
Drying takes 2-3 hours, and it’s best to have some weight hanging off the bottom of the film so that it doesn’t curl as much during the process.
After it’s dry, it’s time to cut, sleeve the negatiin print files holders, and scan the film.
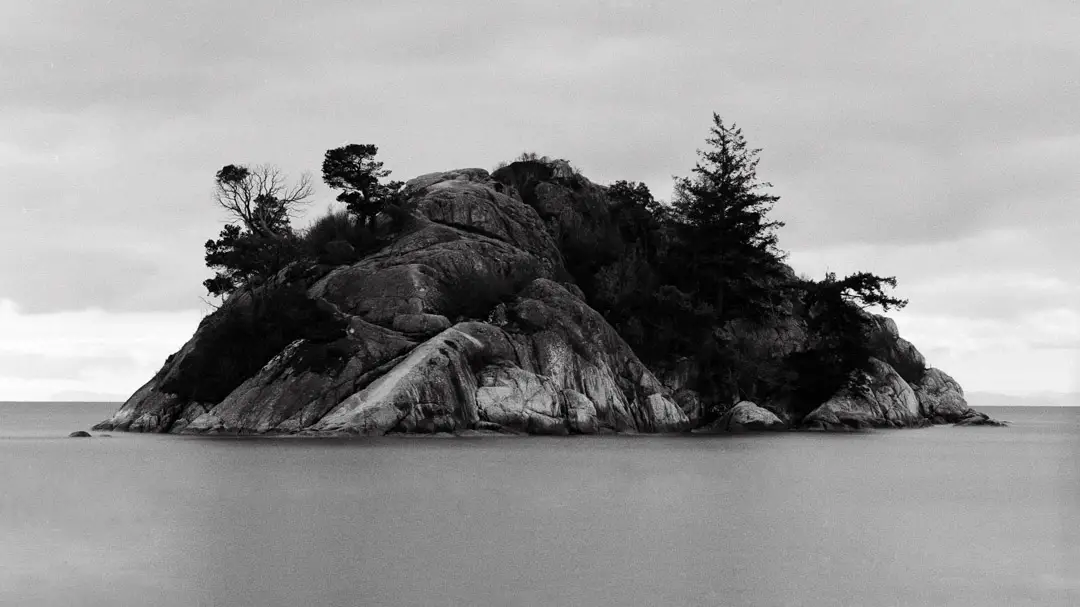
You can also scan film with a DSLR or Mirrorless camera if you have one handy. Here’s what I use to scan film with my Sony A7III.Ilford Delta 3200 on a Hasselblad 503C, developed in Black, White, & Green by Flic Film. Learn more about this long-lasting eco-friendly film developer here.
Final thoughts
Developing film at home is a fun and invigorating process. It’s a great way to save money and learn more about this awesome hobby.
When you’re ready to dive deep into film photography, Bill Troop and Steve Anchell’s The Film Developing Cookbook is the book I recommend the most.
It’s up-to-date, containing info on every film stock and developer available as of 2019. They reference years worth of research and experience from the top scientists and engineers working with film photography.

By Daren
Daren is a journalist and wedding photographer based in Vancouver, B.C. He’s been taking personal and professional photos on film since 2017 and began developing and printing his own photos after wanting more control than what local labs could offer. Discover his newest publications at Soft Grain Books, or check out the print shop.
After many years of on and off darkroom i finally tried constant agitation of negatives with a Sima Roller.
With Xtol I find no increase in grain or film density which defies what I have always understood to be true.
Early days, we will see what happens!
As for negative longevity, I have some 100 year old glass plate negs that still print wonderfully.
TB
The changes in density and contrast will usually be more noticable if you’re developing tabular grain film, like Delta or TMax. But if you’re shooting HP5 and Tri-X, those changes from constant agitation will probably be fairly minimal.
And that’s awesome about those glass plates! I’d love to see the images if you’d happen to have a link to them. Films usually break down because of the acetate base, or the color dyes fading, so plates should have no problem keeping fresh so long as they’re stored well.
My neighbor Honora has one of these. She works as a reporter and she says it looks enormous.