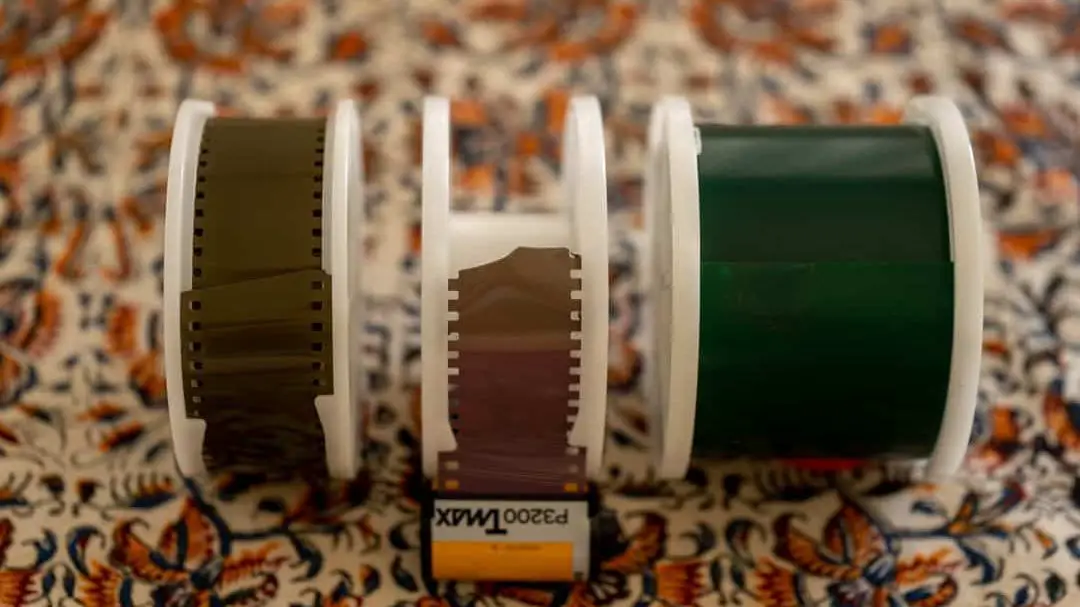
The biggest nightmare for film photographers everywhere is to end ruining their precious rolls of film. These things cost a lot of money, but the memories that are captured on them are priceless. For paid gigs, it’s an even bigger fear.
Luckily, with some practice and a few tips, loading film onto Paterson reels is surprisingly easy. The reels were designed to be as easy to use as possible, which is part of the reason why they’re still the best-selling development tanks.
So this guide today is going to go over how to load the reels, and a few tips that can make your life so much easier. But first, let’s start with the risks.
What can go wrong when loading Paterson reels?
Our audiences also read:
Are Paterson tanks worth purchasing?
The misunderstood art of film agitation
Choosing the right B&W film
Paterson plastic reels are notorious for starting off easy, and then having the film caught a snag halfway through. When that happens you can cause black crescent-shaped marks to show up on a couple of frames. But if you get into a more serious issue, like when the film just won’t go on the reel at all, you may end up getting fingerprints all over the film or ruining it altogether.
Luckily I’ve only really ruined a single roll in my entire developing history with Paterson tanks. But there have been a couple of cases where one or two frames were messed up from the rolls getting caught and crinkling after attempting to force them through.
The usual cause of reels ruining film, though, comes down to using them while they’re wet. So dry them off with paper towel or a blow dryer when using them for a second developing cycle. Or better yet, purchase some additional reels on Amazon, or from the used marketplace. All Paterson reels are compatible, no matter how old the system is. So it is easy to save some money by finding them at garage sales and flea markets.
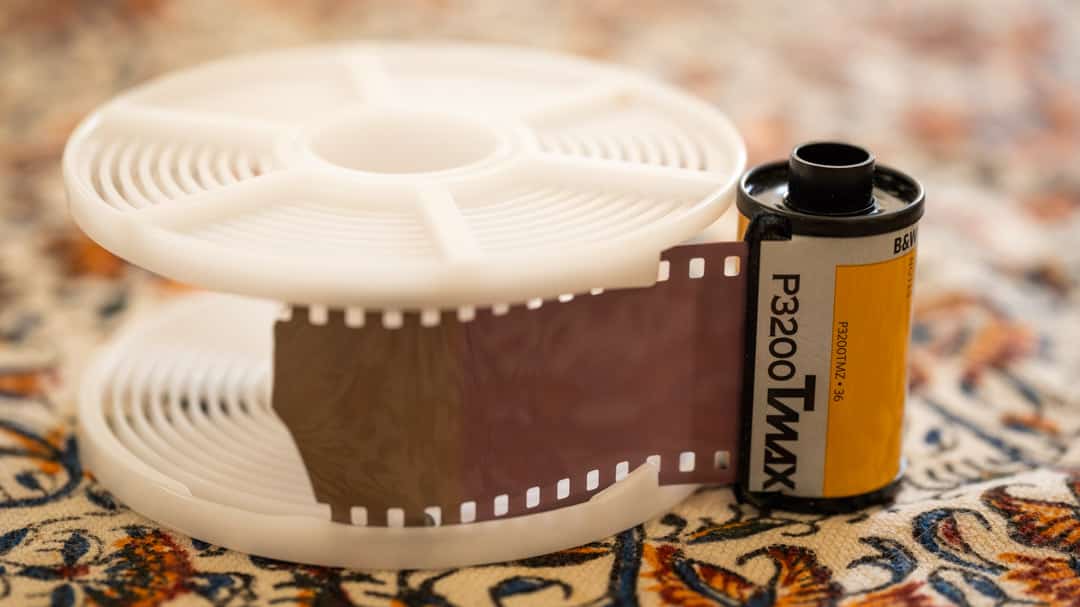
How to load 35mm film
35mm film is typically easier but will require a pair of clean scissors to separate from the canisters. If the film is retracted all the way into the canister after shooting, you may have to pry it open using your hands, or by jamming a pair of scissors into the canister opening.
In a dark room with the lights off, or in a film changing bag, (like this one, that I use) cut off the film leader, and slip it in past the lip of the reel that sticks out the most. Then, once it’s far enough in the reel, you’ll be able to rotate the right side of the reel forward and back to advance the film until it reaches the end of the canister spool.
To stop the film from coming over the edges, I keep my thumbs on the edge of the lip to guide the film in place. As long as you’re touching just the edges of the film strip, you won’t do any damage. However, if you’d prefer to be careful, using a set of museum-grade, lint-free, cotton gloves can ensure no fingerprints show up on your negatives.
Then, using clean scissors, cut the film as close to the canister as possible. Finishing rolling the remaining film onto the reel, place it around on the center column in the tank, and rotate the funnel head until you feel it click. There is no need to close the top sealing lid at this point.
The 35mm loading cheat code
There is one easier method to loading the reel with 35mm film, but it only works if you’re able to rewind a roll of film without fully retracting the leader. Loading film in the dark can be difficult, and so this method takes care of the hardest step.
When you have a small portion of the film retracted, cut off the leader as normal, and insert the first piece of the film into the reel until it reaches the position where it can’t be released without taking apart the reel. Then, place the film in a changing bag, or take it into a pure-black room and finish rolling the film onto the reels.
Usually that first section of film is exposed to light when it’s loaded into the camera anyways. So this method does not ruin any of the potential exposures.
This is my favorite way to load 35mm film because it saves so much time.
Loading 120 film
Medium format film is way harder to load than 35mm. If it’s your first time I suggest loading it with a dummy roll that you’ve intentionally ruined to use as practice. Especially with 120 film, which is much more prone to bending, fingerprinting, and other issues that’ll ruin photos.
The first time I loaded the reels, I practiced using a previously developed roll that I didn’t care about. Even though that roll wasn’t damaged, I don’t recommend trying to load reels for the first time with rolls that contain precious memories. It’s always possible to scratch, wrinkle, or otherwise ruin a roll of film even after it’s developed.
120 film goes through the same process as 35mm. But it’s harder because of the size of the negative, and it doesn’t have a metal canister, so once it’s off the backing paper, there is no more protection for the film. So it’s important to only touch the edges of the film.
To start placing 120 film on the reel, I always completely unspool the film from the reel. Gently hold the spool by the edges with my left hand, and pulling the paper off the spool with my right hand. As I remove the paper, the film will roll up on the left side. Then, once the film is completely off of the spool, it’ll be stuck with tape to the backing paper. Remove this tape from both the film and the paper before inserting it into the reel. I usually insert the film from the tape side first, because the other side of the roll will be tightly wound together — like what happens when you roll paper into a soft bat.
Like 35mm, I always keep my thumbs on the lip of the reel where the film is inserted. Medium format film has an even worse habit of jumping off the reel.
Dual-spooling 120 film
There is enough space to roll two medium format films onto the same reel, but that doesn’t always mean it’s worthwhile.
The idea is that you can use the tape that holds the film onto the backing paper to attach a second negative and pull it through the reels. However, this is easier done on metal reels than plastic. It is possible to do and can save a lot of processing time. But I personally don’t recommend it.
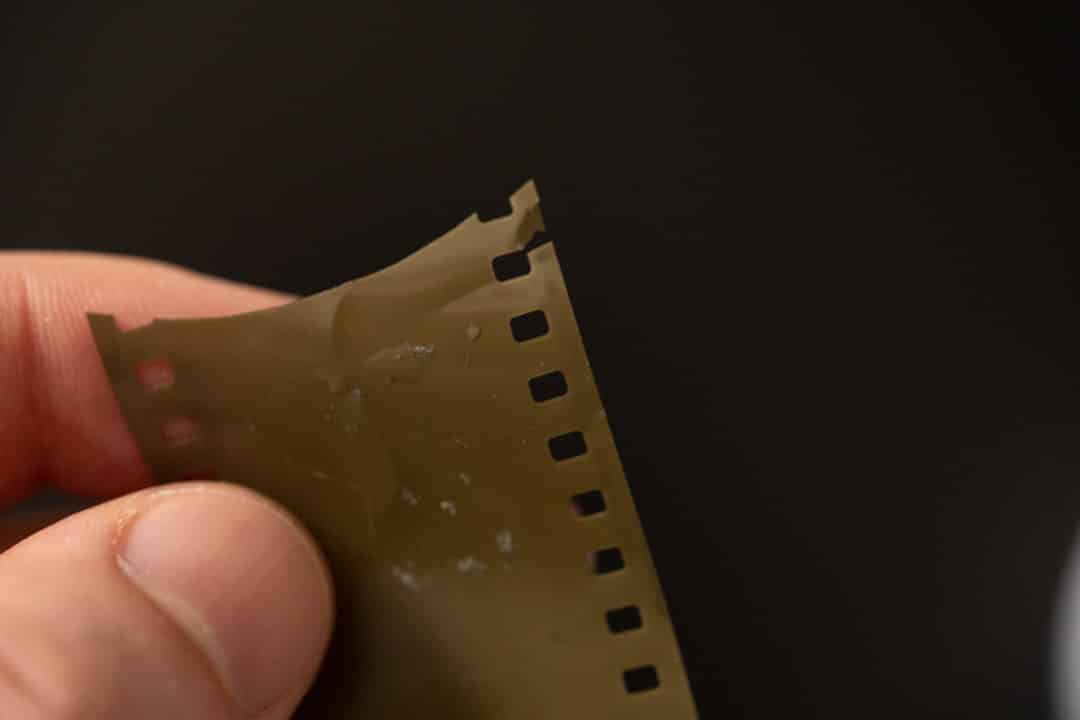
What happens if I touch the film while loading it onto the reels?
If you touch the emulsion side of the film, it can leave permanent fingerprints on the negatives. The emulsion is particularly sensitive when it is warm, as the gelatin becomes gummy in the heat.
The most likely time that you’ll leave a fingerprint on the film is if you run into a loading issue when the reels are wet. For that reason, I recommend always using dry reels or a set of lint-free museum-grade gloves. Non-museum-grade gloves can actually leave fibers in the emulsion, which can be just as bad as fingerprints.
Do you have any questions or advice for others on how to load a reel of film? Let me know down in the comments below, or join our growing Facebook group!

By Daren
Daren is a journalist and wedding photographer based in Vancouver, B.C. He’s been taking personal and professional photos on film since 2017 and began developing and printing his own photos after wanting more control than what local labs could offer. Discover his newest publications at Soft Grain Books, or check out the print shop.
Been processing films for many years. I have struggled more with 35mm than 120, mostly on films that were in the camera for too long and got a wicked curl. Most important on 35mm is to trim the leader not straight, but with slight angles at the edges, and between sprocket holes. Makes the loading much smoother.
This is a good tip — I was having trouble articulating how to write this one into the article. I’ve always wondered how this works, does it stop the film from getting snagged on something in the reel? The trouble I have is that it’s hard to cut the film this way when I’m using a film-changing bag, but I think that has more to do with me trying to rush things.
The problem is the film getting skewed on the reel and then stuck. Having slanted corners that happens less. I use my darkroom mostly, but when I have to use a changing bag, l use small scissors with a blade not much longer than the film width. And develop a good feel for where things are, so you don’t cut yourself. As for fully retracted films, most film canisters (except for Kodak) take one ring off when you slam the spool on a table. Kodak cans require a bottle opener