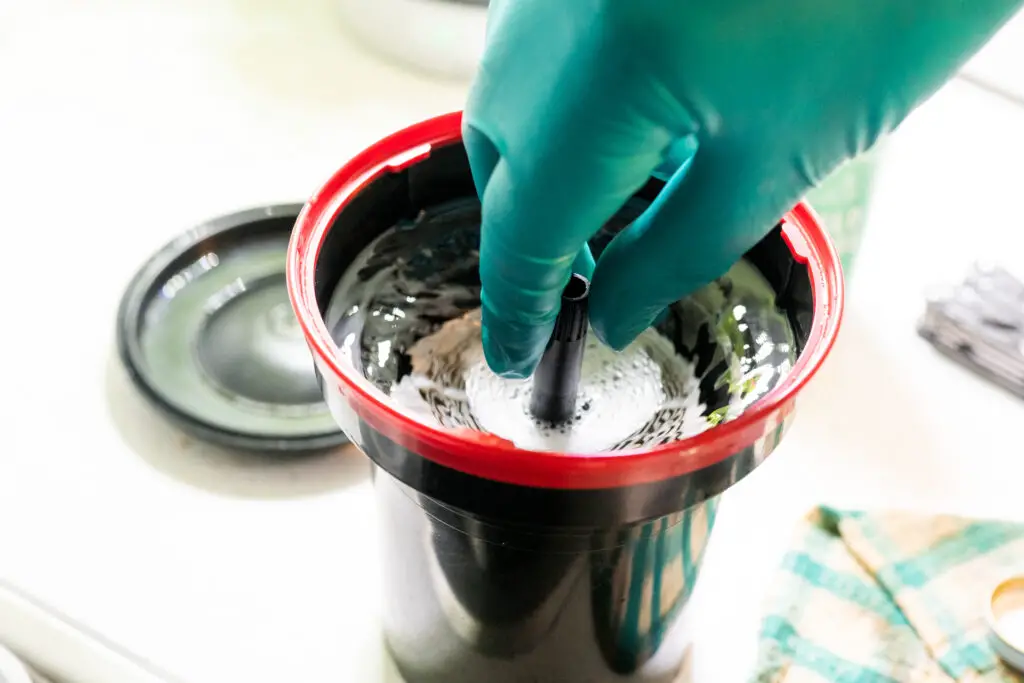
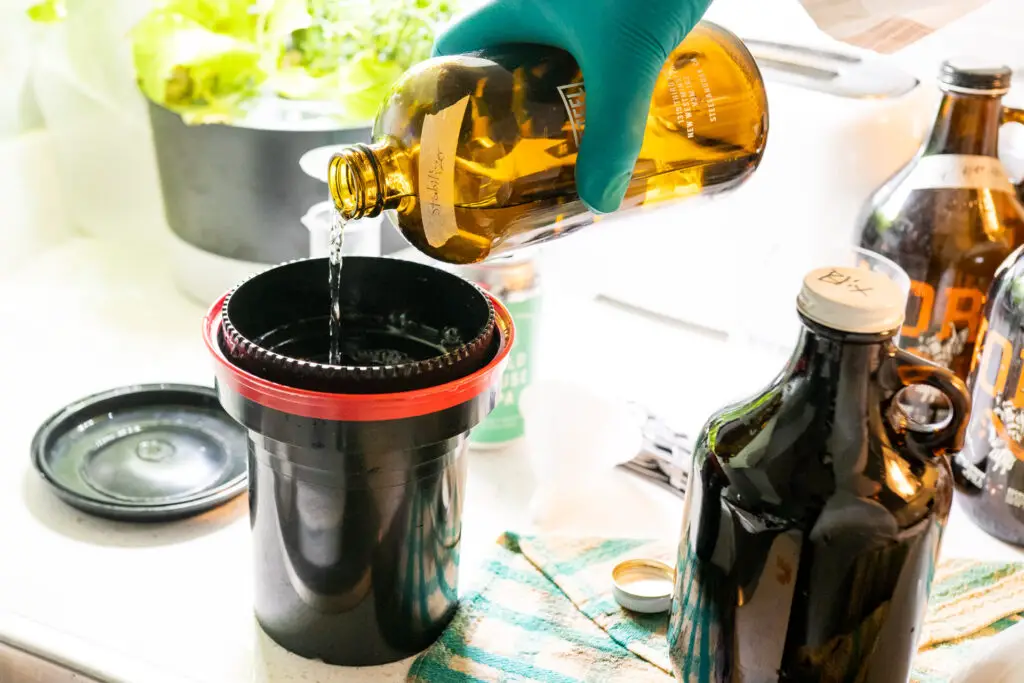
The agitation used when developing film is an artform just as important as taking the photos. From contrast to sharpness, much of the results in film developing comes down to how it’s processed.
Labs typically have agitation down to a science. They use machines to automatically process film with the same temperature and agitation every single time. This ensures they get a standardized look — so long as the photographer shoots the film at box speed. So how does agitation change the look of the negative?
Agitating with gentle inversions allows fresh developer to reach undeveloped grains in the negative. More agitation will increase contrast, making deeper blacks across the negative. Reducing the agitation amount will lower contrast. Each agitation type comes with its own benefits and drawbacks.
I’ve been developing film at home for the last three years, and I’ve often experimented with agitation to get my desired look on film. There are plenty of scenes that I’m shooting where a little more contrast is key to making the shots stand out. And other times, especially when I’m pushing film, where decreasing the amount of contrast makes the film an absolute dream.
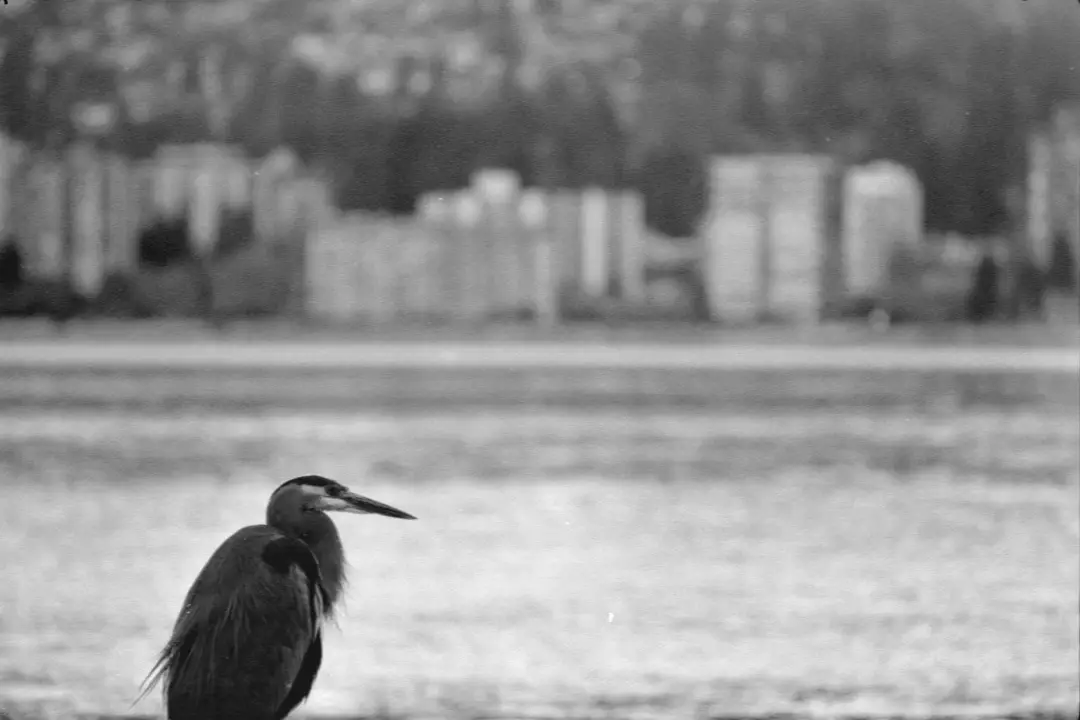
Table of contents
| The right way to agitate film | Over and Under Agitation Methods | Azriel Knight’s experiment | Scanning & Printing | How Agitation Affects Color Film | Problems from Poor Agitation |
One of the coolest things about the film photography community is the number of people out there who are still experimenting and creating. I recently came across a video by Calgary-based YouTuber Azriel Knight, who did an experiment on exactly how the negatives change with more or less agitation. Knight’s experiment was very detailed and well-controlled, making for the perfect comparison. I’ve reached out to him and included some of the results from his experiments below. But I highly recommend taking a look at his video to see how everything was done. He has a ton of other great videos on subjects like this and is definitely worth subscribing to.
Knowing how and when to change the contrast in your negatives will give you a lot more freedom with film. But it’ll also let you know when, and how you’re creating issues onto the film. This is a beautiful medium that is way more flexible than people often give it credit.
Tl,DR:
In most cases, under agitating film will decrease image contrast, while over-agitation will increase it. If you’re worried about messing up your film because of too much or too little agitation, in general, the effect of missing one or two inversion or agitation cycles won’t make a major impact on the results of your film. There are, however, some issues that can occur because of improper agitation such as bromide drag, or dark lines appearing along the sprocket holes of 35mm film.
What is the right way to agitate film during development?
This article is going to go over a number of ways to properly develop your film. But it’s important to know that all of these techniques are based around one single method that’s been used for roll films over the last 100 years. The best description of the method I’ve found is in Troop and Anchell’s The Film Developing Cookbook.
As a general rule, the way to agitate your film is to do inversions for the first 30 to 60 seconds. Then, if the development time is less than five minutes, agitate the solution every 30 seconds. If it’s more than five minutes, agitate once every minute.
Troop and Anchell say if it takes you longer than 5 seconds to fully pour the developer into the tank, then agitate for the first 60 seconds. If you can pour it all in in less than 5 seconds, then a 30-second first round agitation should be enough.
As well, it’s important to agitate for a full 10 seconds each round. As less time isn’t enough to break the flow of the developer solution.
How to properly complete an inversion
There is a surprisingly specific way to do an inversion. The idea is that you want to break the normal, laminar flow of water over the negatives.
Think of the flow of water like a river. If there’s a normal flow, then there will be lines of water that all move in a single direction and will unevenly wear the surfaces of rocks below. You can see this streaming happen when you pour water out of a pot — the water will condense into streams rather than flow evenly. This effect can cause streaking on the negatives. So it’s important to break that up as much as possible.
Troop and Anchell describe the process of doing an inversion as rotating the tank at the same time as you’re flipping it. For the first inversion, rotate the tank clockwise while flipping it. For the second inversion, break the flow of water by rotating it counter-clockwise while flipping it. The best way I learned this process is through this video by Ted Forbes on The Art of Photography. Although he doesn’t rotate the tank counter-clockwise the second time. Everyone does things a little bit differently, and that’s just part of the magic of film photography.
How to over or under-agitate your films
When you’re under-agitating film, there will be some loss of speed if you don’t increase the amount of development time. And at the same time, over-agitating will create far too much contrast if you don’t see at least a small reduction in the amount of time the film is developed. Luckily, this has all been well mapped out over the decade’s thanks to the scientists at Kodak, Ilford, Fuji, and Foma.
When over-agitating your film, use a technique called continuous agitation. This means continue inverting and agitating the film throughout the entire developing time. When you’re doing this, you’ll need to compensate by reducing the development time by 15-20% to avoid the film becoming too dense and contrasty in the highlights.
That means if the standard dev time is 5 minutes, it should be reduced to 4 minutes when continuously agitating the film.
The best way to under-agitate your film according to Troop and Anchell is reduce the inversions to once every 3 minutes, and add 50% to the original development time. So, that same 5-minute dev cycle will turn into 7.5 minutes and inverting the film only three times including the original 30 seconds to 1 minute off the start.
When under-agitating the film, it’s important to get the developer to mix thoroughly off the first cycle. Any changes in density from the beginning will be amplified over time. Mixing the developer and breaking that laminar flow by changing direction during your agitations is the best way to ensure you don’t create bromide drag marks on the film. More on that in this section of the article.
In the end, the difference between over and under agitation isn’t going to be so extreme that you’ll ruin a roll of film. There will be some differences, but not enough to have to make you throw a roll in the trash.
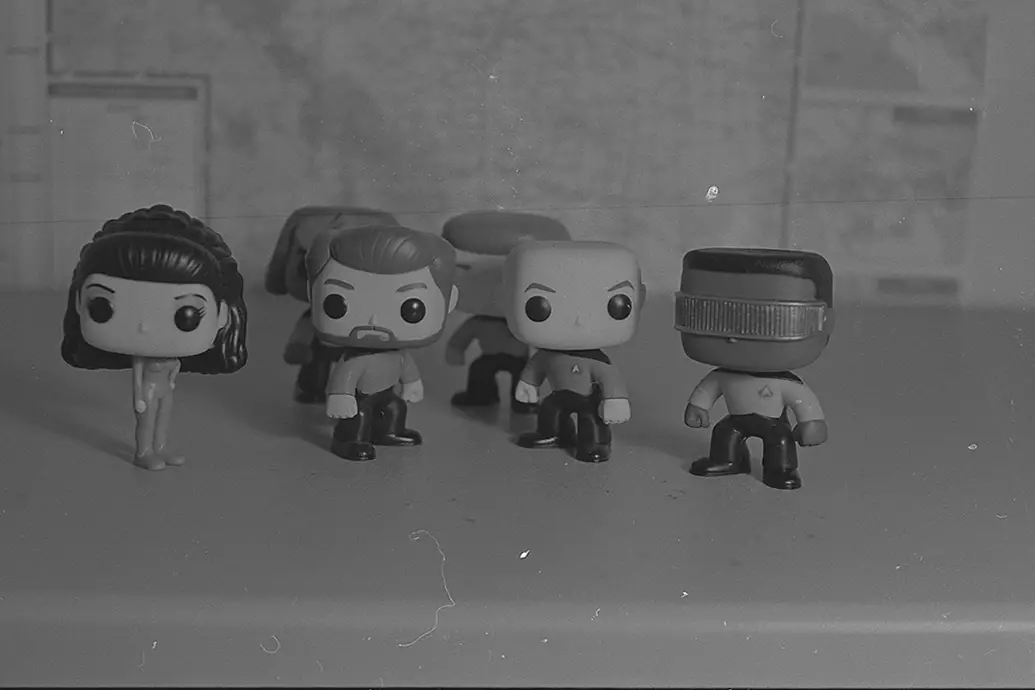
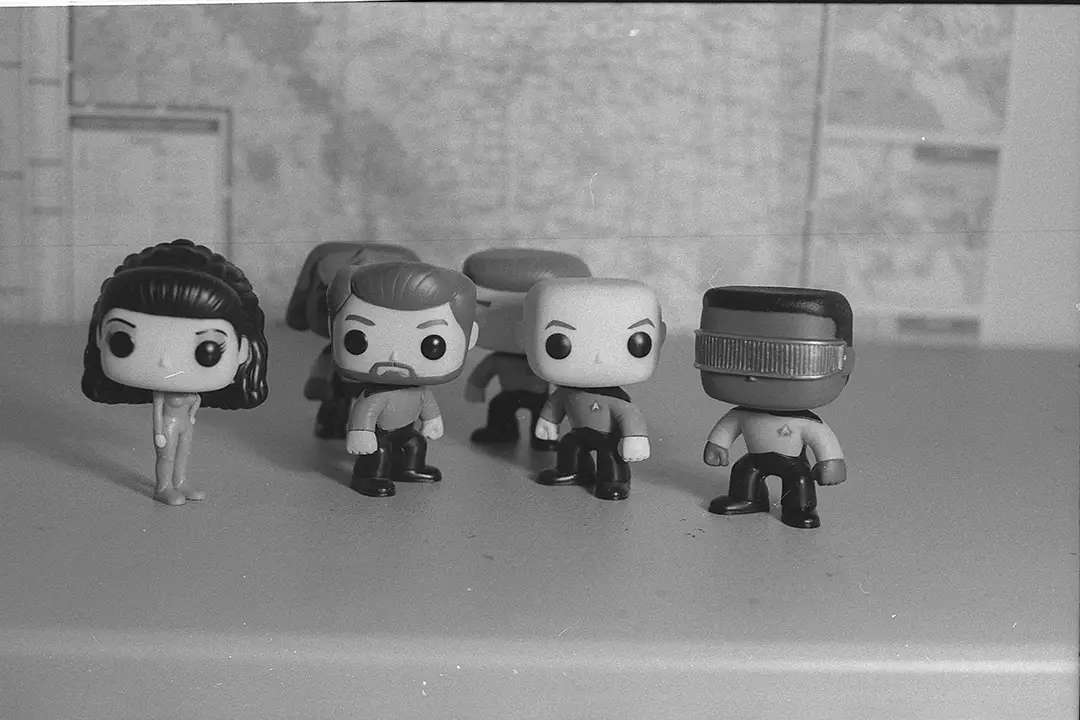
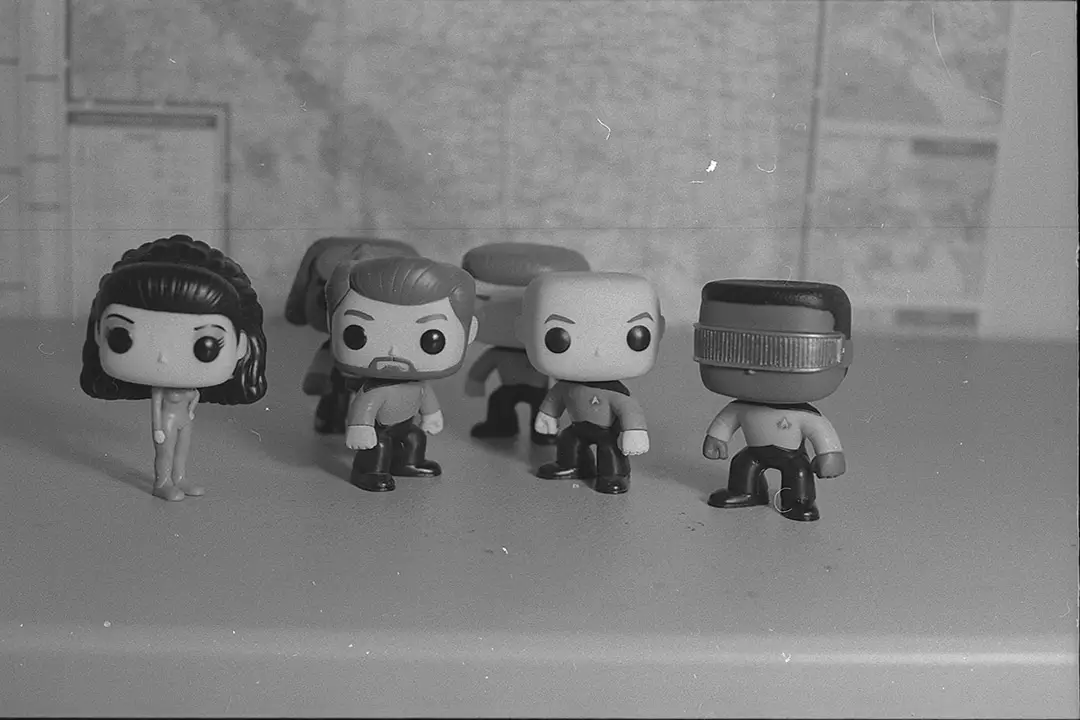
Azriel Knight’s Experiment: How does agitation change the way film develops?
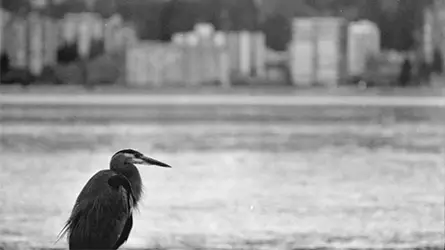
YouTuber Azriel Knight did a fantastic experiment that clearly shows the differences between over and under-agitating film. In the experiment, he shot the same image across a roll of Tri-X. Then he cut that roll into three pieces and developed them all in separate tanks using HC-110 Dilution B. The first tank was not agitated at all, the second tank was agitated normally, and the third tank was agitated through the entire developing process.
The resulting images clearly show how under and over agitating the film will change the results. In this experiment, the changes weren’t all that significant, but it’s a great example that shows how following the guidelines to a tee isn’t always necessary. At least with flexible films like Tri-X, there is some wiggle room.
Take a look at the images yourself, and pay particular attention to the contrast in the shadows, like the figure’s hair. The scene was nicely lit, so some of the changes may be smaller than you’ll notice when taking a landscape or portrait in harsh light.
I spoke to Knight over email and was able to ask him a couple questions about the experiment, and what he learned from the process. The Calgary-based photographer said he prefers lower-contrast negatives because of the additional flexibility it gives him down the line.

Azriel Knight
Website
YouTube Channel
Favorite Film: Fuji Acros II
Budget Film: HP5+
Photo book: Under Vancouver by Greg Girard
Advice: Don’t just learn from YT, seek out old books and magazines for old school knowledge.
“I prefer a low contrast image because I have more control, especially in the darkroom, when using variable contrast papers. It’s much harder to flatten out a punchy image than the other way around,” he explained. “Of course it’s nice when you get something punchy and perfect right out of the gate, but that’s rare for me.”
At the end of the day, while the experiment was a success, Knight has continued to develop film normally. But that doesn’t mean that’ll be the only way he develops in the future.
“Being 100% honest, [this experiment hasn’t changed the way I agitate film]. I’m satisfied with the amount of contrast I get from the recommended agitation of most films. I did another video though on how agitation intensity affects the negative and I found that intensity doesn’t do much at all, so I’m not as concerned about how aggressive or gentle I am with the agitation stick,” he said. “If I revisit [this experiment], and I may at some point, I’d try it with different films. Maybe ones that are considered more fussy, and I’d use harsh light to see if I recovered highlight and/or shadow detail. I’ve also since learned that bromide drag is an issue in under agitation but did not experience that here.”
What films work best for changing agitation?
Changing the agitation can have some risks. Some shots will come out beautifully, but there’s always a risk that some of the shots will be under-developed, or over-contrasty depending on the moves you make and how much the scenes changed between shots. But some films will be more flexible than others when it comes to changing agitation. The answer to this question is stated best in Anchell and Troop’s The Film Developing Cookbook.
As a general rule, classic 400-speed films like HP5 or Tri-X will provide the best results when over or under-agitating your film. T-Grain films like Delta or TMax are sensitive to changes in development, which can often lead to bad results.
T-grains are the most modern grains developed by Kodak and Ilford. They produce extremely sharp results and are more sensitive to light than traditional grains, but they have decreased tonality according to Anchell and Troop. Even as small as a 10% change in development time can drastically alter the results of these films, so it’s better to stick with the standard times and agitations when using T-Grain emulsions.
Another factor that’ll make for bad results when adjusting agitation is if you like to shoot a roll over many changing scenes.
If you’re anything like me, it can take up to a month to get through a single roll of film. So it can be hard to know exactly how the images will turn out when I change the agitation type. If that’s how you shoot, you will be better off using normal agitation to ensure you’re getting the most number of images proper on the roll. You can always add or remove contrast later in Photoshop or the darkroom.
Which method produces the best negatives for scanning and printing?
Photographers and videographers have often sought to get the absolute most dynamic range out of their images. That dynamic range allows them to change the image however they want — whether it’s to add contrast, or to completely change the colors that are present.
The downside of getting as much dynamic range as possible is that the images aren’t going to look good straight out of the camera. Raw photos from a digital camera typically look pretty bad. They’re unsaturated, low-contrast, and generally uninteresting. Log formats for digital video files are exactly the same. But people still prefer to shoot this way for that flexibility.
The general wisdom on developing film is to create negatives that have lower contrast. That way you’ll have as much detail in the highlights and shadows as possible. If you want to get rid of that shadow detail and make deep blacks, you can do that by bumping the contrast in Lightroom, or by putting on a high-contrast filter in the darkroom.
This was actually one of Ansel Adams favorite methods of developing film. Troop and Anchell’s book notes that Adams preferred to use HC-110 diluted at 1+90 from concentrate, developed for a full 18 minutes. This method slowed the development of the highlights, and allowed him to print images with extreme highlight details when ordinary development cycles didn’t provide enough dynamic range.
If you want results that look better straight out of the camera, and you know you want high-contrast, then agitate the film a little extra during the development process. You will lose some of those highlights and shadows. But the resulting negatives might be more your style.
That said, even when I want quick results, I’m usually going to try to lower the contrast as much as possible. That way if I come back to the negatives when I know a little more about film photography, I’ll have negatives set to help me succeed.
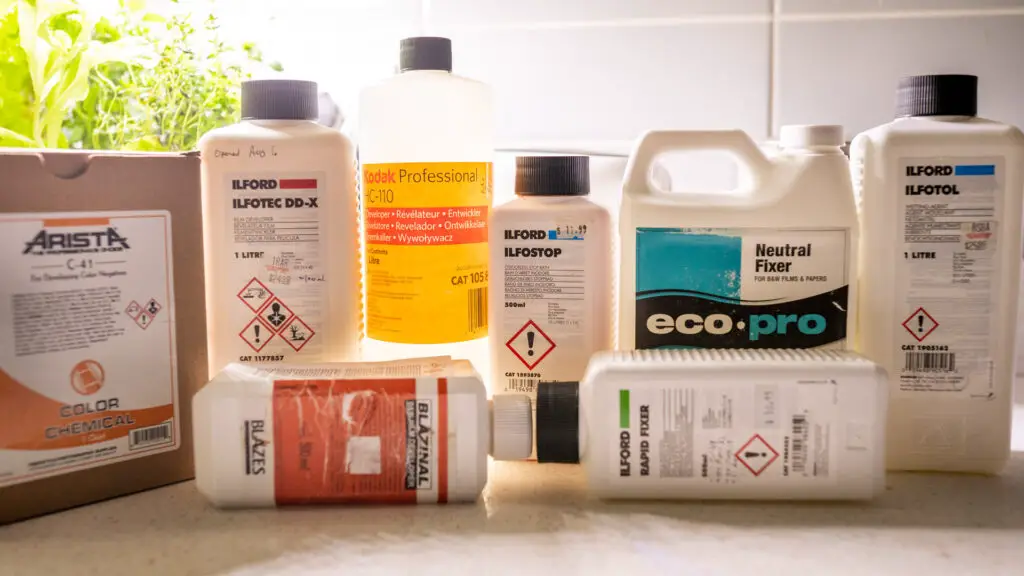
What are the best developers for using minimal agitation?
Film developing just hasn’t been the same since HC-110 was reformulated. That old solution was likely the best understood developer in the world. Since everyone had used it and tested it, it had many thousands of formulas presented all over the Internet, including Ansel Adams’ recipe mentioned above.
The new one is mostly the same, but it isn’t as useful since it just doesn’t have the same shelf life that the old version had. So if you’re interested in other formulas that’ll produce similar results, try Xtol 1+3, D-76 1+3, or D-23 1+3 at around 18 minutes with minimal development will give the same results as the HC-110 formula.
However, the most common developer for stand developing in Rodinal or Blazinol in Canada. Rodinal is often the developer of choice when stand developing films because of its tendency to produce high acuity (or sharpness) in film negatives. But it’s also fantastic at pushing — especially when it’s left alone at high dilutions for long periods of time. Learn more about stand development in this article on pushing Kentmere 100 to ISO 800.
Which agitation method creates finer-grain images?
Getting fine-grain results is hugely important in analog photography. Many people are searching for that classic look, but having too much grain can ruin sharpness and tonality in an image. Finer grains usually occur in a couple of ways: 1. Over-exposing film 2. Using a fine-grain solvent developer.
Grains become more apparent when you’re pushing films, because under-exposure typically means that many of the smaller, tightly packed grains are undevelopable. This leaves holes between the film grains, and increases their appearance. Solvent developers tend to reduce that appearance by slightly eating away at the edges of the grains. When that’s overdone, it can ruin the sharpness of the image.
One way to bring out some of those under-exposed grains is to use a technique called stand development. Stand developing is essentially the under-agitation method taken to the extreme, where people use low dilutions and let the negatives sit undisturbed in the developer for a long period of time, sometimes up to 2 hours.
What stand development does, is it lets the developer quickly exhaust in the highlights section. Then the active developer continues working in the shadows where there aren’t as many grains to be converted to metallic silver. By giving the developer this much time to work in the shadows, it should be able to bring out more details than would be possible when developing normally. This will reduce contrast overall and still pushes the film just as much as regular push processing. I’d personally call that one a win-win. But there is a chance for some issues to occur (more on that down below).
Analog film developing is a chemical process. Most of the developing will occur at the beginning, but there are always more developable grains that can be found in the emulsion. Sometimes it just takes time for the developer to find them.
How does agitation affect color film?
Color films always require a couple more considerations than black and white films. For the most part, color films will follow the same principles as B&W, but with one key difference according to the Cinestill CS41 color developing kit instructions.
Agitation frequency shifts the colors in color negative films like Kodak Portra and Gold. Lower agitation frequency causes red shifts, while over-agitating causes blue shifts. Most color shifts are correctable with a scanner. But it’s always important to make tests before attempting to create color shifts.
On top of those color shifts, it’s also notable that over-agitated rolls will have higher contrast, and be slightly grainier than under-agitated rolls. If it’s done to an extreme effect, there will be a notable loss in highlight and shadow details on the color negative film. This is a very important consideration with analog photography, as the effects of pushing and pulling make far greater changes than they do in B&W film.
This is another reason why I often push new photographers towards developing black and white film, as they’re much more flexible than color. If something goes wrong, at least it’ll be easier to fix.
What can happen when agitation is done poorly

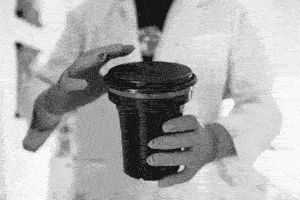
When I first started developing my own film, I followed The Art of Photography’s method of inversions to agitate film. It’s a simple process wherein you turn the developing tank upside down while rotating it 360 degrees. Doing this slowly helps gently swirl the developer solution around the tank, replenishing the exhausted solution.
But then over time, I got a bit lazy, and I saw a video from another popular YouTuber who showed a simpler method, where he just turned the dev tank upside down and back down to normal again. Technically, it works. And it’ll be alright for 120 film. But using this technique I almost ruined a couple rolls of 35mm film. What happens is this type of agitation is so severe that parts of the developer got caught in the sprocket holes. This left dark lines down the sides of the film, lining up directly with those perforated holes in the film. Aggressively shaking the dev tank will have the same effect.
It’s a ghastly sight that took a lot of work to fix in Lightroom and Photoshop. And in the end, it still wasn’t completely lost. In fact, if you read this blog often, you’ll likely see these images appear in multiple articles.
Problems with too little agitation
When you want to reduce or add contrast to the film, a little bit in either direction goes a long way. For example, if you have a 6 minute development time, and you don’t stop agitating the film that entire time, you’re likely going to have negatives that are far too dense.
On the other hand, if you barely agitate the film at all throughout that process, you’re going to come out with very thin negatives that are hard to print or scan. Another issue that can arise from under-agitation is called bromide drag.
Bromide drag looks like patches of uneven development that occur across a single image. This occurs as bromide, a byproduct of developing film, slows down the development as it sinks to the bottom of the tank. The cure for bromide drag is to properly agitate film when developing.
This is one of the bad side effects that can happen when you stand develop film. But it can also happen if you properly agitate the film for the first two minutes, and then leave it sit for three or four minutes to check Facebook before coming back and inverting the film again.
So, if you’re reducing the amount of agitation to lower contrast, be sure to still agitate the film regularly. The best way to avoid bromide drag is to lower the amount of inversions that you’re doing, but still complete them every minute or so.
Problems with too much agitation
When you’re agitating the film too much, there are also some negative effects that can appear on your film. These issues are again best described by Troop and Anchell. Their book is an absolute bible for film photography, and is full of resources that simply cannot be found on the Internet.
Over-agitation reduces the amount of time the developer has to work on the negatives. This decreases the amount of edge effects — a process where diffusion causes developer to seep through the grains, increasing the sharpness in a small area.
As a general rule, it’s common to expect the image on the negative will be less sharp, will increase the chance of streaking, and will create a higher contrast when agitating too much.
As always, the best way to ensure good results every time is to test different methods of developing beforehand. Over time, you’ll learn the formulas that work best for you, and what risks are simply not worth it.

By Daren
Daren is a journalist and wedding photographer based in Vancouver, B.C. He’s been taking personal and professional photos on film since 2017 and began developing and printing his own photos after wanting more control than what local labs could offer. Discover his newest publications at Soft Grain Books, or check out the print shop.
Trying constant agitation at the moment , using an old Sima roller with a Paterson tank.
The increase in development times is not , yet, apparent and with dilute developers at 1 :3 the ‘agitation’ is not noticeable..
TB
Thank you very much for the article!