I first shot Japan Camera Hunter StreetPan 400 just before the Coronavirus pandemic hit. I moved across the country and went on a quest to find the best camera stores. One of them had this interesting roll of film that I’d heard of in passing, but didn’t think was available in Canada. I picked up a roll and immediately fell in love.
If this is your first time reading about it, here’s a rundown of what this film is all about.
Japan Camera Hunter StreetPan 400 is a sharp, medium-grain ISO 400 B&W film with a two-layer emulsion, extended infrared sensitivity, and an archival polyester film base. The film, released in 2016, was originally designed for traffic cameras, and is meant to reveal sharp detail through fog and haze.
I’ve made the mistake of always saving this film for special occasions. Which meant during the pandemic, that I didn’t get to shoot it as much as I’d like. But after learning how acetate films are not as archival as polyester, I decided to stock up and make this film one of my go-to stocks in my collection. When you’re looking for a film that’ll give you moody results, there is no better option available than StreetPan 400.
Here’s what I’ve learned from shooting this film over the last year.
Who is JCH StreetPan 400 for?
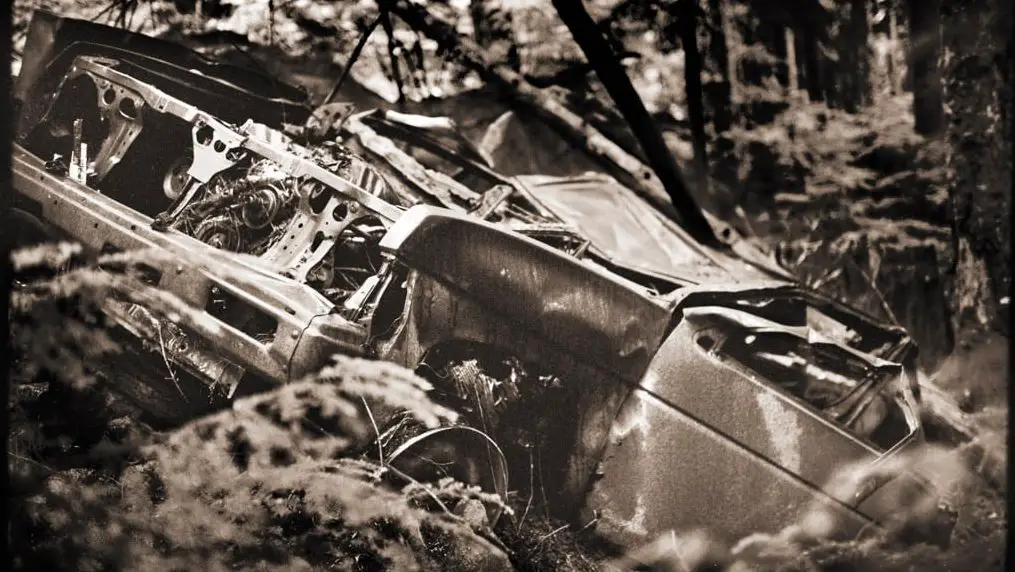
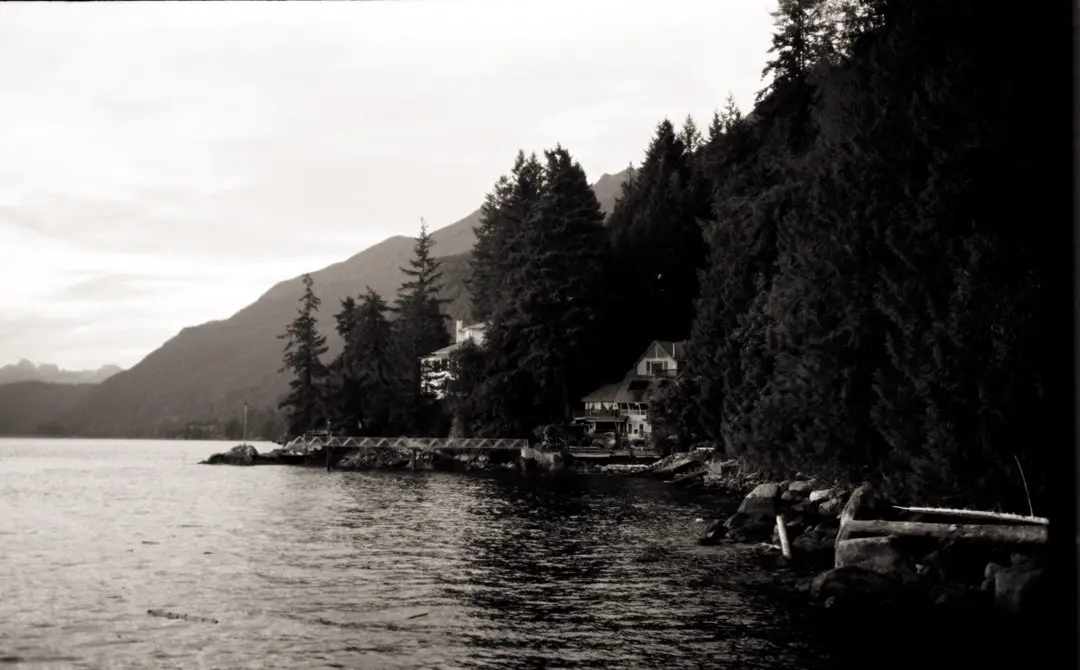
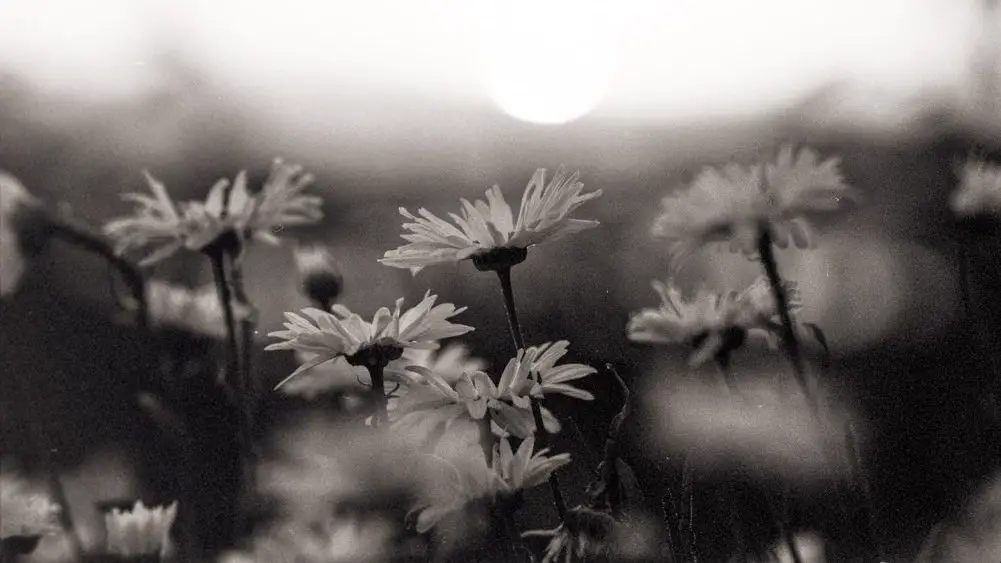
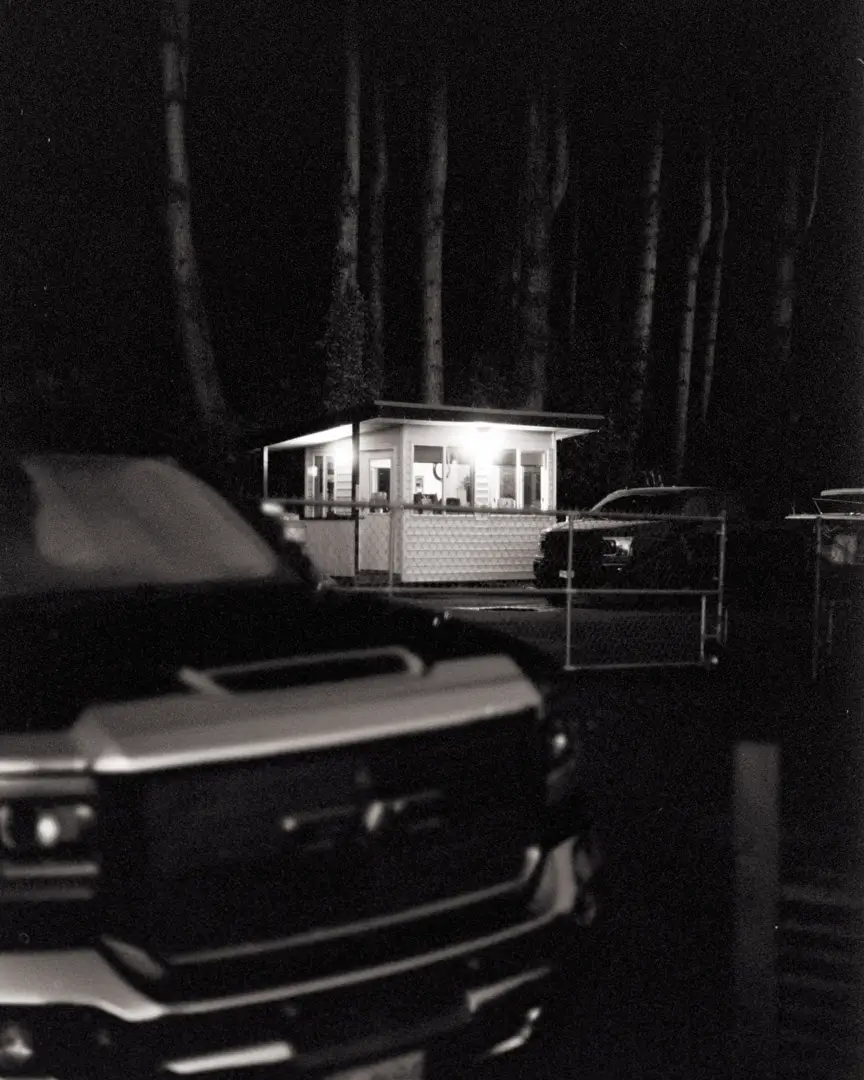
Japan Camera Hunter StreetPan 400 is the perfect film choice for street, portrait, and landscape photography at sunrise and sunset. The extended IR range on this film allows it resolve fine details through fog, haze, or at sunrise and sunset when other film emulsions struggle to produce dense images in red light.
JCH StreetPan 400 is a favorite film of mine for portraits, because it always seems to capture skin tones brighter than other film stocks. In flat lighting, this film can be developed a little longer to add contrast, but it is also has a surprising range when shooting in low light condition. On the street, this film excels at capturing moody, Dave Heath-style portraits, because it is exceptionally sharp, even when capturing portraits of distant subjects.
Golden hour is another place where this film stands out from the rest. The extended IR sensitivity means that this film will gather more detail when the sun is low in the sky, where others might require some over-exposure.
Over-exposing JCH StreetPan isn’t necessary. But doing so will result in finer-grained negatives with more details in the shadows. Japan Camera Hunter claims that the film can be exposed anywhere from ISO 200-500 while producing good results. However, there is no available technical data sheet to confirm this.
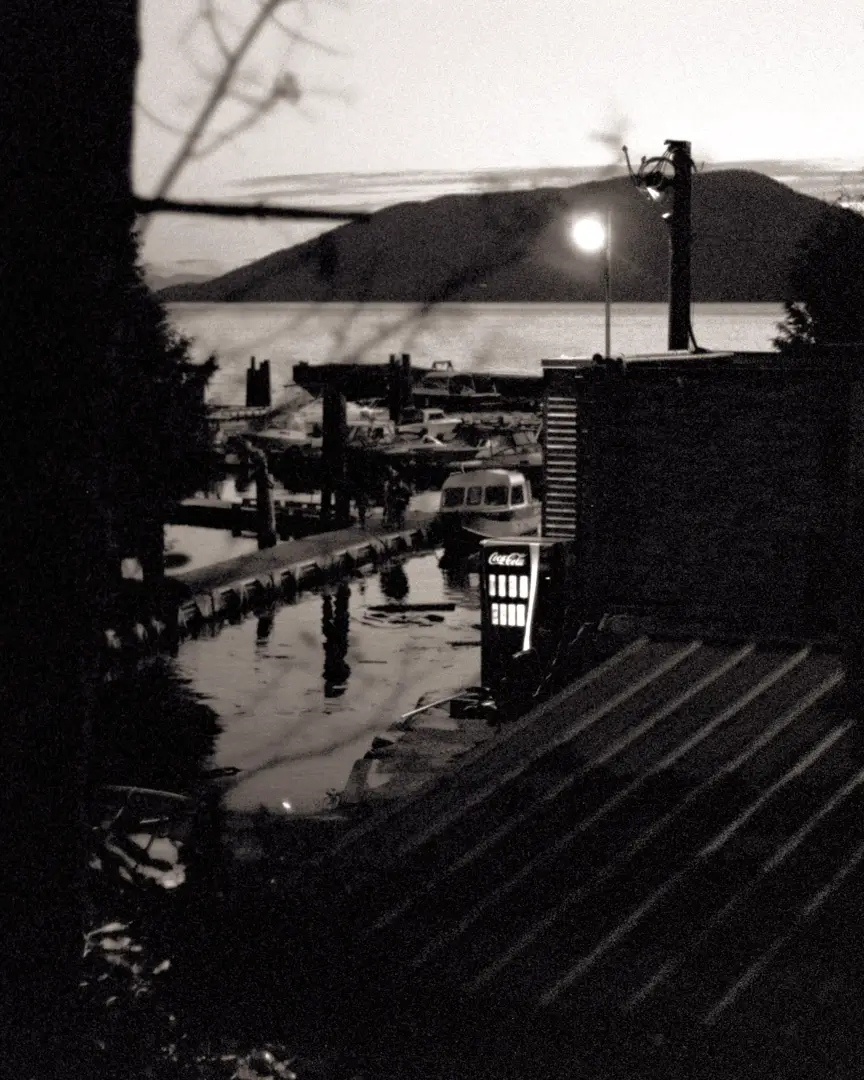
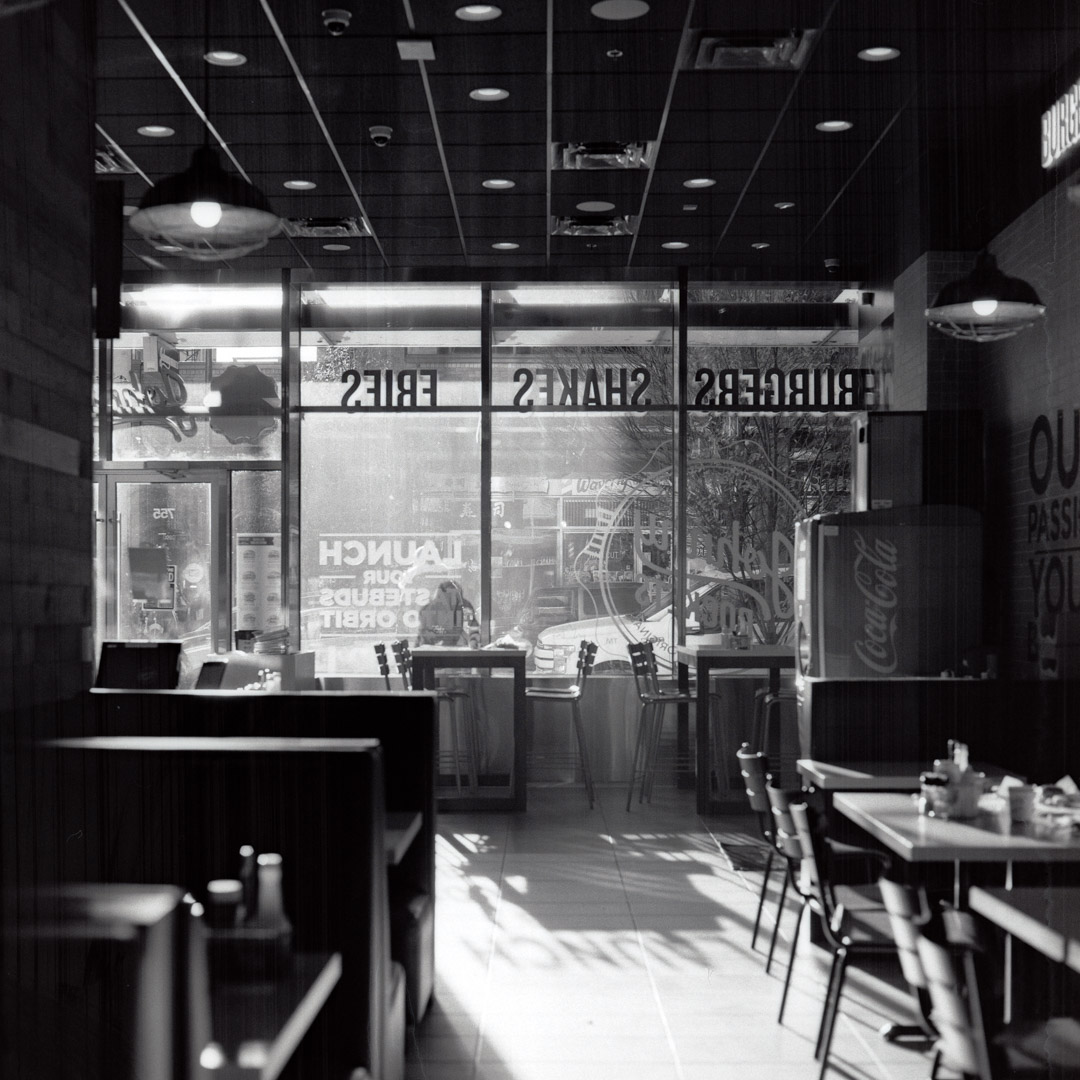
The HDR scan on the right shows how incredible the overexposure latitude of JCH StreetPan 400 is.
Is Japan Camera Hunter’s dynamic range really all that bad?
I’ve had to update this article, because I previously believed that JCH Streetpan 400 didn’t have all that much highlight sensitivity. But after doing a thorough test, I’ve proven that wrong. This film actually has an incredible amount of overexposure latitude, capturing far more recoverable details in the highlights than previously thought.
To test this, I metered the above shot for the shadows, which completely bricked the highlights on the film, resulting in what appeared to be a giant black blob in the center of the frame. But knowing that film tends to capture a lot more detail in the highlights than in the shadows, I scanned this film using my DSLR camera setup taking 5 photos between 0.5 seconds and 30 seconds using f/8 and ISO 50 on my Sony A7III. The exposures had a difference of 6 stops, with the lowest exposure being mostly underexposed, and the longest exposure being almost completely overexposed minus the sign.
For the single image scan in the comparison, I chose the exposure that showed the histogram slightly to the right of center. According to my chat with Nate, the creator of Negative Lab Pro, overexposing the scan slightly will make for sharper, more versatile images when converting negatives.
The film was shot at ISO 400 using my Canon EOS 630, and developed in Ilfotec DD-X.
The photo on the left is a single exposure in the middle of the range, while the image on the right is the 5-shot HDR image. By showing these two images side by side, it’s easy to see how much detail is able to be brought out of a single 35mm negative. For more information on when to use an HDR DSLR scan, check out this post takes a detailed look at the positives and negatives of DSLR film scanning.
After combining those photos in Lightroom, I came out with an almost perfectly flat negative that included all of the details in the lit up sign in the middle. The result is completely counter-intuitive to what the critics of this film say.
That said, the underexposure latitude of this film is not as strong as the overexposure latitude. The film tends to drop off in the shadows much faster than other professional brands like Kodak Tri-X or Ilford HP5.
What are the best developers for Japan Camera Hunter StreetPan?
The overall best developer that I’ve used for JCH StreetPan is DD-X. Personally, I find DD-X always brings out incredible shadow details in film, and it’s no different with this one, even though it’s more contrasty than most.
If you want to push this film, the only developer that has a published formula for a 2-stop push is HC-110. But if you’d like to try it with a different developer, it’s standard practice to add 30% to the developing time for every stop of pushing. With that in mind, it would be possible to push this film 1 stop in Rodinal by developing for 13.5 minutes at the 1+25 dilution instead of 10.5 minutes for box speed.
When pushing large amounts, the best practice for contrasty films like this is to use a larger dilution and stand develop the film. Stand development using a weak developer solution like Rodinal 1+100 for two hours will result in lower contrast, as the developer will exhaust in the highlight regions while continuing to develop in the shadows. To learn more, take a look at this article where I pushed the contrasty budget film Kentmere 100 by 3-stops using stand development
For fine grain results, the best developers will be Xtol and DD-X. Using ultra-fine-grain developers, like perceptol, with a high-speed film like StreetPan will result in a loss of speed, and muddy details.
And when you’re looking to get the maximum sharpness and grain for a real classic street photography look, the best developer by far will be Rodinal. Rodinal is legendary for its shelf life, and the way it brings out the grain on film. The next best sharpening developer will be HC-110. HC-110 is technically a solvent developer, but when Dilution B (1+32) is used, most of the solvent action disappears, leaving behind sharp and contrasty negatives.
About the author of Learn Film Photography
Daren is a journalist and wedding photographer based in Vancouver, B.C. He’s been taking personal and professional photos on film since 2017 and began developing and printing his own photos after wanting more control than what local labs could offer.