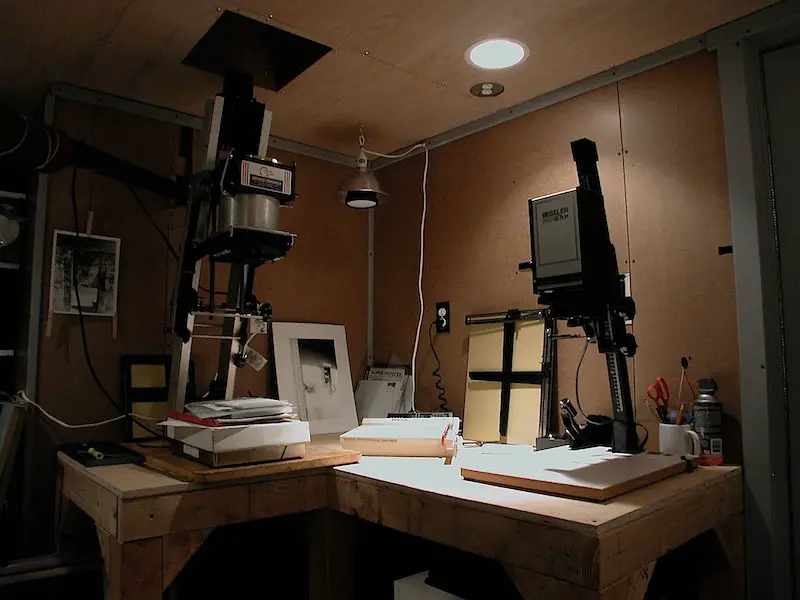
When I first started making my own darkroom prints, I didn’t play around with the aperture all that much, thinking it didn’t really make a difference. If I needed a bit of extra time for dodging and burning, I’d step it down a couple of clicks. But for the most part, I kept it wide open so that I didn’t fuss around too much with the printing times when switching negatives.
Over time, through searching on the forums and talking to other operators at my local darkroom, I’ve learned that the aperture setting on an enlarger lens actually does make quite a large difference in the final print. So what’s the best place to set an enlarger lens?
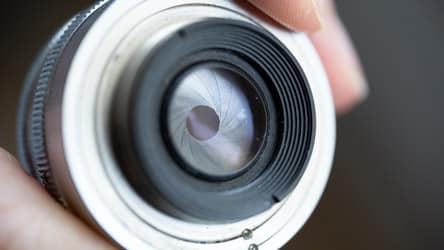
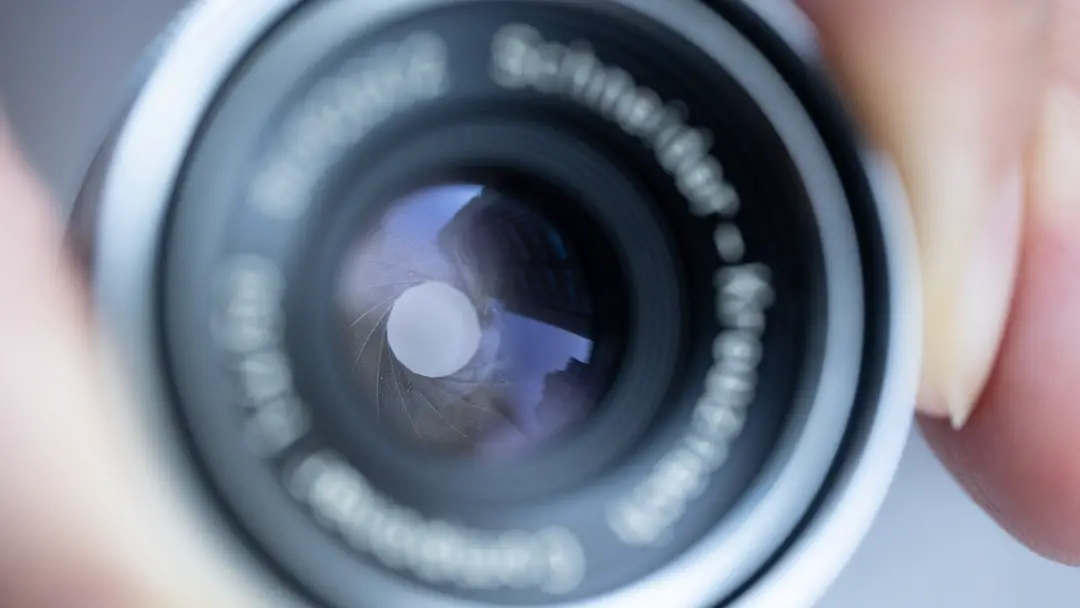
As a general rule, stopping down the enlarger lens one or two stops will create the sharpest images. Wider apertures may introduce vignetting and blur in the corners, while apertures smaller than f/8 will begin creating noticeable diffraction that will reduce image sharpness and contrast.
An enlarger lens works exactly the same way as a regular camera lens. It makes sense that the aperture will make a significant difference on the final result — especially when printing larger images from small negatives.
Does depth of field matter when printing?
One reason that many photographers will use smaller apertures is to get a wider depth of field. Stopping down the aperture on an enlarger lens will create a wider depth of field, but it doesn’t make a big difference when printing for one simple reason.
Enlarger lenses are designed to produce a flat focal plane like macro lenses. This means that so long as your paper is flat, the depth of field shouldn’t be an issue. But what can cause problems is vignetting and chromatic aberration, which are both reduced when using smaller apertures.
So the depth of field isn’t really an issue when it comes to printing — unless the enlarger head isn’t perfectly level with the base. If you notice part of the image is sharp and the other half is out of focus, then you will need to align the enlarger for best results.
That said, you still should stop down the enlarging lens aperture by a stop or two to solve any vignetting or chromatic aberration issues — you can always burn in a vignette if you want one later.
Use a wider aperture to get focus, then stop down
If you’re having a hard time focusing your image with a smaller aperture, the best thing you can do is to open the lens aperture to get more light. This will make it much easier when using a grain focuser to find the perfect spot. After finding the spot, you’ll be able to stop down the aperture again without losing focus.
These are incredible tools that’ll help you to focus perfectly every time. They work by magnifying the image so much that you can see the individual grains. When they appear sharp in the viewfinder, you’ll know the image is perfectly in focus.
How to calculate printing times when changing apertures
If you’ve spent time in the darkroom, you’ll know how much of a pain it is to set up test strips every time you make a change in the enlarger. Simple adjustments, like changing the enlarger height, or the aperture can completely throw off your exposure. For the longest time, I would simply print with the aperture wide open so that I wouldn’t have to bother making another round of test strips. But I recently came across a better way.
There’s a really simple technique for adjusting the exposure time when you change the aperture. It’s called the F/stop method, which was developed in 1987 by a photographer named Gene Nocon. It follows the same logic as changing the settings on your camera.
If you consider that changing your aperture from f/2.8 to f/4 decreases the amount of light passing through the lens by half, then you need to double the exposure time in the enlarger.
Does the quality of the enlarger lens matter?
Like the optics in a camera, there are always advantages to having better enlarging lenses. But when making small prints like 5x7s, 8x10s, or even 16x20s, any enlarging lens will do the trick. In fact, most enlargers that you can use at home won’t be able to make any noticeable difference between a middle-of-the-road and a high-quality lens.
When you’re buying an enlarger, the lens it comes with will typically be perfect for the job. A bigger, more capable enlarger will typically come with a lens that meets the quality of the machine. The only time these lenses require a change is when you’re switching to a different format. For example, 120 film should be used with a 75mm lens or longer, while 135 film works great with a 50mm lens.
But right now, enlarger lenses are likely the cheapest they’ll ever be. As this hobby continues to grow, the demand for the lenses will raise the prices at eBay as well as at your local antique film store. So if you are looking to upgrade, you can usually tell a better lens by the aperture. Most of the best lenses use an f2.8 aperture, while the middle-of-the-road varieties will have an f/4 aperture.
But if you’re not getting the results you’re looking for, it probably has more to do with technique than it does with the lens that’s being used. I recommend taking a class at a local darkroom. Many of them still exist in cities around the world, and they often come with communities that are more than willing to share their knowledge and advice. These facilities will also usually have some fantastic equipment — including enlargers with top-of-the-line lenses.
Does it matter if my enlarger lens is scratched?
Enlarger lenses don’t usually travel that often, so it’s relatively rare to find them scratched up. That is unless they were stored bulk inside of a crate without packaging. But if you do find a lens that has some scratches, will that affect your print?
A bit of scratching on an enlarger typically won’t cause any issues in the final prints. However, mold and balsam separation between the lens elements can be the cause of unsharp images.
If the enlarger that you buy at a garage sale shows any of these issues, it’s safer to just purchase another lens. Make sure to look up the specifications of the enlarger, as finding the right lens and mounting plate can be a challenge for some of the less popular models out there. Some enlargers also require you to switch mounting plates when you change the lens for either 135 or 120 film. Again, this can be a difficult and expensive ordeal if you’re searching for a rare enlarger. So it’s unfortunately sometimes cheaper to buy a whole new enlarger than to fix something simple.
Did you find this article helpful? Or do you still have questions? If so, we have a whole group of helpful film photographers over on Facebook! Come check out the Learn Film Photography Facebook group to keep learning more, or come check us out on Instagram!

By Daren
Daren is a journalist and wedding photographer based in Vancouver, B.C. He’s been taking personal and professional photos on film since 2017 and began developing and printing his own photos after wanting more control than what local labs could offer. Discover his newest publications at Soft Grain Books, or check out the print shop.