There are a lot of questions when picking up your first 35mm film camera. These machines don’t often come with an instruction manual, and can be difficult to figure out by feel alone. I remember asking all of these questions when I first started out, and I have friends who are just starting to ask these same questions again today.
Here are the top questions that new photographers ask, and some helpful guides on how to get started shooting film with your very first 35mm camera. If you have any questions that aren’t answered here, or if you would like to see a similar guide geared towards medium format cameras, let me know in the comments down below!
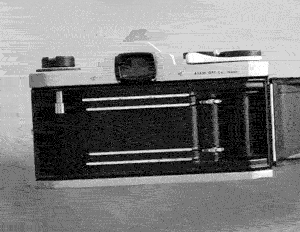
1. How do I know if there’s film in my camera?
The easiest way to know if there’s film still in your camera is to take a shot and advance the film. If you’re camera is a more modern version with an automatic film winder, you may need to put in a fresh battery and then release the shutter.
If it’s all mechanical, the simplest way to see if there is a roll of film in the camera is to look on the top left of the camera where the rewind knob is. If that rewind knob spins while you advance the film lever, then there will be film in the camera. If it stays still, then you can be certain there is no film in the camera.
2. How many photos do I lose if I accidentally open the camera when there’s film inside?
This happens to everyone at some point or another. I can tell you I’ve ruined a number of shots by accidentally opening the camera at an inopportune moment. If you quickly open and close the camera, you may only lose 4 to 8 shots depending on how far you opened the back, and how many images you took on that roll.
Luckily, the anti-halation layers coated on the back of film will protect the rolls from light for the most part. The edges of the film will be burnt a couple layers deep. But most of the shots will be safe — unless you keep the camera open for 5-10 seconds. At that point, every shot that wasn’t in the canister is likely ruined.
3. How do I test if the camera is working?
If you’re picking up a camera for the first time, the best way to know if it’s working is to open the camera back, cock the shutter, and let it release. Test this at a few different shutter speeds, and if it seems accurate, then the camera is likely working.
However, if it hasn’t been serviced for a while, the best move is always to take it to a professional to have it CLA’d. The process will cost some money, but it’s absolutely worth it to ensure the camera doesn’t break down on you when you need it the most.
Learn more about how to tests you can do when buying a film camera here.
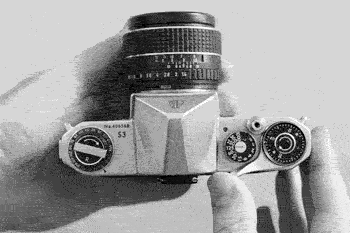
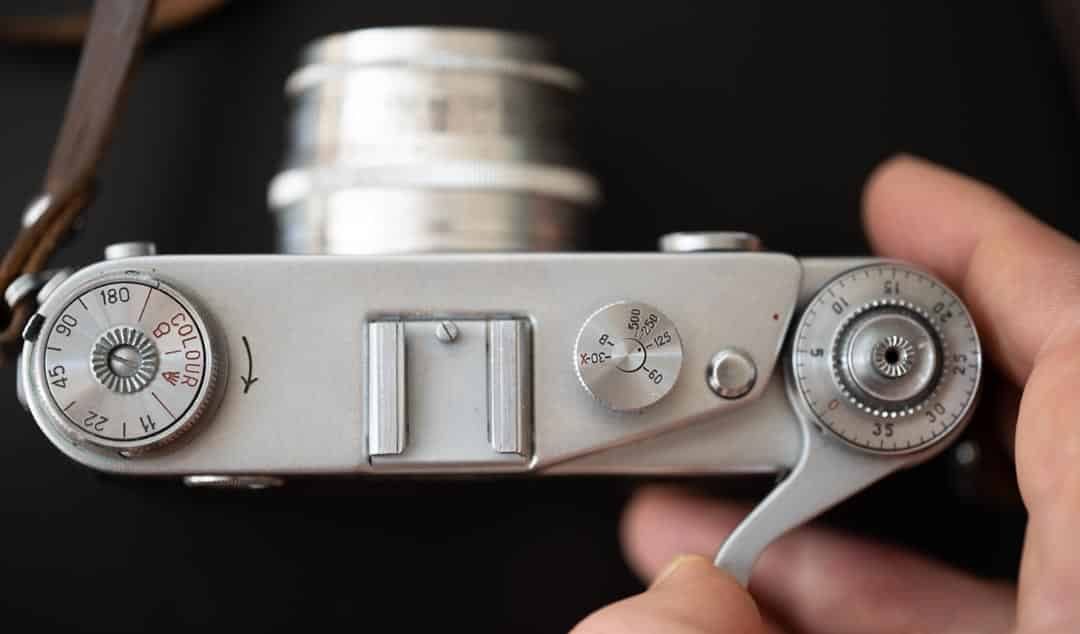
4. How do I rewind the film when the roll is finished?
First, make sure that you don’t over-tighten the film to get that last frame. No matter how close it is to the end, it’s not worth ruining an entire roll of film with stretch marks because you wanted an extra frame.
But once the film is finished, you can find the rewind button on the bottom of the camera, typically lined up with the shutter. Press this button to release the tension on the takeup spool, and then rewind the film with the rewind knob on the top right.
Pro tip: listen and feel for the moment when the film comes off the spool. If you can take it out of the camera before the tongue enters the canister, you’ll have a much easier time loading the film onto the developing reels.
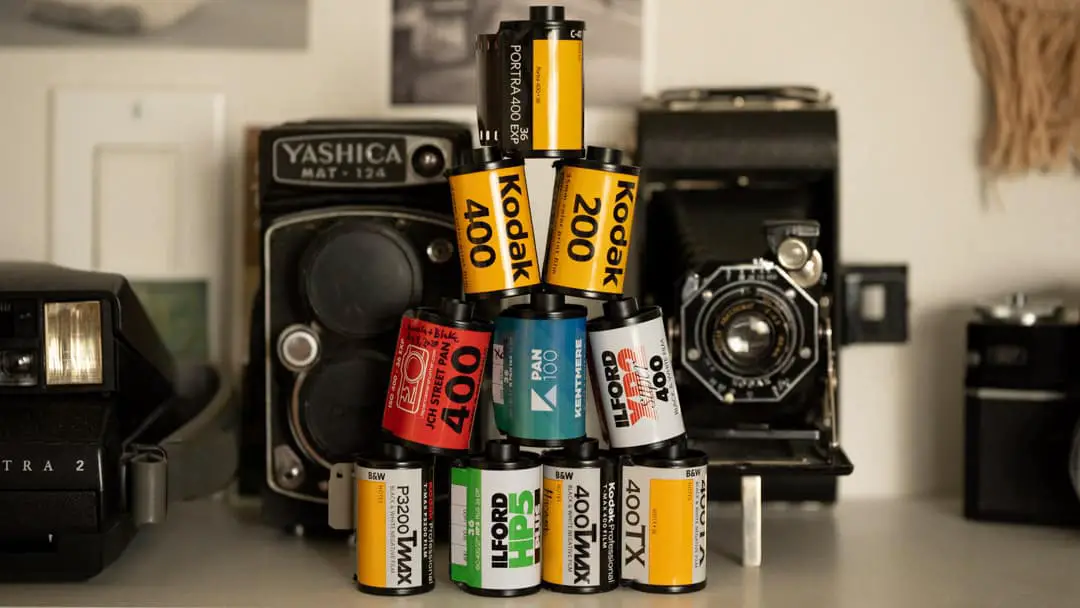
5. Which film should I buy for my first roll?
As a general rule, any 400 ISO film as a good place to start. Films at this ISO are the most flexible, and provide good results in almost any lighting scenario.
If you plan to develop the film at a lab, then any color film, or chromogenic B&W film like Ilford XP2 can be developed at any lab. Other black and white films are sometimes more expensive to develop, or not possible to develop at some commercial labs.
XP2 is actually an incredible film, with the widest exposure latitude on the market, making it by far the most forgiving roll for new photographers. It tolerates 2 stops of underexposure and an incredible 6 stops of overexposure and still produces good negatives even when all those values are shot on the same roll. Find this film for the best price on Amazon, here.
If color film is your thing, then Kodak Ultramax is the perfect film to start with. This film is grainier than Portra and Ektar, but it’s saturated in a way that gives everything you look at a beautiful warm glow. The 400 speed makes it a perfect, all-around daylight film with incredible range at sunrise and sunset. If you want all of your shots to look like they were shot on a California beach, this is the film for you.
If you plan to develop the film yourself at home, Ilford HP5 or Kodak Tri-X is the perfect place to start.
If you’d like to know how to choose B&W film stocks, I’ve written an extensive article about all of the most popular ones here.
6. How do I load film?
Every camera has a slightly different loading procedure, but all 35mm cameras follow the same general rules.
Looking from the back of the camera: the film door will open with a latch on the left side, where the film canister will be inserted onto the rewind spool, with the bottom side of the canister facing the top.
Then, grab the film leading and pull it out with enough space to go through the take-up spool on the right side.
Some cameras will have a takeup spool with a hook, while others will have a space to insert the film leader through the spool. Once you have the film inserted properly, advance the film once with the lever, or twice with a film advance dial to ensure the film stays securely on the spool.
If the film isn’t securely attached, it may not advance, causing the roll to come out blank.
7. How do I know what shutter speed to use?
Choosing the right settings on a camera without a light meter can be hard off the start. The simplest technique that doesn’t require any
Additional tools is to use the Sunny 16 rule.
The rule is as follows: on a bright, sunny day, set the aperture to 16, and then match your shutter speed to the ISO of the film stock. So if you’re shooting ISO 400, then a shutter speed between 1/500 and 1/250 will expose the film properly.
If the sky has some clouds, turn that aperture down to f/11, and if it’s completely overcast, or during early evening, go down to f/8. Later at sunset, f/4 is ideal.
Film has a very wide exposure latitude, and can easily tolerate a little underexposure, and a lot of overexposure. So it will usually come out well exposed using this rule. But it’s always safe to err on the side of overexposure.

What apps/light meters do you recommend?
The app I’ve found most reliable is Lightmeter tools – trial on Android. The application isn’t as stable as some of the more frequently updated applications, but it’s the only one I’ve found with a spot meter that also accounts for Neutral Density filter use.
If you want a dedicated, reliable Lightmeter to add onto your camera, Reveni Labs is one of the latest companies bringing new and affordable light meters onto the market. The designs are innovative as well as practical.
8. How long can I wait before getting film developed?
The sooner the better, and here’s why:
When film is exposed to light, the latent image is stored by excited electrons moving onto a different space on the grain, called a hole. If enough electrons make it to the holes on the grain, that grain will become developable.
If the latent image is left for a long time, those electrons can migrate. That means some grains that were previously developable may become undevelopable, and vice versa.
This effect is particularly damaging in the shadows, where there are fewer developable grains.
That said, how strong this effect is is anyone’s guess. Modern films are designed for latent image stability, and can likely go for 6 months or more without suffering a noticeable loss in shadow detail.
So, that’s a long way to say the sooner the better, but if you have to wait some time to develop a big batch of film, it won’t be the end of the world.
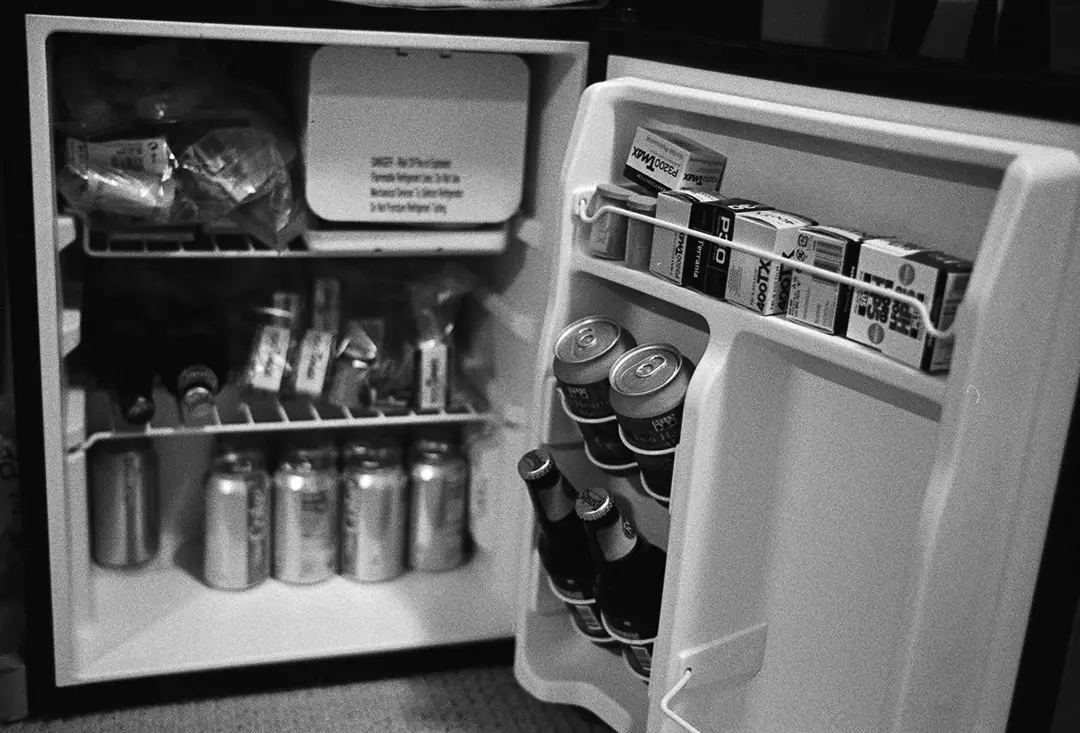
9. How do I store film?
Color film should go in the fridge, or in the freezer when you plan to keep it longer than 6 months. B&W film, on the other hand, can be stored at room temperature.
This is because the undeveloped color layers of film are the first to break down.
Keep the film away from common household cleaning and maintenance products, like glass cleaners, mothballs, and furniture polishes, as these products can release vapours that break down film.
10. How do I store developed negatives, and how long do they last?
Developed negatives should be stored in acid-free archival storage sleeves. The best place to store the negatives is in a micro-perforated box that will have some air flow. Containers that trap air in, like tin containers or fire-proof safes can actually speed up the decomposition of film, as it traps in any acids that off gas when breakdown starts.
Acetate film typically lasts 40 years before it starts to break down at 20 celsius and 50% relative humidity. Higher humidity will cause film to break down sooner.
When film starts to break down, it will give off a vinegar smell. If you smell this, immediately remove the negatives from the collection that are giving off this scent, as it can speed up the breakdown process of other negatives around it.
For more information on how long film lasts, and which ones last the longest, I wrote an extensive article using research from the top scientists in the field here.
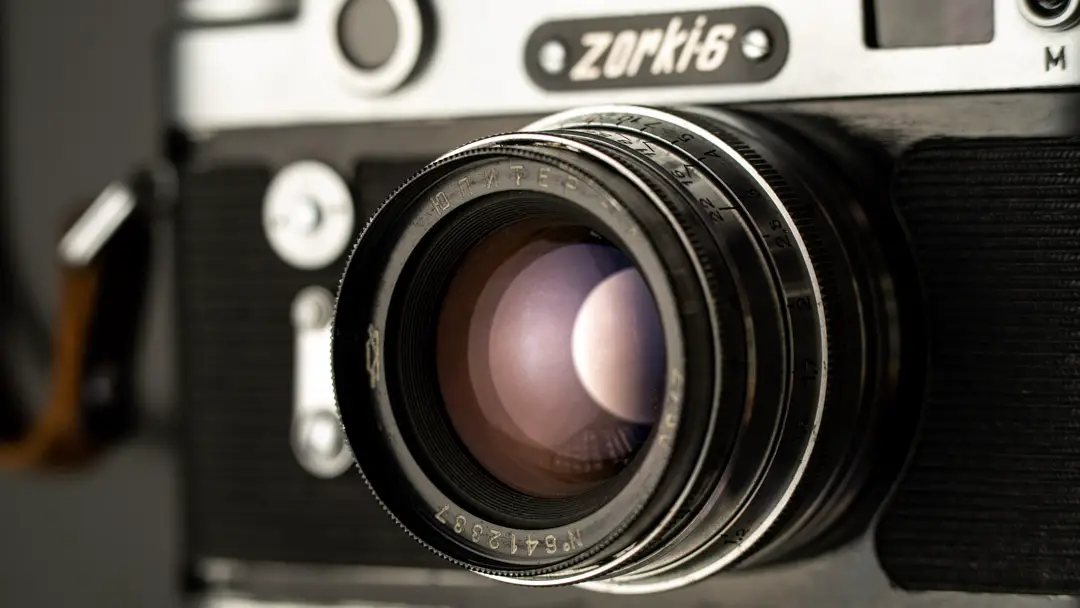
11. What’s the difference between a rangefinder and an SLR?
The simplest example is that a rangefinder has two screens on the front — a focusing screen and a viewfinder. Where an SLR has only one viewfinder and a mirror that reflects the image upwards.
Rangefinders are cool, simple, lightweight, quiet, compact and fun to use. SLRs are all of that, but they require less maintenance, and are a bit noisier overall because of the mirror. SLRs became the most dominant cameras on the market because they were the most reliable when focusing, and have the benefit of showing the actual image as it will appear on the film.
Most modestly priced film cameras on the market will be SLRs. The good, reliable rangefinders often come at a high price.
12. Where can I find a good film camera?
The easiest place to find a reliable film camera for cheap is in your parents’ attic. Otherwise, thrift stores and many camera stores do still carry film cameras. They are getting more and more expensive, however.
If you know the kind of camera you’d like, searching on a site like KEH can give you peace of mind, knowing that there is a guaranteed 15 day return policy if anything goes wrong.
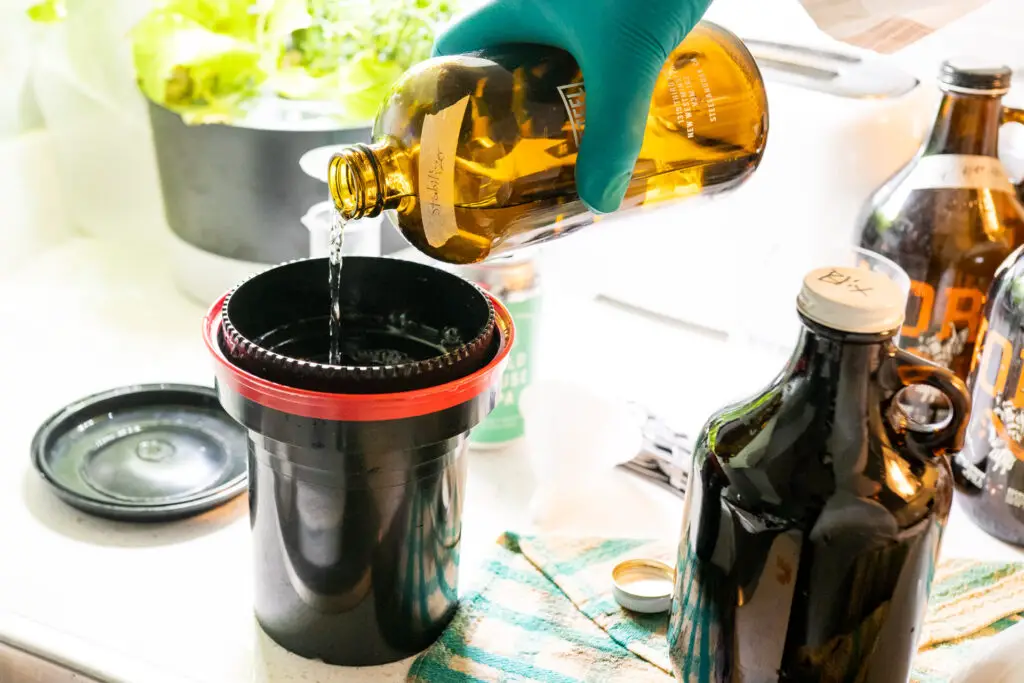
13. Should I develop film at home or at a lab?
If you’re new to film photography, it may be better to get your first rolls developed at a lab. That way you’re most likely to get good images without having to invest in a scanner and other gear.
But, when you’re sure this is something you want to do long term, there are plenty of cheap ways to get into film development at home. The process is surprisingly forgiving and easy to do.
That said, home developing is only cheaper if you shoot more than 20 rolls in a single year. Any less, and it will be overall a better option to have them developed at a lab.

By Daren
Daren is a journalist and wedding photographer based in Vancouver, B.C. He’s been taking personal and professional photos on film since 2017 and began developing and printing his own photos after wanting more control than what local labs could offer. Discover his newest publications at Soft Grain Books, or check out the print shop.