If you’ve ever bought a color film developing kit, one of the first things you’ll notice is that the rated capacity may be lower than you’d like. For example, the rated capacity of the popular Cinestill CS41 Quart (1L) kit is only 8 rolls.
If you’re like me, you’ll want to get the most film developed for the money. I’ve developed hundreds of rolls over the years, and have extensive experience pushing these kits to their limits.
Here are my top 6 tips for extending the capacity of color-developing kits. Using these, you’ll be able to get more than the rated value out of any color film home developing kit, including Cinestill CS41, Arista, Unicolor, Flic Film (with separate bleach and fix), or Tetanal kits in both liquid or powder formats.
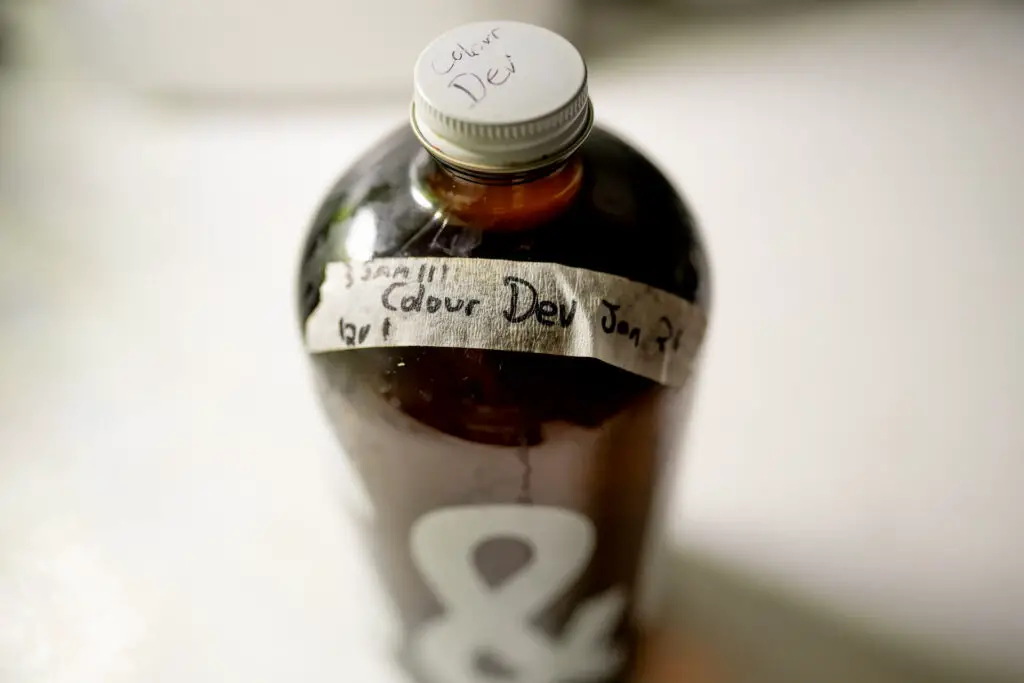
1. Store the chemicals in air-tight glass bottles
Glass bottles are the least porous and have the best possible seal when full. These will ensure that no oxygen gets into the developer solution so that it doesn’t break down over time.
Make sure to always fill it to the very top of the rim — even if you have to use tap water (distilled is better), it’ll still be better for the developer than allowing air to oxidize the solution and render it useless.
The type of glass bottles I recommend are wide-top growler bottles from your local brewery. Not only will you get to take home some excellent beers, but these bottles are designed to hold the beer fresh for as long as possible. Wider tops will allow you to pour the solution faster, which can help ensure your negatives develop evenly.
The bottles also typically have cool designs, so if you get them from multiple breweries, you’ll have an easy time differentiating the bottles during development. And the brown color means sunlight won’t be able to penetrate through the solution. Read more about these storage bottles in this article about making developers and solutions last as long as possible.
If you can’t get them from a brewery or need faster delivery, you can find this same type of bottle on Amazon here.
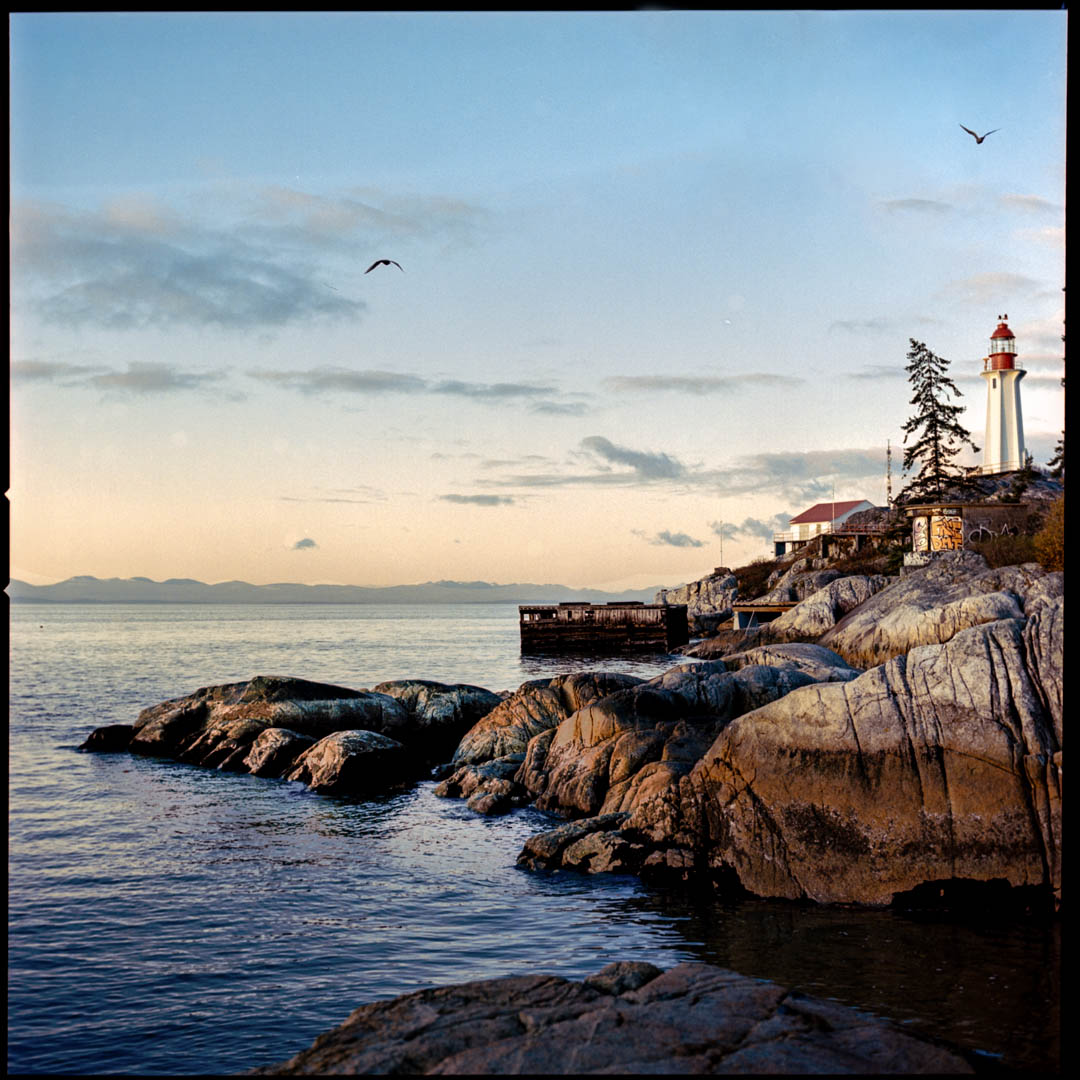
2. Mix the chemicals with distilled water
Using distilled or demineralized water helps to reduce the number of contaminants that can ruin the solution over time.
The solutions are rated to last 1 month assuming the use of tap water. In most places tap water is fine. But distilled or demineralized will always help keep the solution fresh — especially if you top the bottle up to the top after every developing cycle since a little is usually lost.
If you’re trying to save money, you can use distilled water for the developer only. The developer is the most sensitive and is the main chemical that affects the quality of results. The blix is relatively stable in comparison.
In a pinch, the cold water from your tap will have fewer contaminants in solution than hot water, since cold water comes straight from the source.
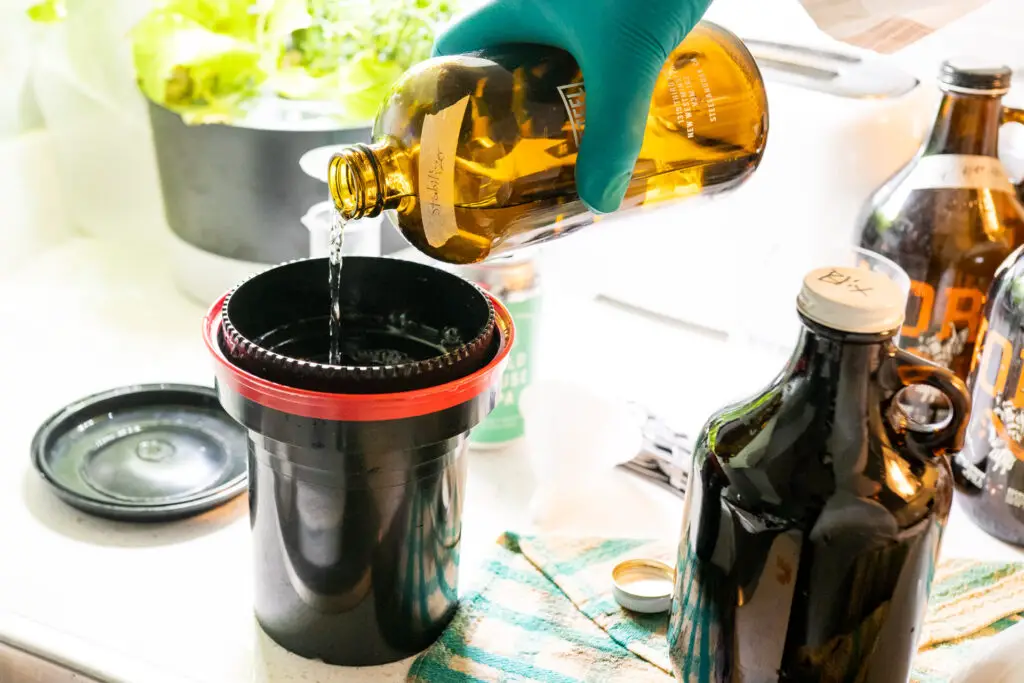
3. Rinse or use a stop bath after the developer
This tip isn’t talked about much, and it’s not in the instruction manual for blix kits, but it’s one of the most vital for a C41 Developing kit’s longevity.
The blix (or separate bleach and fix in Flic Film’s kit) is slightly acidic while the developer is slightly basic. That means if you dump the blix into the tank that just had developer, you’re going to alter the solution’s pH and make it less stable.
So to ensure the blix is more stable, a water bath is enough to neutralize any remaining water inside the developing tank, though two rinses or using a stop bath (the same ones you use for developing black and white film will do) will remove more developer than a single rinse.
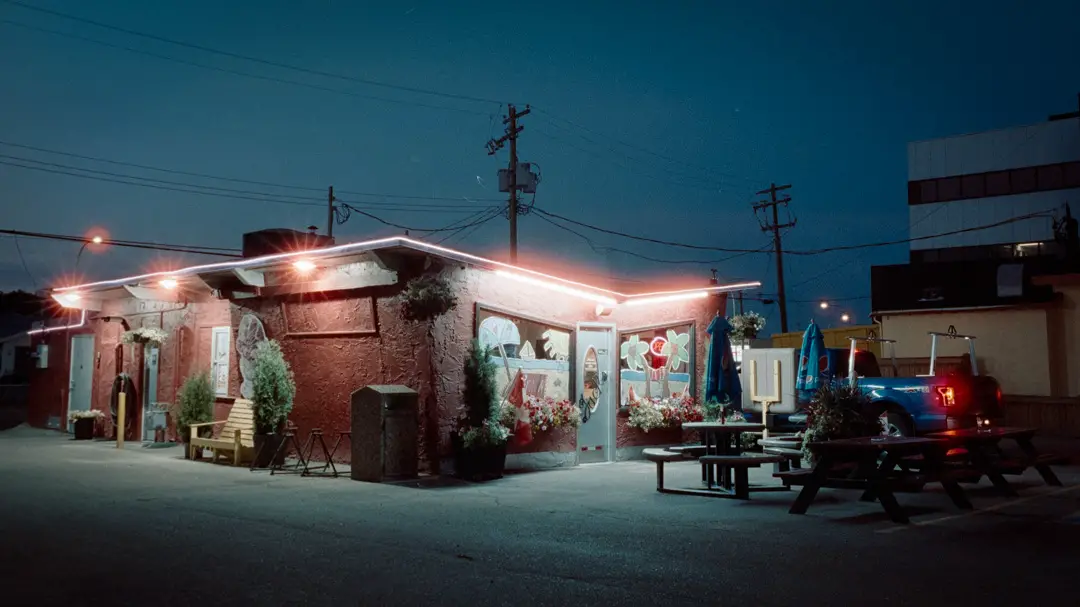
4. Use the kit within 1 month
C41 kits are less stable than black and white film developers. This is partly because the chemicals need to be used at a warmer temperature, and go through much more reuse than B&W chemicals.
Over time, the developer will have a lower developing action, which can leave you with slightly thinner negatives. So the best way to get the most out of a C41 kit is to develop as many rolls of film as physically possible in a short amount of time.
I personally like to use my kits within a week or two at the most. Since the C41 process with a blix kit is so quick, I can usually get through the rated capacity of a developing tank within a day or two. Then after that it’s just a matter of processing any other rolls I can when time allows.
To make this happen, I usually buy a blix kit once every 3 months and save up the color film until I have enough for a developing cycle. Even though Kodak advises users to develop film quickly after shooting, I still find the results are more than acceptable using my strategy.
5. Add 2% to the developing time after each roll
This is a big one for getting consistent results. As you develop film, there are fewer active developing agents present in the solution, meaning you’ll have to allow more time for the development.
As a general rule, you should add 2% to the developing time after each roll of film developed. That means after developing 6 rolls of film, you’ll have to add 12% to the developing time.
To do that, simply multiply the standard developing time of 3.5 minutes by 1.12, giving you a developing time of 3.92 minutes, or 3 minutes and 55 seconds. (Get the seconds by multiplying 60x.92).
This additional time becomes especially important after you pass the rated capacity of the kit. I also like to extend the blix time by a couple of minutes for safety, but it shouldn’t be as necessary as extending the developer.
6. Develop your film at the optimal temperature
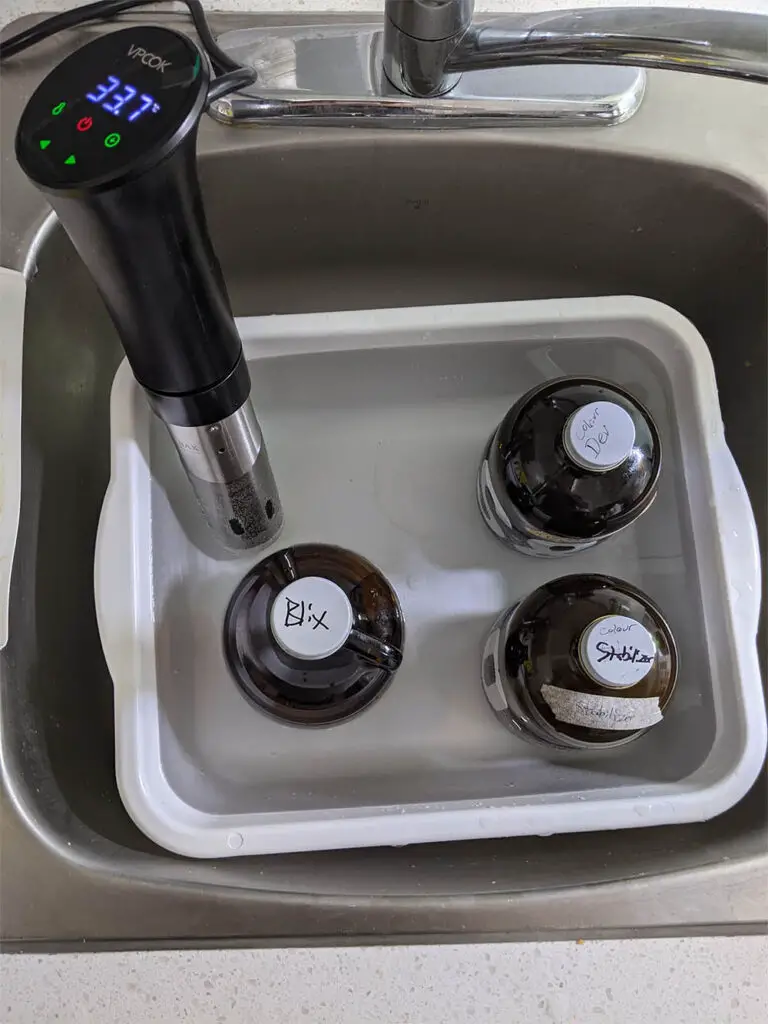
It is absolutely possible to develop film in cold water, but you’ll have the best, most reliable results when developing it at the optimal temperature as outlined in the kit. This doesn’t necessarily extend the life of the chemical, but it does ensure that the results are consistent from roll to roll.
Most kits require the film to be developed at 102°F (39°C), which, while slightly lower than the hottest temperature out of the average sink, still typically requires a more stable way or maintaining temperature like a water bath or an inversion circulator (also known as a sous vide).
Here’s the right sous vide for you on Amazon.

What happens when you use a blix kit beyond it’s capacity?
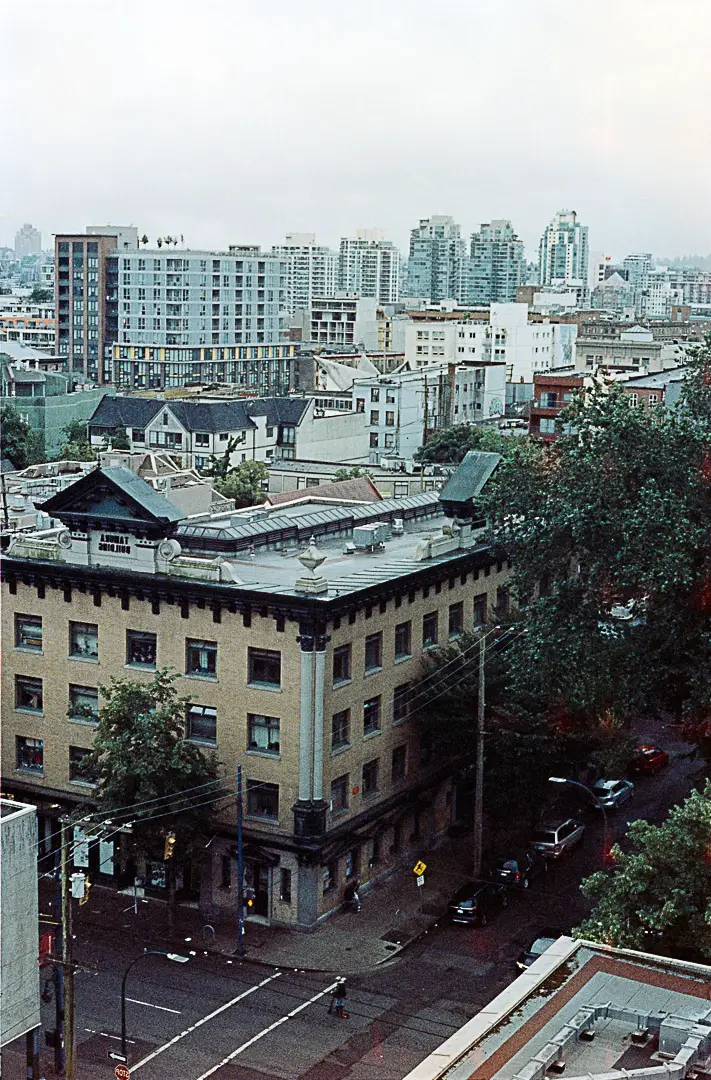
While it’s hard to truly quantify the difference between the rolls as you keep using the blix kit, there are some subtle differences. To test this, I shot an entire roll of Kodak Portra 800 in 35mm with the same image, and then developed sections of the film with the first round and the 9th round of using this developing solution.
The biggest difference is that the more you use the developer, the thinner the negatives will be. Even though you extend the developing time, there will still be a loss in potency over the long run.
The next result is that the film can start to become slightly more magenta as you can see in the example above. The first roll was more neutral, while the later one had a surprisingly nicer warmer tone. Surprisingly, I didn’t notice any reduction in shadow detail, though I’d expect to see this effect using the developer for more rolls.
As it stands, the small differences are easy to fix in the scanner, Negative Lab Pro, or even in the darkroom.
Final thoughts
Using these techniques, it’s easy to develop more rolls than the rated capacity of the average color film developing kit without noticing much, or any, difference in the quality of negatives produced.
Over the years I’ve developed hundreds of rolls using these kits, and even after going beyond the rated capacity, I have always come back with good results (when I didn’t mess up — you can see all the times I have here). Having the ability to develop film at home is such a great way to save money so you can keep shooting film and developing your own style.

By Daren
Daren is a journalist and wedding photographer based in Vancouver, B.C. He’s been taking personal and professional photos on film since 2017 and began developing and printing his own photos after wanting more control than what local labs could offer. Discover his newest publications at Soft Grain Books, or check out the print shop.

Thanks, really helpful article