Scanning Polaroids is a difficult task, full stop. When I first started scanning Polaroids, it was easy to feel like there was just no way to create a perfect scan without running into reflections, or images that were unsharp because of the subtle, natural curves in the Polaroid itself.
I swear mirrors are less reflective than whatever it is they put in front of a Polaroid image. And no amount of perfectly-balanced light will allow you to create a precisely even image.
The difficulty of coming up with a good setup almost feels like it was built into the Polaroid vision of the medium itself — giving them an image that is utterly impossible to recreate. But, like all good stories, we can beat the evil Dr. Edwin H. Land’s intention using a few key strategies.
I was tasked with scanning nearly 100 Polaroids for a photo book project that’s coming up on LearnFilm.Photography, so I had to learn the right technique in a way that was repeatable and easy to set up.
In this article, I’ll show you my foolproof method of scanning Polaroid images using a DSLR camera.

Equipment used in this guide
The setup for scanning Polaroids is fairly simple — there’s no need for holders or fancy lights like the ones that are needed for scanning negatives and positives. Here’s what I’m using to achieve awesome results when scanning film.
DSLR Camera: Sony A7III (any digital camera will do, although having a remote shutter release is a major help).
Lens: Sigma Art 70mm f/2.8 macro (Polaroids are large — nearly any lens will give good results).
A 5×5” piece of museum glass, or ANR glass: get this cut for you at nearly any local framing store.
A copy stand, or tripod with reversible or horizontal head. Brands like 3-Legged Thing, Peak Design, and Manfrotto all make tripods that have these kinds of built-in functionality for scanning negatives and Polaroids.
Step 1: Set up underneath a desk or table away from direct light
There is nothing more frustrating than moving a Polaroid all over the room looking for that one perfect spot where it doesn’t reflect, only to align your camera and find a nasty reflection. Again, not even mirrors can pick up this many reflections.
The only place I could reliably scan a Polaroid image is underneath my desk or table. During the day, it’s easy to scan a Polaroid using just the natural indirect window light as a source — so long as there was no direct light overhead.
This is the secret sauce that’ll help you create a reflection-free image every time.
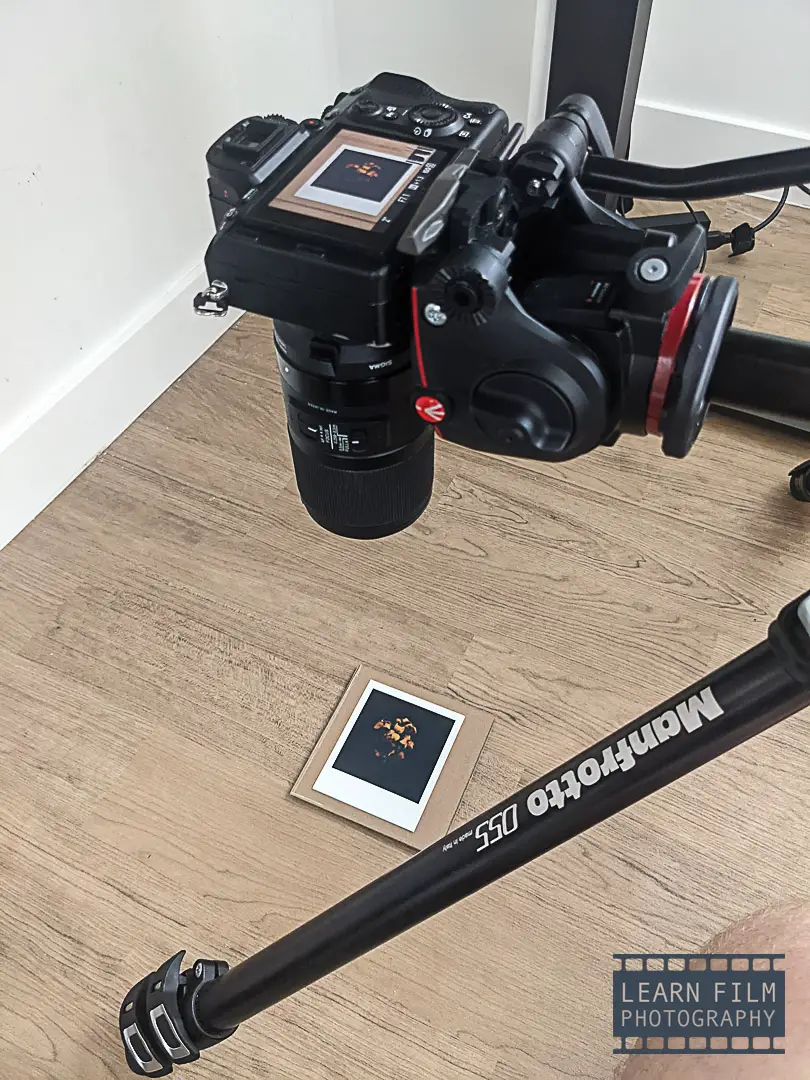
Step 2: Use a tripod
While scanning Polaroids in the shadow under the desk using ISO 50 and f/7.1, I was able to create a perfectly exposed (and glare-free!) scan with a shutter speed between 0.3 and 2 seconds. These speeds necessitate the use of a tripod.
I used the Manfrotto MT055XPRO3, which has a horizontal arm and a video head (ball heads will not be possible to achieve perfect alignment) to easily create images without any natural shadows. The horizontal arm meant that I could place the camera away from the tripod legs, in case there were any slight shadows from the window light.
Although under the desk has not made my top 10 list of the best places to sit, there are a few ways to make the process more bearable. I highly recommend having a pillow nearby and using a remote shutter release so that you don’t have to contort your body every time you take a photo.
I personally used the Sony Imaging Edge app on my phone to control the camera and to aid in focusing. That way, once the setup was complete, scanning was a breeze.
Step 3: Keep the Polaroids flat with ANR or Museum glass
The closer you get to the Polaroid, the smaller the depth of field is. And that small curve in the Polaroid image is just enough to throw at least 60% of your image out of focus, even when using a small aperture like f/8 or f/16.
Since the curvature is also different in every Polaroid, you’re going to want to find a good method of keeping the images flat so that you don’t have to re-adjust the focus every scan you make.
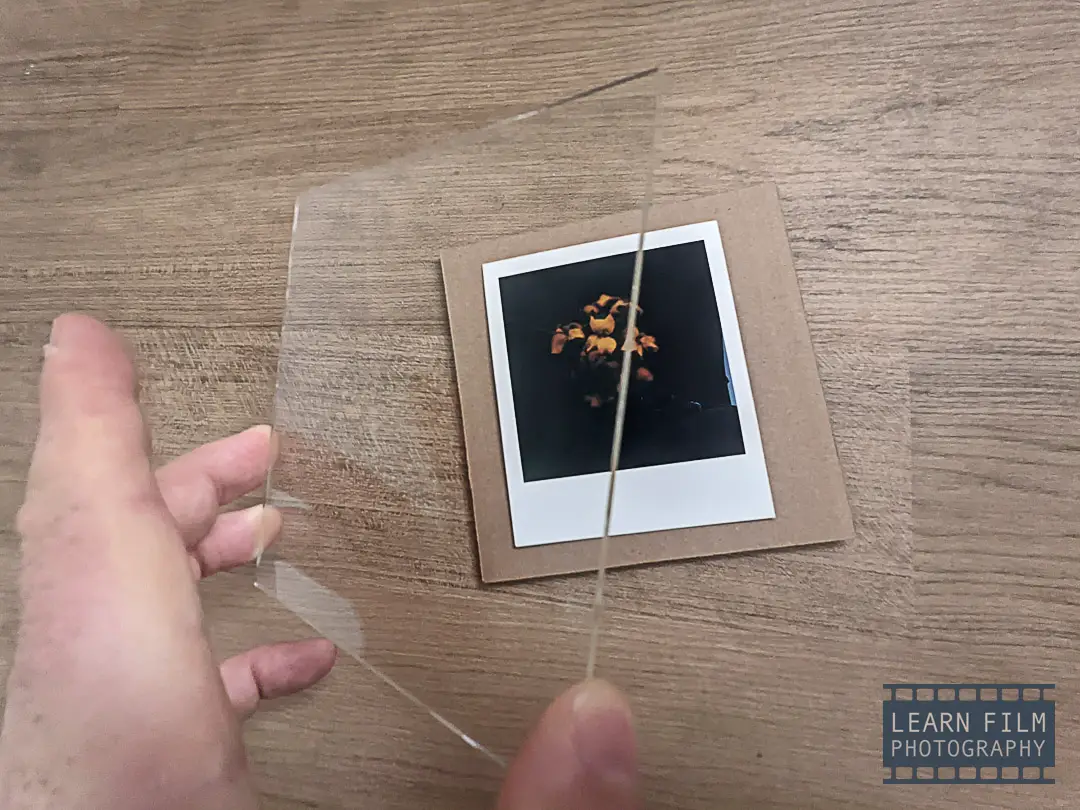
The easiest way to scan a perfectly-flat Polaroid is to use a piece of anti-reflective glass. There are two main types — Museum Glass, which is a trademarked, coated glass made by Tru-Vue Inc, and Anti-Newton Ring glass, also known as ANR.
These two types of glass contain less iron than traditional glass and will show as little reflection as possible while weighing enough to hold the Polaroid down for scanning. Most framing stores will have this type of glass that they will be able to cut into custom sizes.
For the Polaroids, I purchased a 5×5” slice for $20 from Kimprints, a local framing shop near my home in Vancouver, BC. This size is about an inch larger than SX-70 or 600 film, making it easier to handle. Some stores may charge more, but in general, they’ll most likely have some extra pieces laying around that would otherwise end up in the trash.
I placed the glass and Polaroid on top of a pre-cut piece of cardboard so that I could pick up the Polaroid and glass and switch it as easily as possible. This Polaroid sandwich also reduced the chances of picking up dust on the glass. Even after sweeping and mopping, there are always little fibers waiting around that are just dying to become a part of the art piece.
Step 4: Clean the Polaroids before scanning
I learned this one the hard way. It took me about an hour and a half to scan nearly 100 Polaroids when I skipped this step. But then I had to go back and edit the dust out of that many Polaroids, which took way longer than simply scanning them.
When you get a sharp scan, every piece of dust will be perfectly visible on the image. And if there’s a lot, then you could be removing the dust for up to 10 minutes photo in Photoshop.
The better way is to use a clean microfibre cloth and wipe down all of the negatives before you start scanning. That way you’ll have no problem getting awesome scans. A few pieces of wayward dust will make their way onto the images, but at least it’ll only take a minute or two if it’s distracting.

Final thoughts
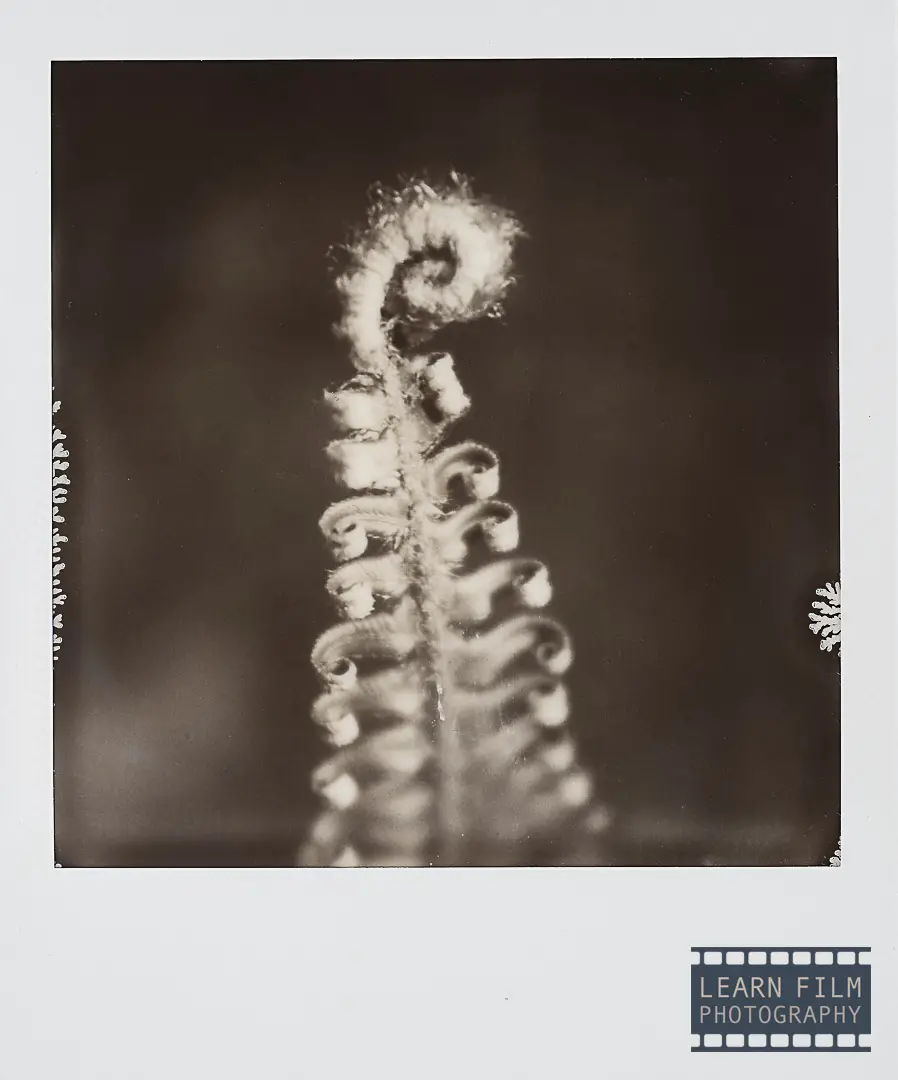
Using this setup, I was able to scan the images easily, and created images that were so sharp, it took me longer to remove the dust on the digital images than it did to scan them.
I’ve tried to scan a few Polaroids here and there for the blog and other uses, but I was never able to get the results that I was looking for. I always got reflections, or unsharp images, no matter how I lit them up, or where I set them in the room.
So the only way to get rid of glare is to ensure you’re scanning them in an area without any direct or incidental light. For me, that was under the desk. You could also do this in a closet or in the bathroom with the door open.
Just make sure that your image takes less than 10 seconds to capture, otherwise, you’ll end up with hot spots from the sensor, or extra noise from the long exposure — even if you’re using the lowest ISO possible.
Let me know down in the comments below if you’d like to learn more about this system, or if you have any other genius methods of scanning that you’ve been using in your workflow.

By Daren
Daren is a journalist and wedding photographer based in Vancouver, B.C. He’s been taking personal and professional photos on film since 2017 and began developing and printing his own photos after wanting more control than what local labs could offer. Discover his newest publications at Soft Grain Books, or check out the print shop.