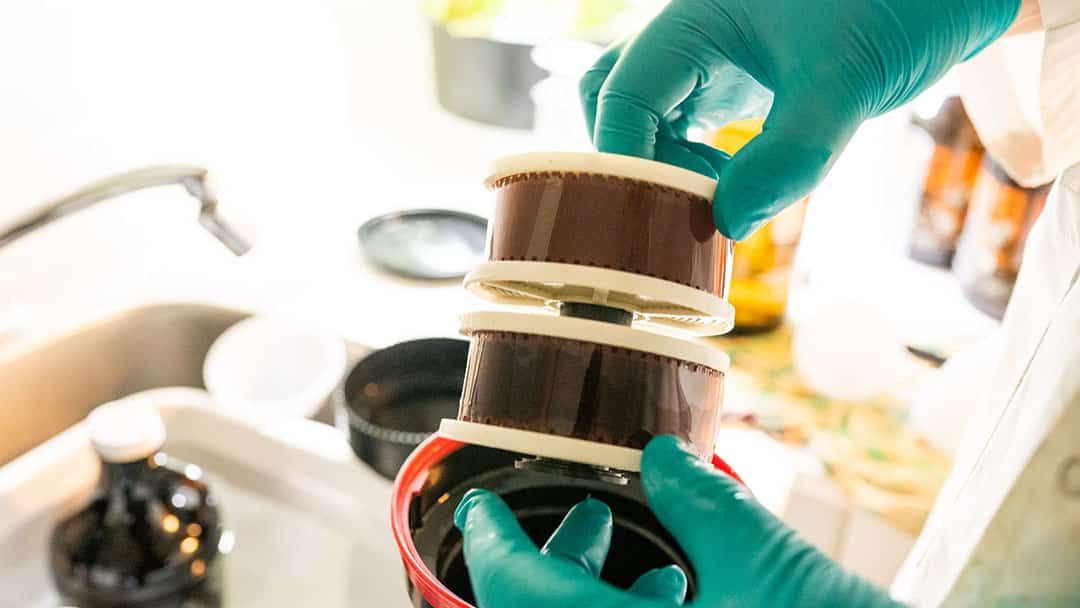
When I first started developing film at home, I was amazed by the amount of water and toxic chemicals that were being used. The whole process felt like a major burden on the environment. Over that time, I’ve learned a few techniques that I’m constantly using today to make sure my film photography has as small of an impact as possible.
In the end, film photography will always make an impact. Creating the chemicals for film development, and the emulsions themselves all take a toll on the environment. I’d still wager that film still has a smaller environmental impact than digital photography, but that doesn’t mean we can’t strive to be better.
As a general rule, the biggest environmental impacts from developing film at home come from the developers themselves, water usage, packaging, and silver contamination. All of these impacts are easy to reduce by making a few changes to your developing workflow.
It’s easy to see the impacts when you’re developing your own film at home. The amount of water used for a roll or two of film feels very wasteful, let alone the chemicals that are being put down the drain. Over the years, I’ve learned a number of ways to reduce my own environmental impact when developing my film. Here are my top seven recommendations for reducing the environmental impact of film developing.
1. Use an environmentally friendly film developer
One of the biggest environmental impacts of film photography comes from the developer that you’re using. Many film developers contain caustic chemicals like metol, hydroquinone, or pyrocatechol. But there is a new breed of developers, including some homebrew recipes, that can develop film without these dangerous chemicals.
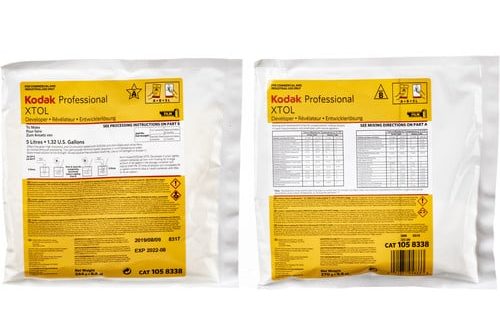
The most environmentally friendly commercial developer is Xtol. This is because the primary developing ingredients in Xtol are Phenidone and Vitamin C. Phenidone is the most environmentally-friendly developer available. It’s used in such small quantities (you need 1/10th as much Phenidone as you would metol in the same solution) that it’s virtually untraceable beyond background levels once it is diluted to develop your film.
Xtol was the last developer made using the enormous funding power of Kodak during the film days. So not only is it the most environmentally friendly, but it’s also one of the best fine-grain developers ever created.
Although, because of the pandemic, it seems like Xtol isn’t available anywhere while suppliers try to keep up with increasing demand. But there is an alternative that works just as well. When Xtol isn’t available, check out the clone made by Legacy Pro which is identical in all ways. Take a look at this article to learn about more environmentally-friendly film developers.
If you want to get even more eco-friendly, without having to mix a 5L batch of developer solution, try making some caffenol at home using the recipe on the right. There are easy recipes out there that use regular products that you likely already have on your shelf. Best of all, once you get the recipe down, caffenol can work just as well as the commercial developers, even when pushing and pulling film.
And if making your own caffenol isn’t for you, there is actually a commercially available caffenol-based developer called Cawanol Professional. Check out my review on Cawanol Professional here.
| Instant Coffee | 125mL (37.5 grams) |
| Crushed Vitamin C | 20g |
| Crystal washing soda | 80g |
| Development time | 11 Min at box speed. 16.5 minutes for 1 stop push. |
2. Use less water when rinsing and washing film: Ilford’s minimalist method

There are some forums online that suggest washing film with running water for up to 20 minutes after fixing. The average kitchen faucet runs at about 2.2 gallons per minute. Assuming you leave the tap half-closed to save some water, it should be around 1 gallon per minute, meaning rinsing for that long will waste a ridiculous 20 gallons or 75.7L of water!
That said, if you look closely, the technical data sheets of most manufacturers suggest using a small enough flow to exchange the water in the tank every five minutes. In the video above, The Naked Photographer shows that with a standard 2-reel Paterson Tank, that amounts to just 0.2 gallons per minute or just slightly more than the minimum most faucets run at. Meaning you can use the running water method without wasting that much water.
However, Ilford has a method that requires filling and emptying the tank three times that they’ve published in all of their technical datasheets. On a standard Paterson 2-reel developing tank, you’ll fill it around 560mL, or just over half a quart, or 1.68 Liters.
Here’s how to do it. Fill the tank up once with tap water, and invert the tank 5 times before dumping out the water. Next, fill the tank again, and complete 10 inversions. Fill the tank once more, and complete 20 inversions. This will remove all of the fixer from the film, and should make the negatives last generations if stored properly.
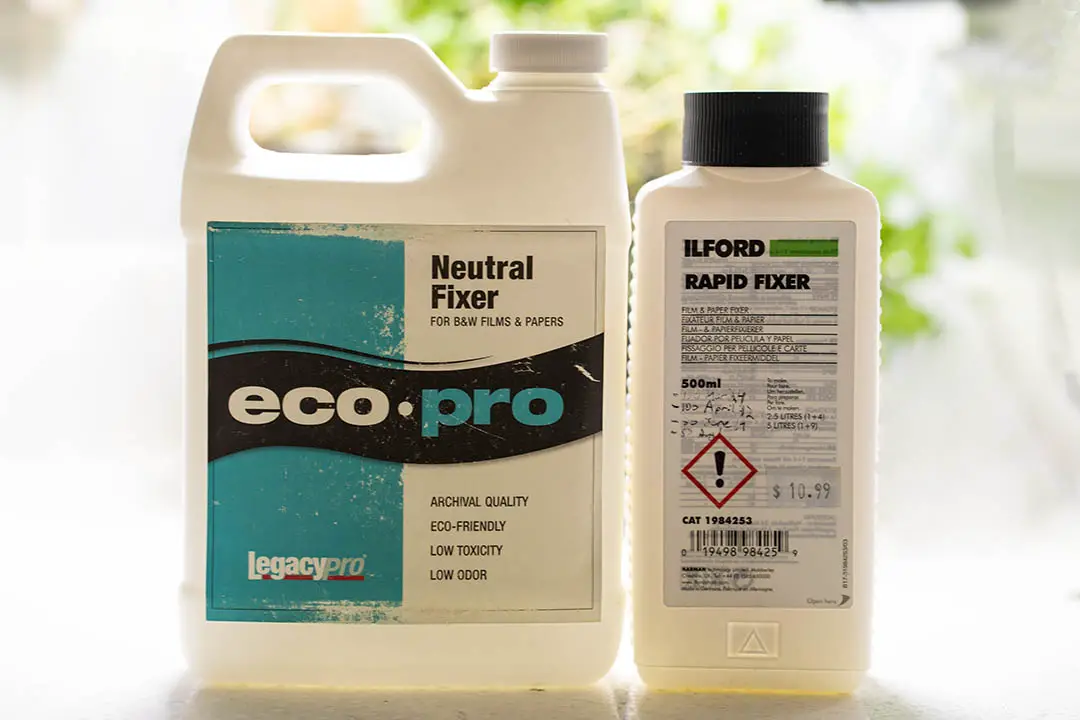
3. Use a neutral fixer
One of the best moves I’ve made when developing chemicals is to switch to a neutral fixer. This helps in a multitude of ways. For one, neutral fixers don’t have that same nasty smell that Ilford’s rapid fixer has. They’re also slightly better for the skin (although I still recommend using gloves, especially if you have eczema).
But the best part about neutral fixers is that they don’t require a stop bath after the developer. Unlike rapid fixer, neutral fixer doesn’t require acidic conditions to adequately fix film to archival standards. Since developers are most often basic, the stop bath not only immediately halts development, but also decreases the solution pH so that the fixer can do its work without having to fight against the leftover basic compounds on the film.
A neutral fixer contains buffer solutions that neutralize the developer without exhausting the fixer. That way, you can switch from developer to fixer without worrying.
That means it’s possible to not only get rid of an entire step in the development process but can also reduce the overall number of rinses between solutions. This one is better for your wallet and the environment. If you’re interested in learning more about fixers, take a look at this article that shows everything there is to know about using and reusing fixer.
4. Store and recycle used fixer
Fixer isn’t easy on the environment, but used fixer is a bit worse. The reason is that the fixer removes the undeveloped silver halide grains on the film. As the fixer fixes more rolls, it collects more and more silver in the solution. Silver is a biotoxin. And it does the most damage in aquatic ecosystems like rivers, streams, and lakes.
While the amount of silver your fixer solution has at home may be mostly insignificant, the number of people starting to take up film development will take a toll over time.
The best way to ensure there’s less silver entering aquatic ecosystems is to store your used fixer and bring it to a facility to recycle it or to remove the silver through electrolysis. Luckily, many labs will take your used fixer solutions and remove the silver for you while disposing of the chemicals properly.
I always store my used fixer in the old plastic jugs that hold the distilled water I use when mixing chemicals and doing the final rinse. These jugs make it easy to take the chemicals to the nearest lab that’ll electrolyze the silver out of the solution, and dispose of the used fixer properly.
Talk to your local lab today to find out if they’ll take the recycling for you.
6. Reduce waste through proper storage
Wasting film-developing chemicals is an expensive, and environmentally costly habit to get into. But storing chemicals properly is an easy task once you know what causes chemicals to fail in the first place.
The shelf life of film developers and fixers depends on how much oxygen and contaminants they’re in contact with. Both film developer and fixer are reducing agents, which react strongly with oxygen.
So a good storage solution will ensure that the solutions are in contact with as little oxygen as possible. I personally use 1L glass bottles from local breweries. These glass bottles seal well when full, and glass, unlike plastic, contains zero pores that let oxygen through. The one downside to glass is that you have to fill it completely. Plastic bottles can sometimes be squeezed to get rid of all the air.
The next tip is to always mark your bottles by the date they’re opened. An opened bottle of fixer, for example, will last for 6 months. But a half-full bottle will only last 3 months before it’s exhausted. By keeping track of these numbers, you’ll at least have a heads-up before the chemicals spoil.
I’ve written a much more comprehensive article on keeping film development chemicals for as long as possible (sometimes even beyond the prescribed dates) here. And, if you don’t have a way to keep the chemicals stored properly, the next best thing is to use Rodinal (Blazinal in Canada), which has a virtually unlimited shelf life.
7. Shoot bulk roll film instead of individual rolls
This one is a bit more niche. But if you really love certain stocks of film, it can be worth purchasing a bulk loader and a 100ft roll of film. Not only do you save a bit of money on film in the long term, but this method also cuts down significantly on the packaging.
100 feet of film is the standard for bulk rolls, which equates to 18 rolls of film with 36 exposures. And then there’s no more cardboard boxes, no more plastic cases, or metal cassettes that most likely end up in the landfill.
The last benefit of bulk loading film is that you can choose to make smaller rolls. There have been many times where I’ve wished I could shoot just 15 shots instead of having to either shoot some random shots or consider completely wasting the film. I’ve also gone on the fool’s journey of taking out a roll mid-way, making it down on the canister, and then waiting half a year to put the rest of it in my camera. Not really good practice.
And that’s it! Is there anything you do that I should add to this list? Let me know in the comments below, or post a comment about it on the official Learn Film Photography Facebook Group!

By Daren
Daren is a journalist and wedding photographer based in Vancouver, B.C. He’s been taking personal and professional photos on film since 2017 and began developing and printing his own photos after wanting more control than what local labs could offer. Discover his newest publications at Soft Grain Books, or check out the print shop.
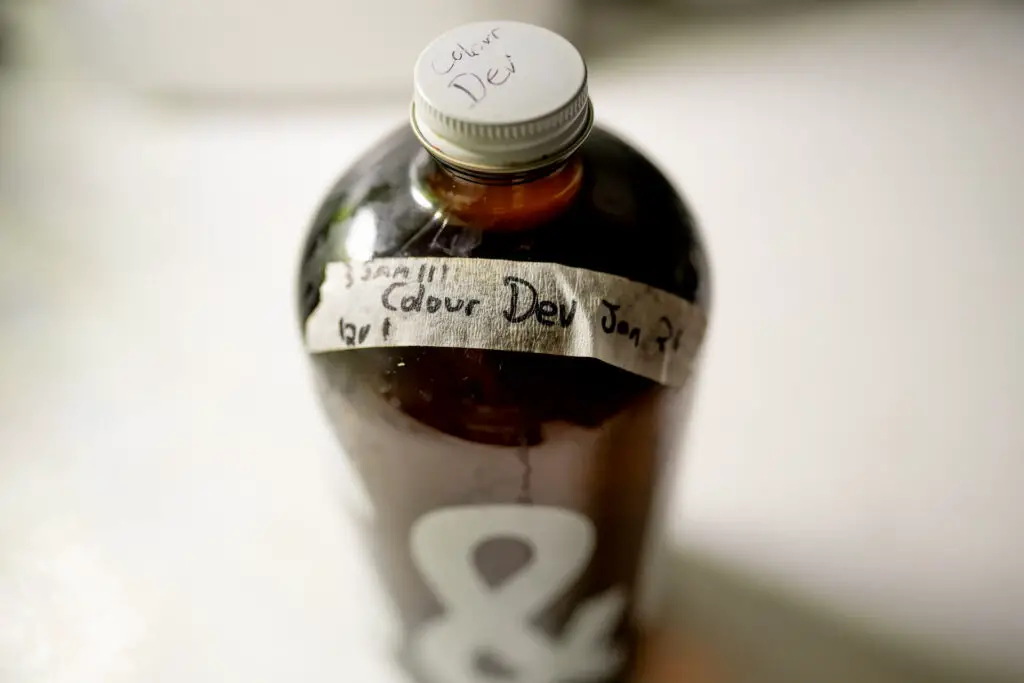
Very helpful. I am looking for some more resources on the toxicity of colour film developing. I don’t want to shoot photos celebrating Nature if I am going to pollute.
That’s something I’ve been looking for as well! It seems it’s very difficult to find the real information about just how toxic the chemicals are from this process. We’re working on a couple of tests to see what we can find out in a scientific way, which should be finished early next year.
Regards,
Daren
Thanks Daren!