The world was a much simpler place before the digital revolution. Back in the film photography days, there were rarely any circumstances where a photographer would have to deal with damaging X-Rays or CT Scanners that could ruin film.
Whether you’re taking professional photos or just vacation snapshots, you’ll need to take a few steps to ensure your film survives the journey home without getting scarred. Luckily, it’s fairly easy to ensure your film comes home unscathed.
Here’s what to do when you absolutely don’t want to leave your film camera behind.
1. Keep your film out of checked baggage
The checked baggage scanners are much more powerful than the scanners used for handling carry-on luggage, and will ruin any undeveloped film.
These scanners are designed to see through thick bags with laptops, metal containers, bottles of wine, and other electronics that you would have to remove from your carry-on bag. To do that, they need to use very powerful x-rays, or even new CT-scanners that will certainly ensure your film is unusable.
So always keep your film in your carry-on bags for best results.
2. Hand check your film at the airport
The majority of airports use low-powered x-ray machines for carry-on luggage that they won’t hurt film under ISO 800. But some airports in Europe and North America are beginning to adopt new CT Scanners that will damage unprocessed film every time.
To protect your film, you can ask TSA agents or airport security to give the film a hand inspection. Many security personnel will hand check film for you no questions asked, but if it’s a busy, frustrating day, they may not oblige your request.
The best thing you can do is to make the film as easy for them to check as possible.
- Unwrap the film and remove it from any packaging. Every airport I’ve been through has opened the packages of film that I have brought through, so be prepared to make this step as easy as possible for them.
- Store the film in a clear plastic bag, or neatly in a film carrying case. Make the film as visible, and easy for the agents to swab quickly. That way, they will be much happier to hand check the film on a busy day.
- Keep ISO 800 and above film separate and visible. Some agents will refuse to hand check any film that is below ISO 800. Make sure these films are clearly visible on top, or in a separate bag so they can hand check just those films.
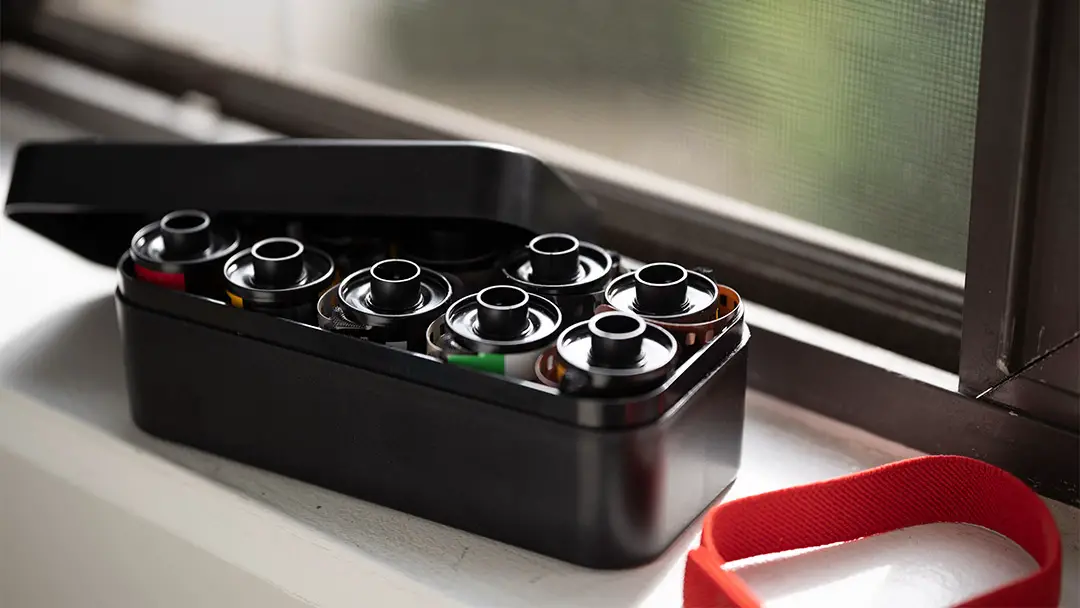
These vintage-looking metal cases on Amazon can fit 10 rolls of 35mm or 8 rolls of 120. It’s not much, but having a couple of these will be enough to get through a good chunk of your vacation.
Personally, I like to keep the expensive and high ISO films in a case for protection, and then run my cheap Kodak Gold, Color Plus, and Pro Image 100 film stocks through the x-ray machine to reduce the hassle. I’ve processed a number of low ISO rolls that have gone through those scanners, and so far haven’t noticed any issues.
Lead leads to higher-powered X-Rays
I’ve read a few people mentioning the use of lead bags, and that is by far the worst idea. TSA security agents have one purpose in life: snooping through your private belongings making sure you’re not smuggling drugs or bringing explosives onto an airplane.
If you try to hide something from the TSA agents — like hiding the good snacks from your nosy brother — they’re only going to get more suspicious and turn up the x-ray power. And if they can’t see through it after that, they’ll empty the bag and send it through the scanner again.
If it’s a busy airport and you’re trying to sneak something past them, they’re going to go the extra mile to make sure your images come back fogged as heck. So the best thing you can do is give them the film outside of its packaging in an easy-to-manage bag or case.
3. Don’t leave your film in a hot car
Rule number three about traveling with photographic film: if you wouldn’t leave a dog or a baby in those conditions, your film won’t like it either. The exception to this rule is, of course, in the fridge or freezer. But it’s still a good rule to follow.
Hot cars will ruin film. Color film will suffer if stored above 86°F (30°C) for more than 8 hours. But gelatin (the material that holds the image-forming silver) melts at 95°F (35°C). So storing it above that temperature for any amount of time could ruin your film.
The film inside your camera will usually be okay when you’re walking around for the day in hot weather. But leaving rolls of unprocessed film in the hot car is not a good idea.
If you’re going out for the day, make sure to bring only the amount of film that you need with you. I usually carry small film boxes that’ll hold just the right amount of film for a day or two, so that I can leave the rest of it behind in the cool lodging.
4. Hotel mini fridges can ruin your film
As much as possible, I try to keep all my film in the most stable temperature possible when I’m on vacation. Film can last for up to 2 months outside of a fridge — so the only time you should consider putting it in the fridge is if your hotel room is subject to drastic heat, humidity, and temperature changes.
Be beware: mini-fridges in hotels are not to be trusted. Especially the mini-fridges with freezer compartments tend to have horrendous control over humidity. This results in some ice buildup on the sides that can melt all over your film once it warms up, leaving you with a handful of film soup.
If you have to store film in a hotel mini fridge, be sure to place it inside a plastic Ziploc bag, or one of these film cases on Amazon. These cases or Ziploc bags will then protect your film in case of a power outage, or just the ice melting in a cheap fridge.
The other alternative is to keep the film out of the fridge altogether. Black and white films don’t need to be kept in the fridge at all, and color-negative films can last up to 6 months without refrigeration.

5. Buy film fresh at the location
Film photographers tend to have a bad habit of hoarding film. I get that it’s tempting to purchase film in bulk when film goes on sale, before price hikes, or if a certain stock is being discontinued. But that means nothing if the rolls get ruined with age or in transport.
The best way to keep your film fresh is to buy it fresh. And when you’re on vacation in another country or region of the world, there’s likely to be some new films that you’ve never been able to try before. For example, Orwo and Agfa in Europe, or some of Fuji’s premium stocks in Asia.
Shooting film originating from other countries can be an absolute blast, and can even add to the story of your vacation.
Even though you’ll still have to find a way to bring the film back home with you, at least you’ll only be able to run into trouble with your undeveloped film in one direction rather than two.
The other option is to have your exposed film developed at a local lab. Then you can mail the developed film back home, or safely bring it in your carry-on through the x-ray machines on the way home.
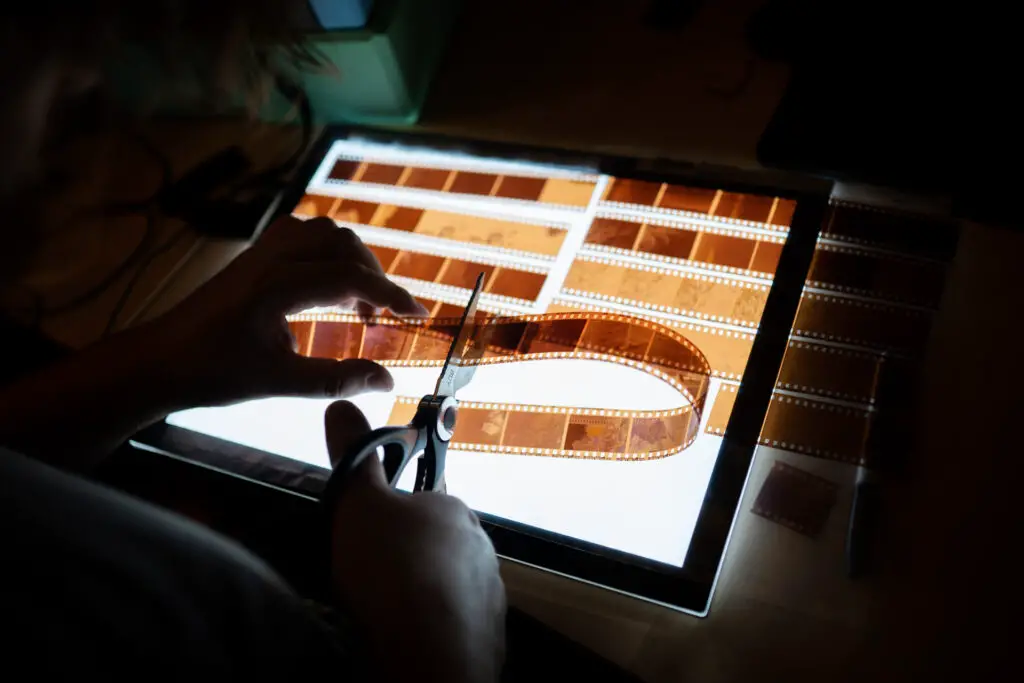
6. Develop your exposed film on location
Processed or developed film will not be damaged by X-rays or CT Scans, so it is a good idea to have your film developed before heading home. Most places in the world have labs where you can buy and develop film.
Always do a bit of research before going to see if there is an appropriate lab that can handle your film at your destination. For example, some cities in Eastern Europe won’t have a reliable supply of medium format film. And if you can’t find the film format you want to shoot, you also won’t likely find a place to have it processed either. In this case, the only way forward is to bring some film with you or switch to 35mm for the trip.
The processed film can either be mailed home in bulk or left in a safe place in your luggage.
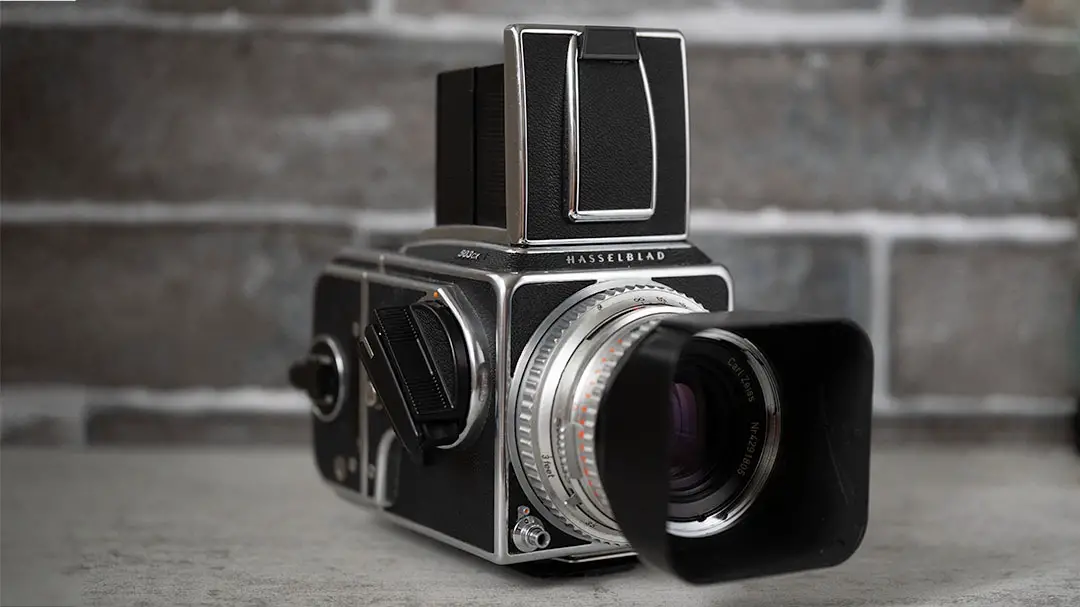
35mm is better than medium format for traveling
Many travelers going to new locations will want to use their favorite cameras on vacation. And I totally understand the desire to bring your Hasselblad or Pentax 67 to the other side of the world.
But there are a number of reasons why you should leave the medium format beast at home.
- larger film cameras attract more attention. When you’re a tourist, you already stick out to the locals. But carrying around a large, shiny, obvious camera makes you stick out that much more.
- Medium format cameras are more fragile than 35mm. If you have a medium format camera, either you spent a lot of money on it to get one that was in really good condition, or it has been to the repair shop once or twice before. If you’re on vacation, there likely won’t be enough time to get your camera repaired if something goes wrong.
- Medium format film is harder to find. In some parts of the world, you will have trouble finding medium format film. But because 35mm is the most popular and affordable film, it is readily available almost everywhere in the world.
- You can pack more 35mm lenses and films than medium format. 35mm cameras and gear are way smaller than medium format film cameras. They are also far lighter weight, making them ideal companions when fighting the weight and baggage size limits of discount airlines.
If you’re traveling for work, then there may be no other choice than to bring a medium-format camera. But for the vast majority of us film photographers out there, you will be better off bringing a single small film camera with a couple of small lenses than you will be with a large, heavy, and fragile medium format camera.

Final thoughts
Traveling with film isn’t easy, but that doesn’t mean it isn’t worth doing. The magic of film is that the images always have a fun, and more real aesthetic than digital photography. There’s nothing better than getting those shots back from the lab and reliving all of your memories.
The film photos are usually my favorite, because it’s so forgiving. The photos don’t have to be clinically sharp to be good. And you’ll also have the option of making physical prints, which are much more fun to show your friends and family than digital files on a mobile phone.
Do you have any tips and tricks that have helped you when traveling in foreign countries? Let me know in the comments below!

By Daren
Daren is a journalist and wedding photographer based in Vancouver, B.C. He’s been taking personal and professional photos on film since 2017 and began developing and printing his own photos after wanting more control than what local labs could offer. Discover his newest publications at Soft Grain Books, or check out the print shop.