If you’ve ever used neutral density filters with digital cameras for a long exposure, you know that the filters leave a distinct color cast on the images.
The longer the exposure, and the stronger the ND filter, the greater the resulting color cast. Over the last year, I’ve constantly been experimenting with the Lee Long Exposure ND filters to create longer exposures that smooth out water and clouds, and here’s what I’ve found.
It is possible to use neutral density filters with color negative or black and white film, although you will need to color correct the images when scanning and printing the film. Slide, or color positive film should not be shot using thick neutral density filters, because the color cast will be irreversible.
All color films will have a change in the colors that they capture through a neutral density filter. Black and white films, on the other hand, can be shot normally without further adjustments.
Why would you use a neutral density filter with film?
Neutral density filters are like sunglasses for your camera.
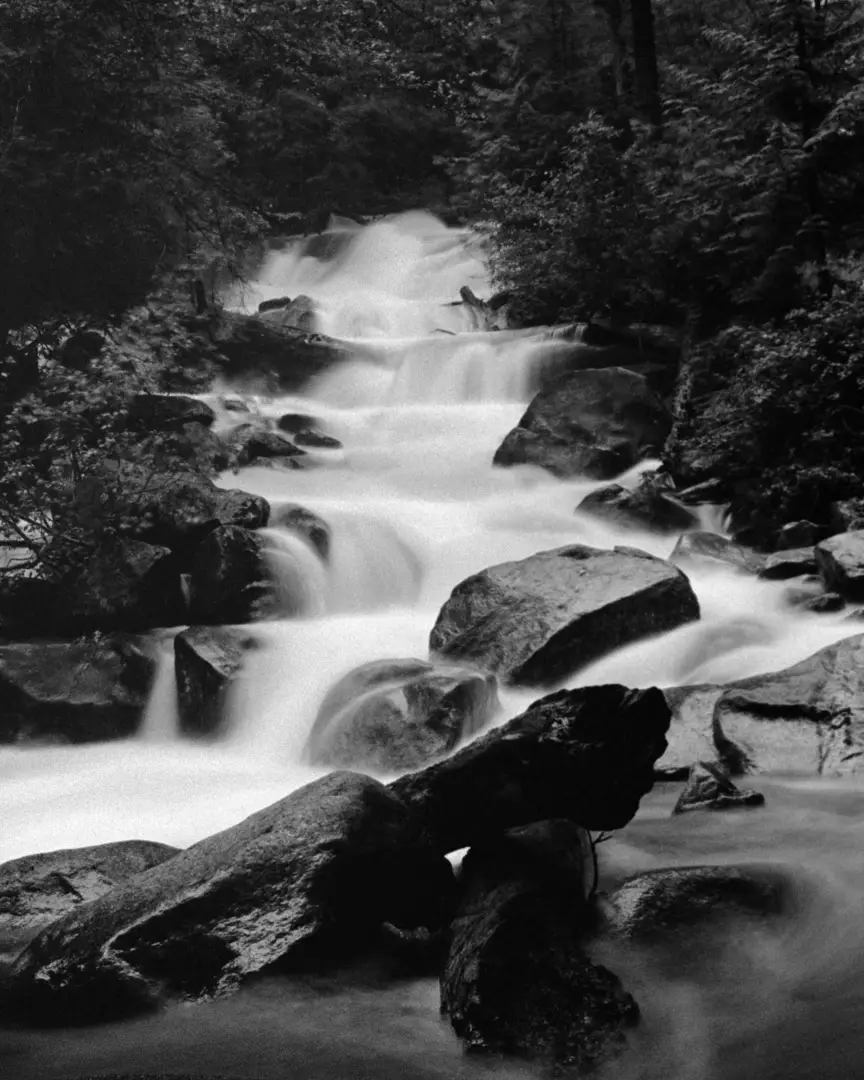
They block out the light so that you can create longer exposures that blur water, clouds, lights, and other motion in your image.
These filters are especially useful for landscape photographers who enjoy blurring motion to create negative space. But they’re also useful for portrait photographers who want to use flash with a large aperture value.
Since most film cameras have a flash sync speed of 1/50th, they often need to use small apertures to avoid overexposing their image.
Which neutral density filters should I use with film?
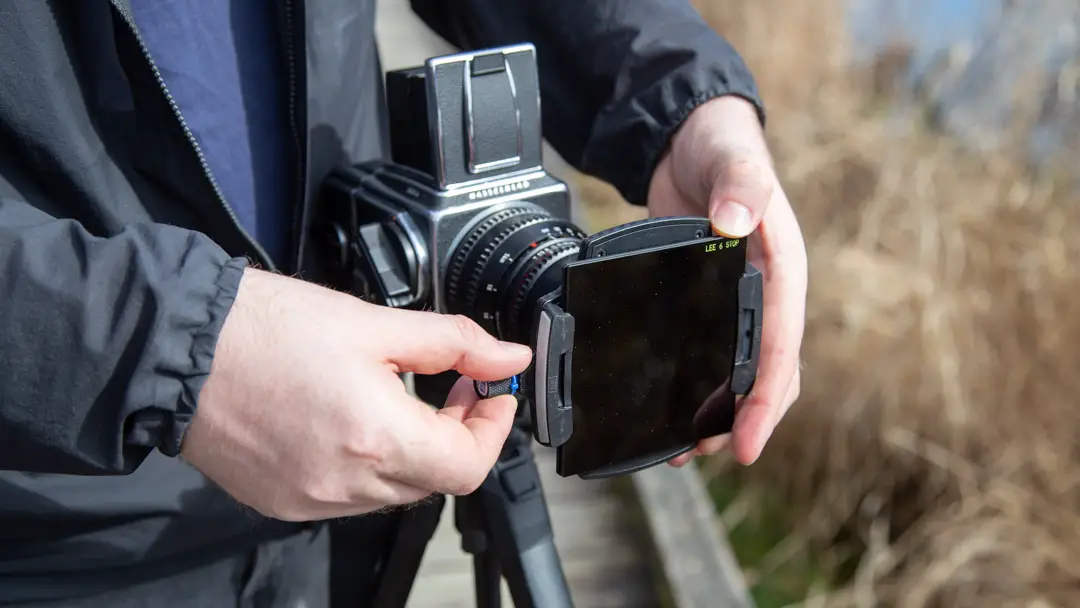
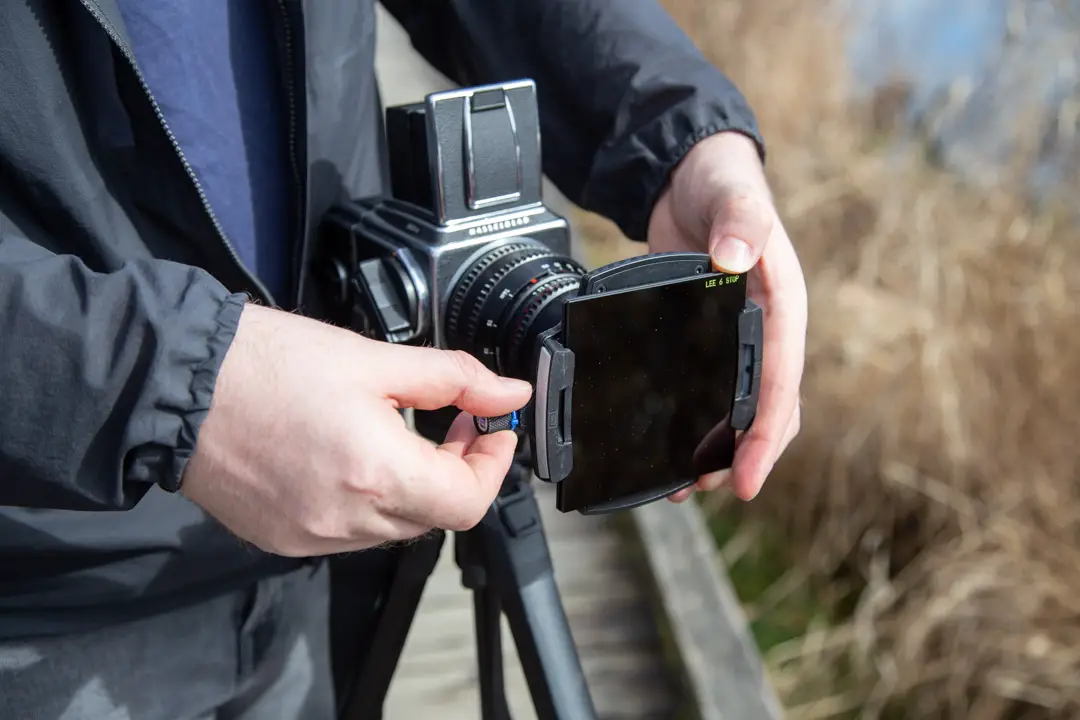
I use the Lee 100 filter system for film photography for a number of reasons.
Neutral density filters all have a different color cast to them. Even though they’re supposed to evenly block out the light, they always let one spectrum through more than others. Most neutral density filters leave behind an awful magenta color cast. But Lee Filters leave behind a blue color cast that is much easier to correct in post-production.
On daylight-balanced color film, a blue color cast is preferable because the film is more sensitive to the blue end of the spectrum than it is to the red end of the spectrum.
For example, under tungsten light, daylight-balanced color film (every film except Cinestill 800t) needs a 2-stop exposure reduction. That means an ISO 400 film will need to be shot as if it is an ISO 100 film under tungsten-colored lighting.
When neutral density filters have a magenta cast, there will need to be a similar exposure adjustment for daylight-balanced color film. Tungsten balanced film like Cinestill 800t and black and white films can be shot as normal.
Lee neutral density filters don’t need this exposure adjustment on daylight balanced film. But no matter what, when you take exposures that are longer than 30 seconds, there will still be a color cast to fix.
Find the Lee Long Exposure Kit that I use on Amazon here.
Editing color casts on film
Most color casts will be fixed automatically when film is scanned. Programs like Negative Lab Pro are very good at eliminating all but the densest color casts on negative film.
The color cast will vary by exposure time. 30-seconds to 1 minute exposure times through an ND filter will leave an almost imperceptible trace on the final image after scanning with Negative Lab Pro.
But exposure times above four minutes will create negatives with a strong color cast that will need correction.
Luckily with Lee filters like the little and big stopper, this is an easy correction. Simply pull the temperature slider towards the yellows in Adobe Lightroom Classic or your scanning software of choice. You may also need to bring back saturation in the greens and blues depending on the image.
Most labs should be able to make these corrections without a problem. If they come back skewed to one color, it is worth asking for a re-scan, as the tech may have just applied a single profile to the entire roll of film and called ‘er a day.
With a little playing around, it won’t be much of a problem.
It should go without saying that the color casts in this case do not matter when shooting with black and white film.
Reciprocity failure with neutral density filters
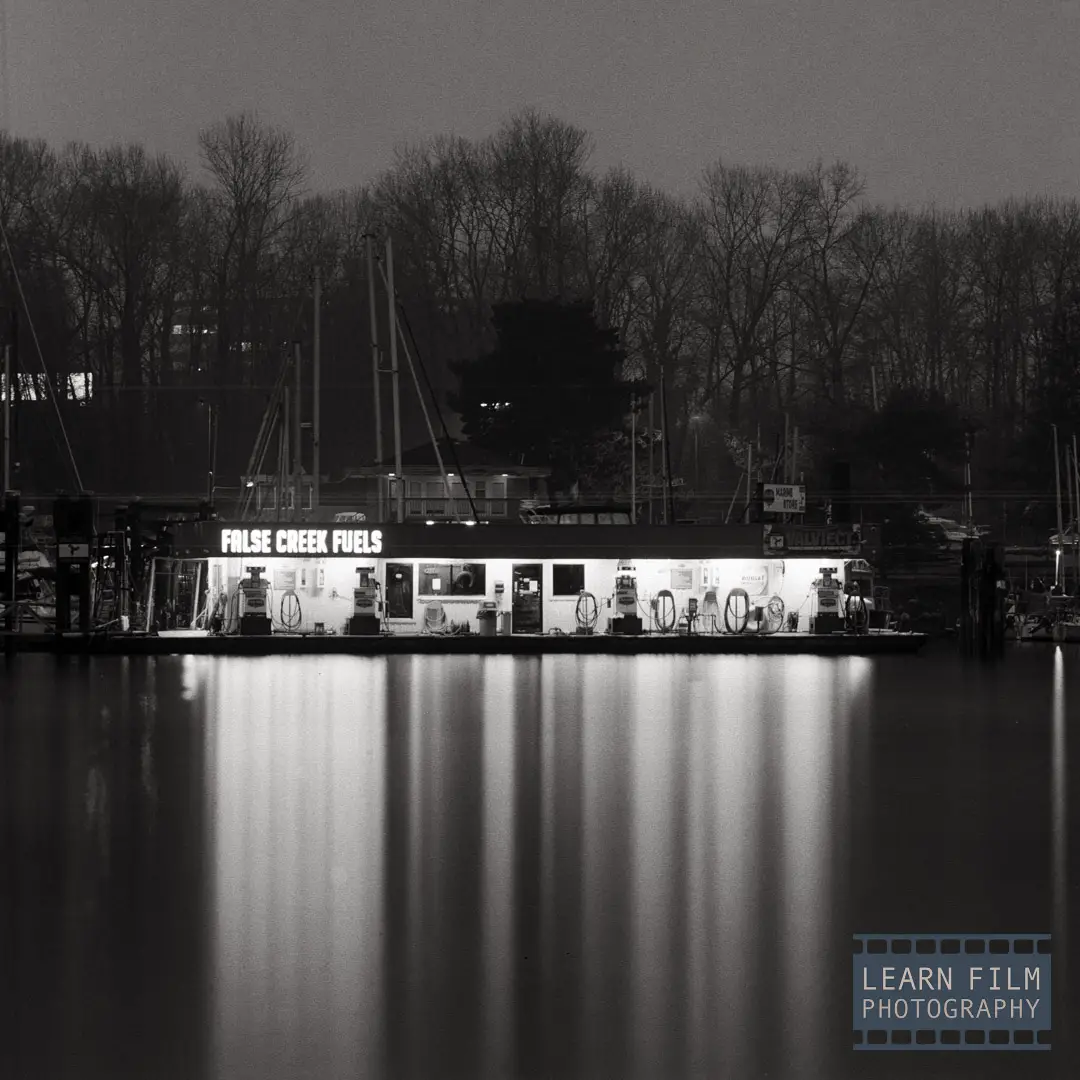
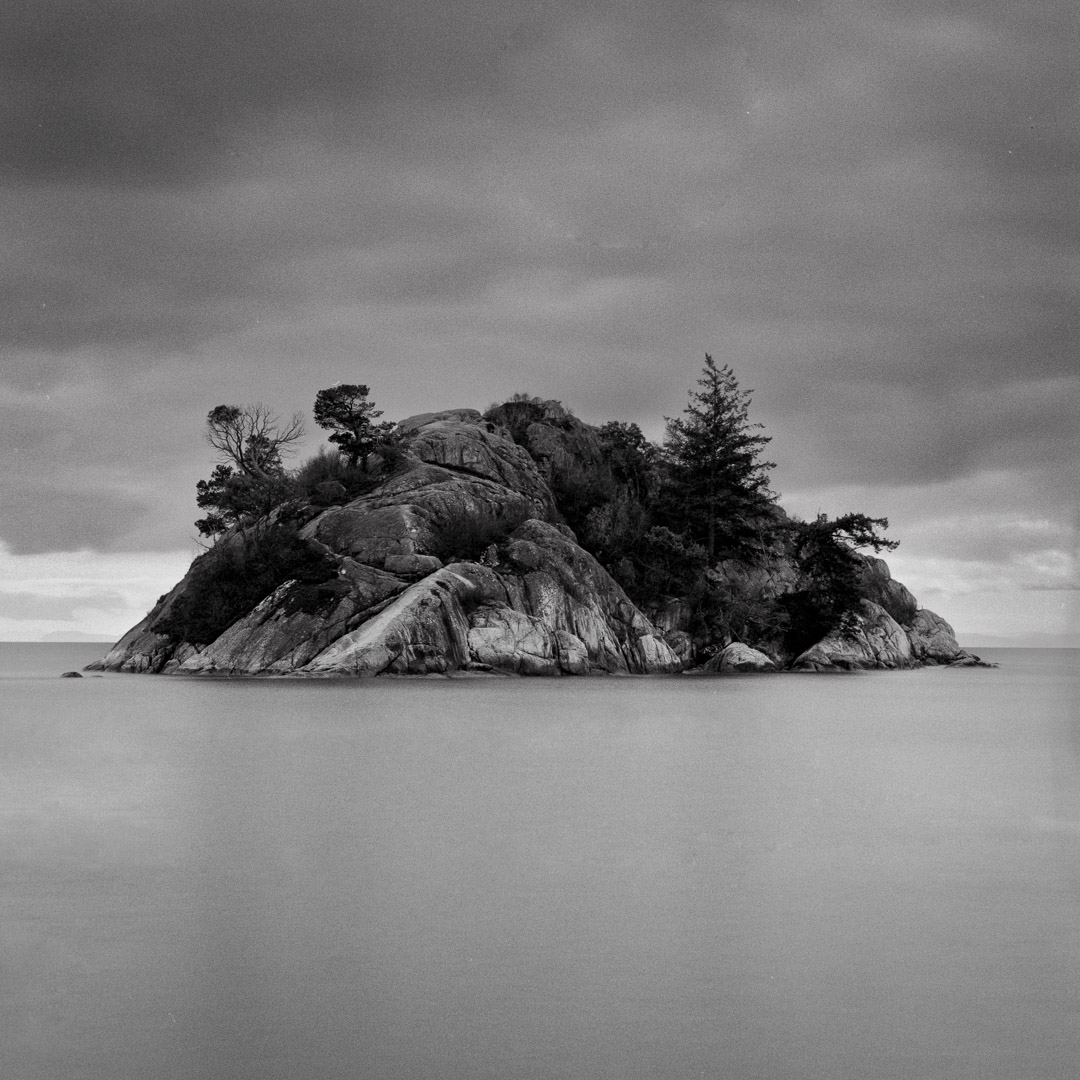
Neutral density filters allow you to take long exposures in daylight. For landscape photographers, this is amazing, because you can turn choppy water into a reflection, or blurry negative space that brings attention to your subject.
But when you start taking exposures that are longer than 1 second, you will need to adjust your exposure time to account for reciprocity failure.
Reciprocity is the idea that a one-stop difference in the amount of light will require a 1-stop difference in the exposure settings on your camera. But that is assuming the light has enough energy to excite the electrons in the film grain.
When shooting in the dark — or through a neutral density filter — the light has so little energy in each wavelength that it has a hard time exciting the electrons on the film grains to make them developable.
The formula for calculating reciprocity failure.
Here’s the simple formula that I use to calculate reciprocity:
Calculated time = Metered time (seconds) ^ 1.31
If you have a Metered exposure reading of 10 seconds, then calculate 10^1.31, which equals 20.42 seconds. (if your calculator doesn’t have the carrot, it should have x2, which is the same function).
If your metered time is in the minutes, you will need to convert to seconds to use the calculation.
This calculation will work for the vast majority of film stocks. Although it’s important to note that films do experience reciprocity failure at different rates. You may need to look for the reciprocity adjustment factor in their technical datasheets.
The one film that is the exception to this rule is Fuji Acros II, which has been sensitized in such a way that it does not need a reciprocity adjustment until you reach a 2-minute exposure time.
Final thoughts
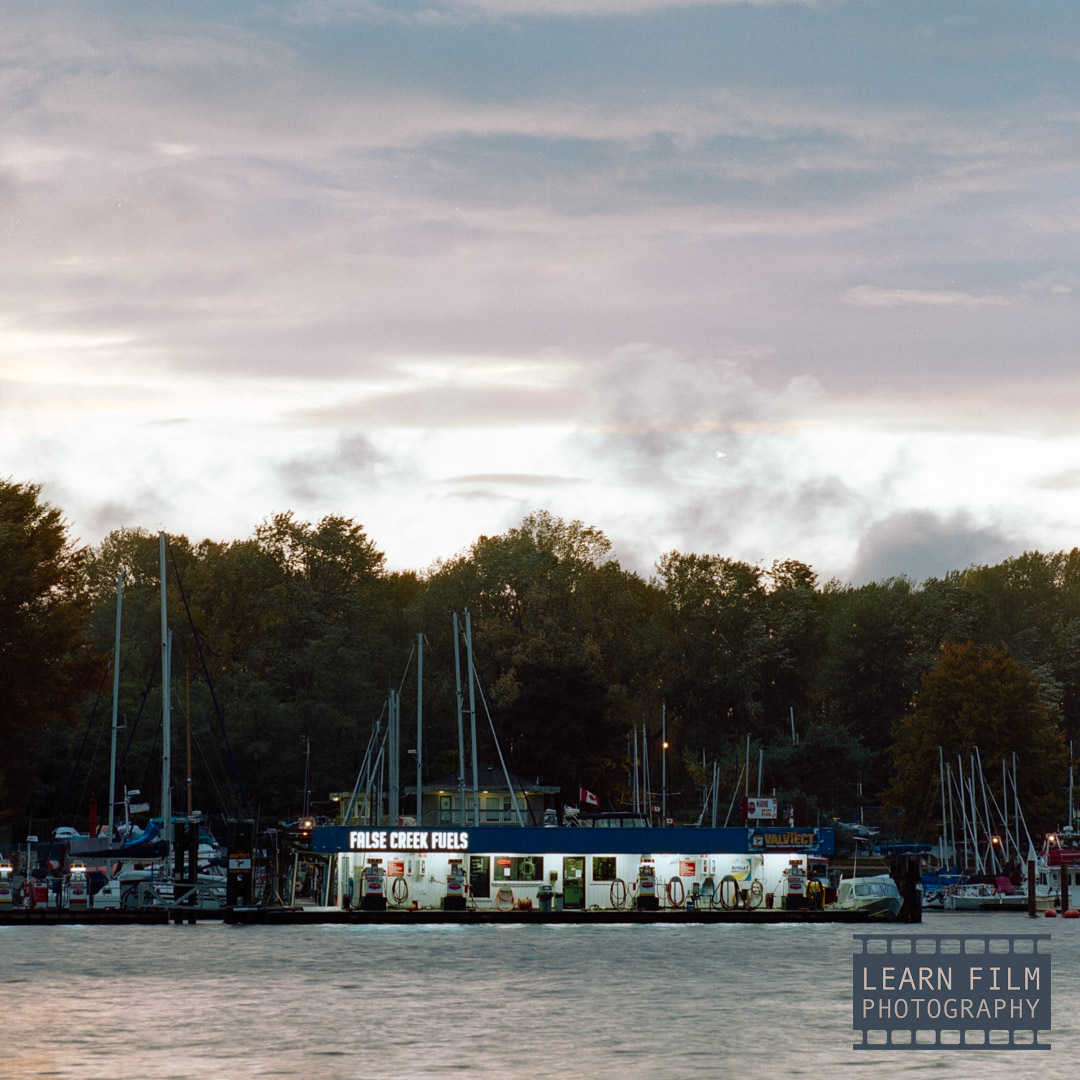
Neutral density filters have allowed me to create many of my favorite compositions. As a photographer living near the water, long exposures help me to reduce texture and clutter in the images I create.
At first, I found very little information on the internet about using ND filters with film. So by writing this article, I hope to make it easier for others to use ND filters to create long exposures for their own creative endeavors.
The biggest considerations to make when shooting long exposures is to calculate for reciprocity failure and to avoid using them with slide film like Ektachrome or Velvia.
Other than that, neutral density filters can be used for the most part without any change in the way you shoot and develop your film.
Let me know down in the comments below if there is anything else you’d like to know about using ND filters and film!