Landscape photographers all over the world are jumping back into film photography for good reason. Photographers feel a connection to the process of taking photos on film, and the gritty, imperfect, yet craftsmen-like nature of the images themselves.
Film also has a few distinct advantages over digital cameras for landscape photography.
Low-ISO film stocks like Ilford Delta 100, or Pan-F have greater dynamic range and resolution than digital cameras, especially when using medium or large format film. Other film stocks like Japan Camera Hunter StreetPan 400, or Ilford SFX 200 have an extended IR sensitivity that can cut through haze and fog to create detailed and compelling images.
The main disadvantage of film is that it gets expensive when using larger film formats that create better quality than digital. Making a single 8×10 image will cost well over $10 after factoring in processing, not to mention the time cost to make a single image. Film is also far less flexible than digital when it comes to computational photography — you can’t make panoramas, HDRs, edit colors, or do sky replacements nearly as easily on film as you can with a digital image.
Shooting film landscapes is overall more about the process than getting the highest-quality images. In this article, I will show you how to get the best landscape images on film based on my experiences over the past two years.
Color or Black and White for Landscape Photography?
Most film photographers prefer to use color for landscape photography. Even when color film was way worse than B&W in the 30s and 40s, humans still seemed to prefer color just because of it looks more like real life.
I often use color film often for everyday photography, because it’s easier to picture how the image will look in color than it is in black and white. But there is a time and place, where you have such a simple, moody composition, where there is no better way to shoot than in black and white.
So the most important question you need to ask when deciding between shooting color or black and white film is: does the image work because of the colors, or because of light, texture, and simplicity?
The best example for answering this question is to think about flowers. Flowers have to contrast with the green and brown nature so that insects and birds can find them. If the flowers were dark, or green, they would not stand out and their pollen would never be spread.
When you take that image in black and white, that pop of color disappears, and the flowers will be difficult to spot if you’re not using focus blur, or completely isolating the subject.
Landscape photography is exactly the same. If you have a simple, isolated subject, then get rid of the color and shoot with black and white. If the golden hour sky is what’s holding that image together, then rock on with a roll of color film.
| B&W films | Description |
|---|---|
| Pan F+ | The sharpest, and finest-grain film commonly available on the consumer market. Requires a tripod, but creates the highest-quality images that are possible on film. |
| FP4+ | A classic fine-grained film perfect for landscape photography. The classic grain structure makes this film extremely flexible and tolerant of over and underexposure. |
| TMax 100 | Kodak’s Sharpest and finest grain B&W film. Uses modern T-Grains, which are sharper and capture more light than traditional grains. |
| Delta 100 | Ilford’s response to Kodak TMax. Slightly smaller T-Grains make this film have a moderately better tonal range at a slight cost of film speed. |
| XP2 | The only Chromogenic (C41-process ) B&W film on the market. Extremely tolerant of over-exposure, and the inky blacks give it a contrast range like no other available film. Shoot this one anywhere from ISO 50 to 400 on a single roll. |
| SFX 200 | The perfect B&W film for any photographer needing extended infrared sensitivity. Using this film with a deep red filter will make beautifully contrasty skies, and create stunningly white trees. |
| JCH Streetpan 400 | High-contrast, ultra-sharp black and white film with an extended Infrared range. Japan Camera Hunter StreetPan 400 is perfect for landscapes when hand-holding the camera. |
How to choose the right black and white film for landscape photography
Choosing the right black and white film is no easy task. Every film has a different purpose and produces a different look. But the chart above is a great place to start with choosing the right film for landscape photography.
The main point is that lower ISO film will create sharper images with greater resolution than high-ISO film because high ISO film requires larger grains to create a proper exposure with less light. So when you want to create the highest-resolution images possible, you will want to use a low-ISO film, like Ilford Pan F+, or TMax 100. These films also benefit from having virtually no visible grains, and can produce images with high-contrast when pushed in development.
The downside of low ISO film is that you have to compensate for the lower exposure rating by opening the aperture, or reducing the shutter speed. In most cases, when you want to create a landscape image that is sharp from front to back, the aperture cannot be sacrificed. So you will need to use a tripod to create an image with a slow-enough shutter to properly expose your image.
If you’re new to film photography, you’ll need to learn how to get the proper exposure with a manual camera — check out this simple film camera settings guide to learn the fast way.
The last consideration that you’ll have to make is what kind of film developer you want to use for your black and white film. Color chemistry all works the same, but black and white developers each have their own unique characteristics that they impart on the film. Learn more about how to choose the right film developer (and see a comparison between the most popular ones) here.
Tips for B&W landscape photography
B&W has some additional requirements to create compelling images. The best way to find out how to make a fantastic image in B&W is to take some inspiration from the masters before us.
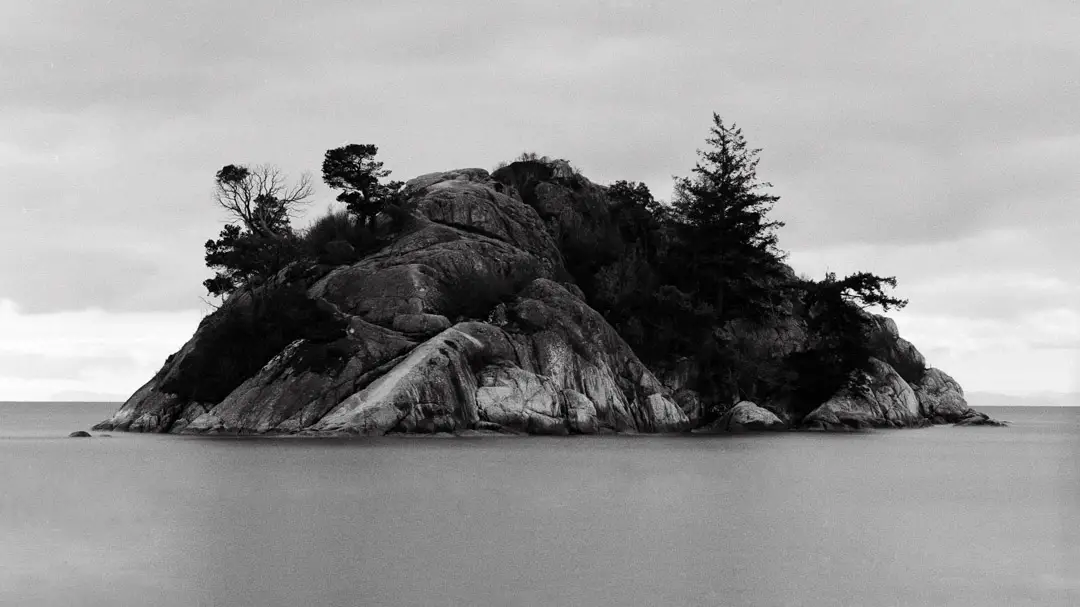
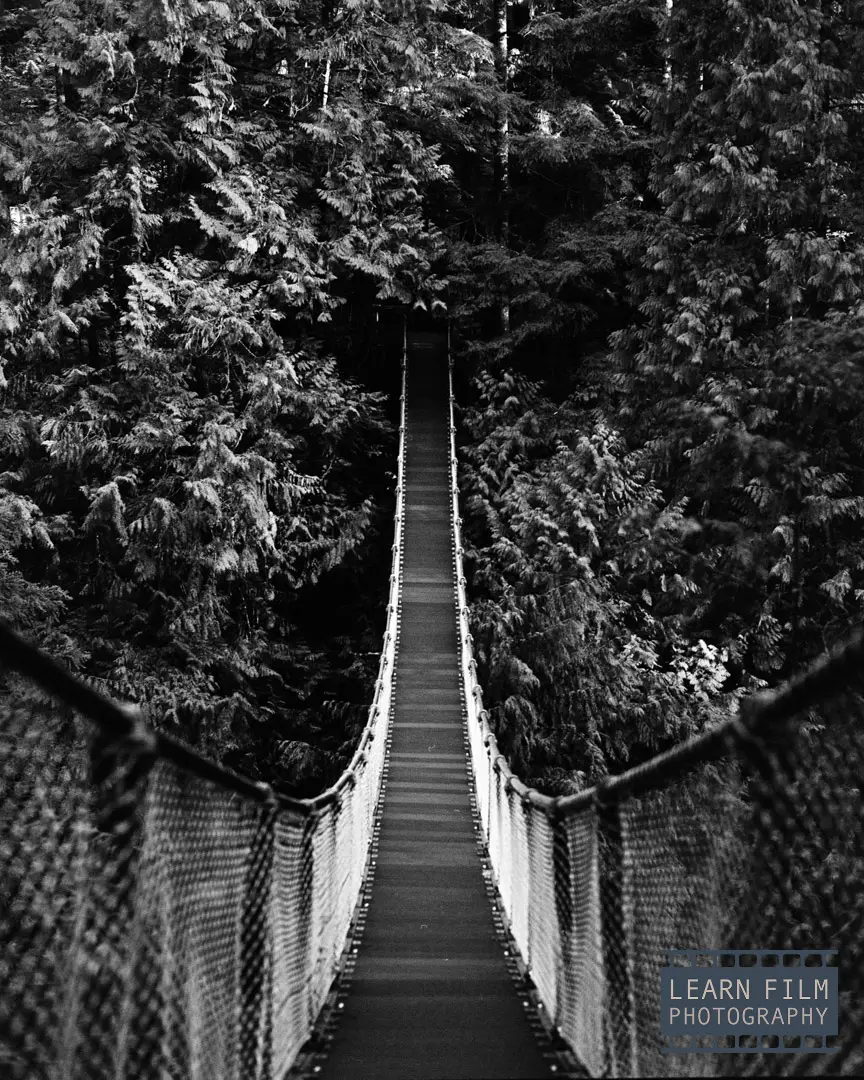
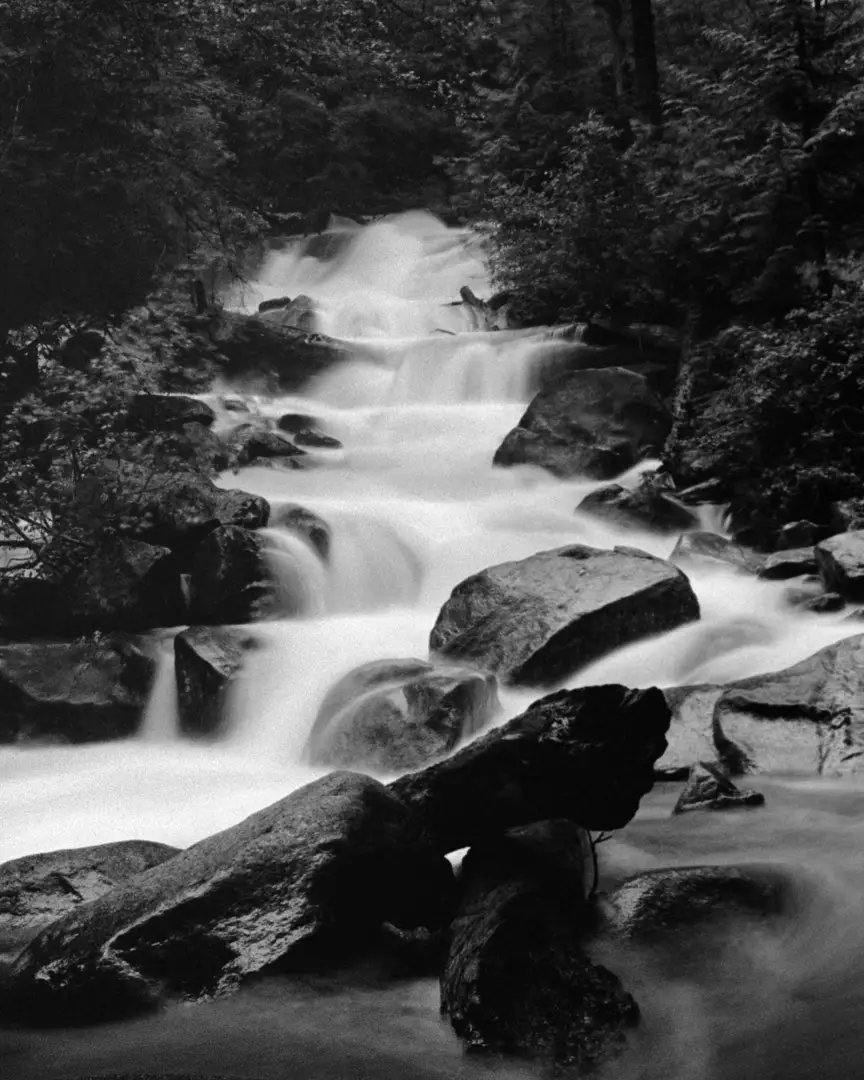
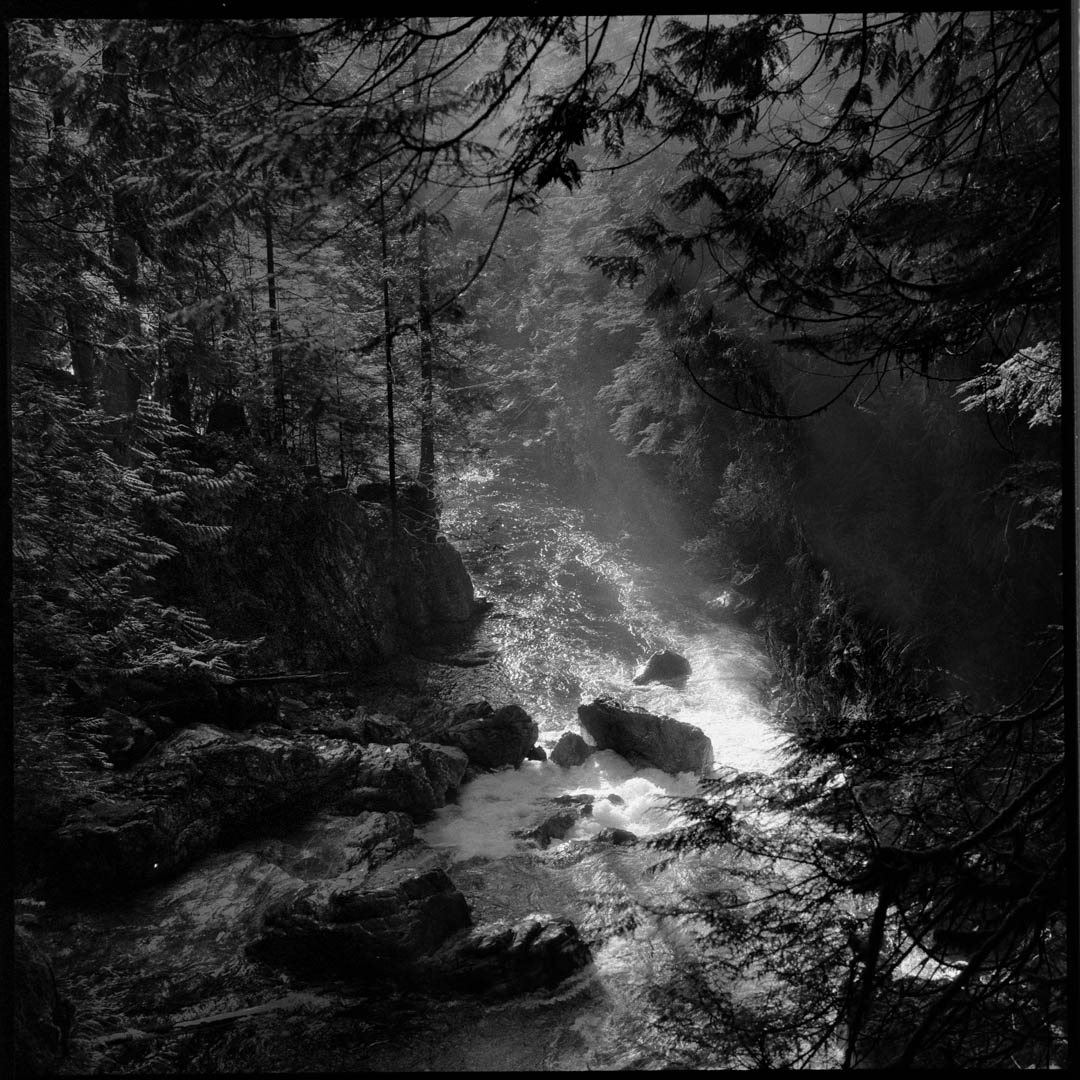
B&W landscape photography looks best with long exposures, high contrast light, and simple compositions. Use strong, textured subjects and leading lines along with long exposures to blur water and clouds. The simpler the image, the more dramatic the outcome.
There are plenty of great artists out there who make great examples for this kind of work. My favorite artists right now that continue to inspire my work are Michael Kenna and Hengki Koentjoro. Studying the works of the masters is the best path to learning how to take incredible landscape photographs.
The reason long exposures work so well is because they create contrast between the blurry and the textured parts of the image. The blurry parts become negative space that brings your eyes directly to the texture. Just the same way as dark parts of an image draw your eyes to the light.
Learn how to create long exposures using neutral density filters in this article.
Slide film versus Color Negative
Alright, so like most people, you likely decided to shoot landscapes in color. And I’m honestly not that disappointed. It takes a lot more work to capture an incredible B&W landscape than it does in color. So if you’re starting your landscape journey, one of the next questions to ask is if you’re better off using color negative or color positive film?
The biggest difference between color negative and color positive (slide) film is the dynamic range. Color negative film captures far more details in the highlights and shadows than slide film is capable of. Color negative also tends to have less overall saturation, making it easier to edit.
Color positive, or slide film can be absolutely beautiful to hold in your hands. But if there’s lost detail in the highlights and shadows, they won’t be recoverable. Slide film is also not tolerant of under or over-exposure. This means that having a good metering method is critical to getting good exposures.
Color negative, on the other hand, can be pushed and pulled with ease. Films like Kodak Portra, Gold, and even Ilford XP2 (a B&W film using color film technology) can tolerate up to 3 stops of over-exposure without any visible differences. The colors will become less saturated the more they’re over-exposed, however. But even that is something many photographers love playing around with in their landscape photographs.
Which film is the best at capturing sunsets?
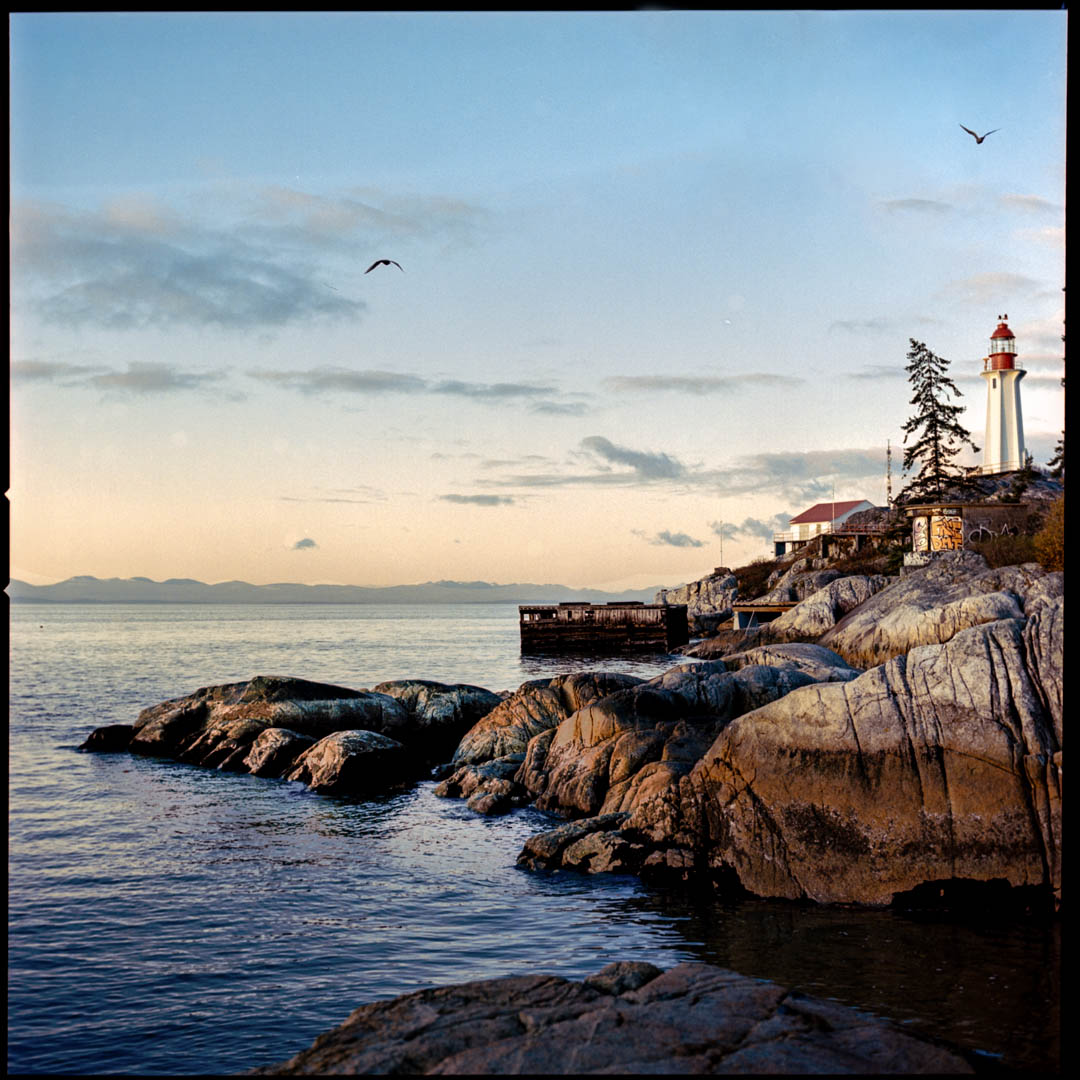
When you’re after warm tones, there’s no manufacturer that does it better than Kodak. Fuji is excellent at balancing daylight films and perfect skin tones, but their films just aren’t as vibrant at sunset.
Most landscape photographers love using Kodak Ektar 100 for landscapes because it has a greater red spectral sensitivity than Portra. Ektar is also more saturated and has a beautiful grain structure that’s perfect for landscapes. Mixing these factors together means that Ektar will create more color contrast during sunrise and sunset than Portra, which is built to be less saturated, but more flexible.
The underrated champion of landscape photography in my opinion is Kodak Gold. The film has excellent dynamic range and is slightly warmer than Portra, but less saturated than Ektar. It’s also a grainy film, which shows significantly when you’re shooting with it. When shooting Kodak Gold, nobody on Instagram will ever think you just added grain in Lightroom and called it a day.
Another fun option to try out is Lomo Purple. The geniuses at Lomography have switched around some of the film’s bases and made blues and greens turn purple for an amazing effect. This film makes deserts look trippy, and turns green fields into Lavender straight outta Valensole, France. Definitely something to experiment with.
What is the Best 35mm Camera for Landscape Photography?
The best camera system is the one you’re willing to travel with. Film cameras come in all shapes and sizes, from pocket-sized point and shoots to 1.5kg beasts like the RZ67. Personally, I like sticking somewhere in the middle. The best camera for you will depend largely on your budget and the type of look you’re going for.
When shooting landscapes, there’s no requirement for a special camera. Literally any common SLR from Canon, Nikon, or Pentax will give you incredible results. Pentax tends to be cheaper, as K-Mount and M42 lenses are still affordable, yet incredibly sharp. Canon FD lenses are seeing a crazy resurgence now, making them more expensive than ever before.
And Nikon lenses are just as expensive as they always have been. Since Nikon kept the same mount from 1959 until they released their mirrorless systems, meaning those lenses work the same on an FM2 as they do on a D850. With that in mind, if you already own some Nikon lenses, a Nikon SLR like a FM2 will allow you to get incredible quality without taking chances on lenses.
In reality, the camera doesn’t matter all that much. The best one is most likely whichever system can be found locally. In some parts of the world, Canon camera and FD lenses can be found for a couple dollars. In others, it’s Pentax, or Nikon. Go to a local used camera store and choose whichever one fits best in your hands.
Medium format for landscape photography
There is still a time and a place for medium and large format photography. It’s normal for people to lust after using larger formats of film because it captures so much more detail. I love playing around with my 645 camera, because the photos it takes are just incredible. That said, I always scan those negatives with a DSLR. In the end, however, the grains are significantly less noticeable, and the tonal range is simply out of this world.
But whether or not it’s worth it is up for debate. The cost of lenses and film more than double when purchasing a medium format system. Instead of getting 36 photos, you’re limited to 15 on the 645 systems, down to as little as 9 shots on a 67 system. And when you’re focusing on distant landscapes, the depth of field advantage that exists for medium format disappears completely.
A big reason why photographers move into medium and large format film for landscape photography is because these cameras offer them more quality than can be captured by a digital camera. If that’s your goal, then I would suggest sticking with digital. Because while that might be true when you’re taking a single photograph, there are all kinds of ways to make larger, more detailed images with even an entry-level camera and a tripod. Panoramas, and HDRs are just one way that a digital camera can vastly out-perform a medium format Hasselblad.
But that doesn’t mean Medium format isn’t worthwhile. There is something special using a camera that can take images that size. They’re amazing pieces of machinery that feel like they capture the essence of life in every photograph. Having a large viewfinder also helps to immerse yourself into the frame of the photograph in a way not possible through a tiny 35mm viewfinder.
However, if you’re considering investing in Medium Format, I’d absolutely suggest renting a camera from a store before purchasing. Try it out and see if the larger image size is worth it for you.
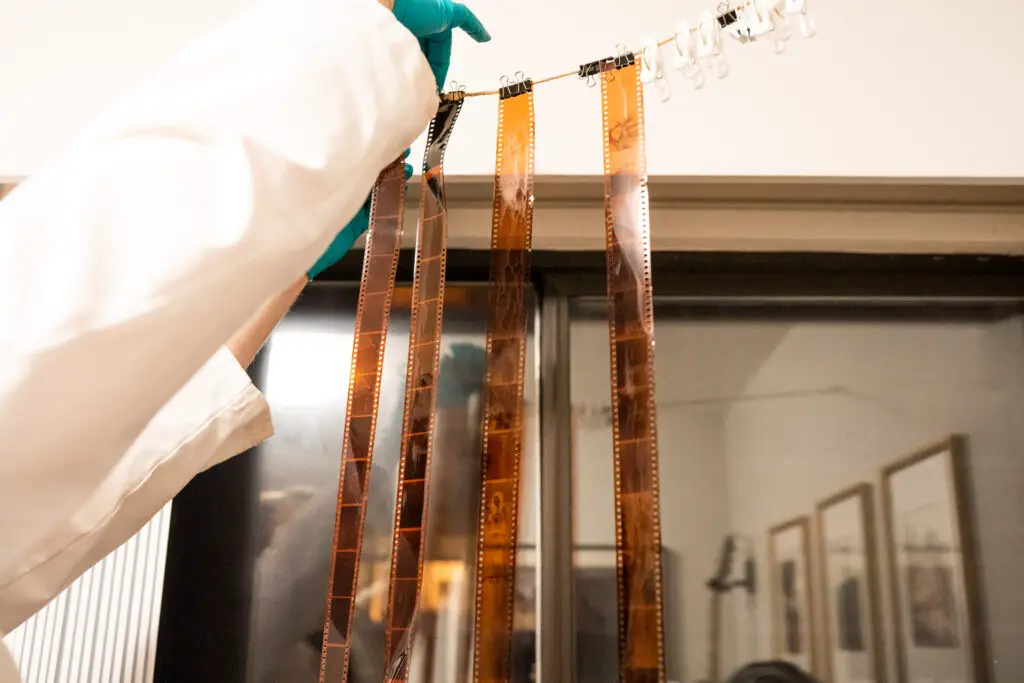
Should I Develop Film at home or at the Lab?
Landscapes aren’t like other forms of film photography. When you get that perfect sunset, you’ll want to have the highest quality negatives possible. For many people, that means pushing film isn’t as much of an option. It also means that re-using color developer from a home C41 kit might prove more disastrous than helpful. So when is it a good time to develop film at home?
As a general rule, when you need high-quality color developing done, you’re better off taking the film to a lab than developing at home. However, it’s the opposite for B&W, where developing at home can give you more control over the final product than will come from developing at a lab.
That’s my usual thought process. Developing color rolls at home leaves a lot of room for mishaps. If the temperature isn’t perfectly consistent, or if I accidentally get a bit of blix in my developer, whole rolls of film can be ruined. But Black and White is typically less fussy. In most cases, small variations in temperature won’t make a major difference in the outcome. And having the choice of different developers means that I can choose the look I want based on the roll I shot. I can under-agitate if I want a little less contrast in the image, or I can over-agitate it if I want the blacks to be deeper.
What do you shoot your landscape photos with? And what’s your favorite film stock for shooting landscape photographs? Let me know in the comments below!

By Daren
Daren is a journalist and wedding photographer based in Vancouver, B.C. He’s been taking personal and professional photos on film since 2017 and began developing and printing his own photos after wanting more control than what local labs could offer. Discover his newest publications at Soft Grain Books, or check out the print shop.