
Wasting film is never fun. Especially for new photographers, every shot on a roll of film feels precious and valuable, so it’s important to understand how to properly expose your images to get the most out of this incredible medium.
In this no-nonsense guide to exposure settings on film, we’re going to dive deep into the decisions that you can make, and what the effect will be.
Film exposure is similar to digital — they both use the same settings, the only difference is that the film ISO is set by the roll in your camera. And at the end of the day, film is an easy-to-use flexible medium (unless you’re shooting slide), so even if you made a mistake with the exposure, you’re still likely going to create a good image.
We’ll start with the exposure triangle for film photographers. Jump to the section on metering film below here.
The Exposure Triangle
There are three controls that you have to work with on every camera, whether it’s a film camera or digital. Those are shutter speed, aperture, and ISO.
These three settings are all designed to work in tandem. So if you use a one-step smaller aperture, then you can use a one-step slower shutter speed to compensate for less light entering the camera. This is called reciprocity.
Here’s what the settings do.
Shutter speed: choosing whether to freeze or capture action
On film cameras, the shutter speed is usually controlled by the dial on top of your camera. Some cameras that have the shutter inside the lens (like Hasselblads, or lead shutter cameras) will have this control on the lens.
The shutter speed dial will have numbers like 50, 125, 250, 500, and B (for bulb mode). The shutter speeds are measured in fractions of a second. 500 on the dial is actually 1/500 of a second.
The dial might have one setting marked by an X, which is the maximum sync speed of the lens.
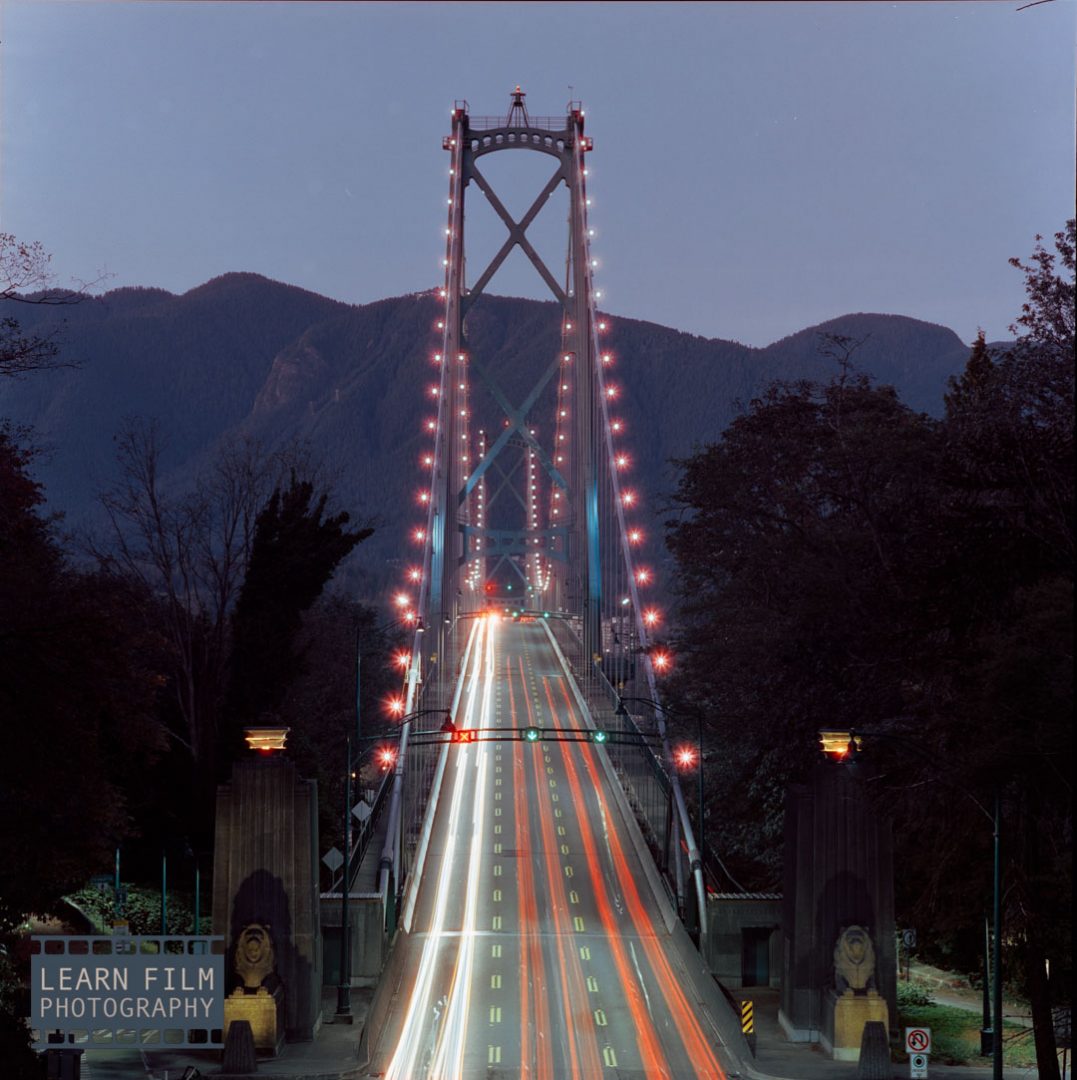
A fast shutter speed (like 1/500, or 1/2000) will freeze action, like people moving or the wings of a bird in flight. Longer shutter speeds, like 1/15, 1s, or 8s, will blur all of the motion that happens during that exposure.
When hand-holding the camera, you have to consider using a faster shutter speed to compensate for any sway in your hands. The general rule to follow is to use a shutter speed that is at least as fast as the focal length of your lens.
So if you’re using a 50mm f/1.8, you want a shutter speed that is at least 1/50 on the dial. Faster is better, but if you’re working with limited light, then this will usually be enough. It’s also possible to use slower settings, but just be sure to keep the camera as steady as possible to avoid blurry photos.
ISO: how to choose the right ISO film stock
The ISO is not just how sensitive your film is to light, but also how large the grains are, and subsequently the resolution of your film.
Low ISO film stocks like ISO 50 or 125 need a lot of light to create a proper exposure. But they make the highest-resolution photographs (which can sometimes even out-resolve major digital cameras). These films create images that are essentially grain-free, tack sharp, and with good dynamic range, but more contrast than 400-speed film.
Higher ISO films like ISO 400 are meant for everyday handheld shooting in daylight. In most cases, a 400-speed film will allow you to get perfect exposures without a tripod. 400-speed films also have the highest dynamic range and tonality on the market because they use a mix of large and small grains that make them much more versatile.
400-speed film an usually be shot between ISO 125 and 800 without needing to be pushed or pulled in development.
ISO 800 plus — film for shooting indoors and at night
When you need that last push of sensitivity to capture images in low light, you have to go for higher ISO film stocks like Portra 800, Cinestill 800t, and Ilford Delta 3200.
Portra 800 and Lomo 800 are perfect films for shooting at sunrise and sunset when you need more sensitivity to capture detail in the shadows, but they’re not the greatest for use after dark. These films are daylight balanced, meaning they work best outdoors and under the sun.
When using Portra 800 and Lomo 800 under tungsten (warm yellow) balanced lighting indoors or under street lights, you will have to adjust the ISO down to 200 to create a proper exposure. CineStill 800t is the only color film that does not need an adjustment under streetlight or indoor lamps, making it the best film for night photography. Because it’s tungsten balanced, it is sensitive enough at the red end of the spectrum to create an even exposure.
Under daylight or studio lighting, an 85c warming filter should be used with Cinestill 800t to create a proper white balance. The blue cast in daylight from not using the filter can be corrected in Lightroom, but the results are never quite as good.
Black and White films like Ilford Delta 3200 or Kodak P3200 do not need an ISO adjustment under tungsten lighting.

How ISO affects image sharpness and resolution
Higher ISO films require larger grain sizes to make them more sensitive. Larger grains are more likely to be struck by the right amount of light with enough energy to make the grain developable.
But when larger grains are used, there are fewer possible image sites on the negative. That means that high ISO film has lower resolution and less sharpness than images made on low ISO films.
ISO 400 films have a post-development resolution of around 15 megapixels, while ISO 100 film can have between 60 and 80 megapixels or resolution just because of the size of the film grains.
I did a deep dive into film resolution in this article where I used crowd-counting techniques to make a good approximation of post-development film resolution.
Or if you’d like to learn more about how film grains work, you can learn about it here where I’ve created some high-end graphics that explain everything.
ISO flexibility
Every film comes with a specific ISO rating where it will perform its best. But they all have a 1-stop tolerance for over or underexposure. For example, if you are shooting an ISO 400 film, you can take photos between ISO 200 and 800 on the same roll and come back with good photos, or similarly, you can use an ISO 100 film between ISO 50 and 200.
You can also shoot a roll of ISO 400 film, like HP5 or Kodak Portra 400, at ISO 1600, if you push the film in the development at home or at your lab (just be sure to ask if they do push processing beforehand!)
You can also pull the film if you want to use it at a much lower ISO than it is rated to get a lower contrast and saturation. Most film has extremely good overexposure latitude, often being able to handle 2 or more stops without losing details.
Learn more about getting the best results while pushing and pulling film in this article.
Aperture: controlling focus blur
Aperture is the diaphragm inside the lens that controls the amount of blur in the photo. A larger aperture lets in more light, allowing the photographer to use faster shutter speeds and lower ISOs, but also reduces the amount of the image that is in focus.
This is called ‘depth of field,’ where a large depth of field corresponds to a small aperture or a large f/# like f/16. A large aperture, like f/2.8 or f/1.8 lets in more light, and creates a smaller depth of field.
In this case, the f/# works the opposite as you’d expect — a higher number means a smaller aperture. If you have any complaints, please mail them to Robert Hooke at Gresham College in London.
Using a large aperture to create a small depth of field, or using focus blur is a favorite method to separate your portrait subject from the background. Though for landscapes, most photographers use smaller aperture values, or a larger depth of field to capture everything in focus.
Aperture and image sharpness
Aperture also unfairly affects the overall sharpness of the image.
Shutter speed only affects the sharpness of moving objects, but depending on the characteristics of the lens, the aperture can actually make a major difference in the outcome of an image.
Older lenses or cameras with plastic lenses will lack sharpness when wide-open apertures are used. This is because these lenses aren’t as astute at controlling focus field curvature, which is where the focus isn’t evenly spread across the image plane.
Smaller apertures make more of the image in focus both in front of the lens and behind it. Meaning small changes in where the focus plane lands on the film won’t result in unsharp corners.
But if you go too small, the aperture opening in the lens can be so small that the waves of light will actually interact with each other, causing the image to be unsharp overall.
Scientists call this effect diffraction, and it usually begins to set in around f/18 or smaller.
So the sharpest aperture is usually two stops down from the maximum aperture value. That means if you’re using an f/1.8 lens, you can expect the lens to be sharpest between f/2.8 and f/4. An f/2.8 lens will be the sharpest around the f/4 to f/5.6 mark.
How to meter your film
Once you know what the settings do, it’s time to meter your images to create a proper exposure with your camera.
If your camera has a built-in light meter, you will need to set the ISO before you meter the scene. Most built-in light meters work in aperture priority mode and will give you a reading for the shutter speed based on the aperture and ISO that have been set on the camera.
You can push or pull the film by setting the ISO to a different value than the box speed.
Mobile light meter apps also use aperture priority readings by default, but can also work in shutter priority mode. I recommend using the Light Meter app by WBPhoto. This application is the best option on the app store because it gives you a preview of your exposure, and has a spot meter function that allows you to meter for a specific area of the frame.
| Condition | Aperture value |
| Cloudless, snowy day | f/22 |
| Bright Full Sun | f/16 |
| Hazy Full Sun (LA, New Delhi) | f/13 |
| Midday, light clouds | f/11 |
| Midday, mostly cloudy, or subject in the shadows | f/8 |
| Overcast | f/5.6 |
| PNW/Great Britain heavy overcast | f/4 |
| Sunset/Sunrise | f/2.8 |
| Blue Hour Photos | f/2 |
| Times Square/Las Vegas Strip at Night | f/1.4 |
| Dimly Lit Bar | f/0.7 |
Sunny 16: how to capture perfect exposures without a light meter
The Sunny 16 method is one of the fastest, most fuss-free ways to meter an image and get a perfect exposure. The Sunny 16 rule relies on the fact that film is very flexible with its exposure, but there are still a few things to consider when making a perfect exposure.
The system works by setting your shutter speed to the closest number as your film ISO. For example, if you’re shooting 100 ISO film, then use a shutter speed of 1/125, or 1/500 with ISO 400 film. Then, choose the aperture value that corresponds to the weather conditions of shooting environment in the chart above.
You can always adjust the aperture up or down if you want to change your shutter speed. Opening the aperture by one click will mean you can use a one-click faster shutter speed, which is known as reciprocity.
The primary consideration you must make when using the Sunny 16 rule is that film handles overexposure better than underexposure. That means if your subject is in the shadows on a pure sunny day, you’ll want to stop down you aperture from f/16 to f/11, or even f/8 to ensure that they are perfectly exposed.
Learn more about using the Sunny 16 rule in this in-depth article.
Metering for the shadows
One of the best pieces of advice for film photographers is to meter for the shadows. Film has good overexposure latitude but poor underexposure latitude.
Film is a physical medium without any method of interpolating data. That means if detail is not captured, there will be no way to recover it.
So by metering for the shadows, you will exposure the shadows correctly and overexpose the brightest parts of the image. Since film has high overexposure latitude, you will be able to bring back the brightest areas and create an even exposure (though most film will show more grains when overexposed). Learn more about overexposing film in this article.
Images where the photographer meters for the shadows tend to have much lower contrast. When scanning, the images may not look as interesting straight out of the camera. The point of doing this is so that you can have more control over the exposure when editing the image both in Lightroom and in the darkroom.
Metering for the shadows means you will have to use a spot meter and capture a reading from the darker parts of a photograph, such as the shady place under a tree, or the darker side of your subject’s face/clothes.
Reciprocity Failure: considerations when shooting film in low light
Above I mentioned reciprocity, which means that when you open the aperture by one stop, you will make a one-stop brighter image.
In most cases, film creates a 1-stop denser image when the exposure time is doubled, the aperture size is doubled, or the ISO is doubled. But at night, reciprocity breaks down because the light waves don’t carry enough energy to excite enough electrons to make a film grain developable.
For most films, reciprocity breaks down when you need exposures longer than 1 second. Though some film stocks like Fuji Acros II are sensitized in such a way that they are are able to retain reciprocity until 120 seconds of exposure.
If you’re not shooting Acros II, then you can compensate for reciprocity failure by multiplying your exposure time in seconds to the power of 1.31. so if your measured exposure requires 1 minute, the calculation would look like 60^1.31 (using the ^ or x2 button on you calculator), = 213 seconds, or roughly 3 minutes and 40 seconds.
See a more in-depth explanation of reciprocity failure in this article about shooting film at night.
What happens when you meter for the highlights? How to increase contrast in your images
If you want an image that is contrasty, then you need to meter for the highlights of the scene.
What will happen is the brightest areas will be the only part of the image that forms the image. The shadows will drop off to near black.
There are many cases where this is desirable. For example, if the subject of the image is in the highlights, then metering for the highlights will bring all of the attention to your subject.
To meter for the highlights, you will either need to take a reading right next to the brightest part of the image, or use a spot meter and take a reading from the bright areas.
Final thoughts
Film cameras are not nearly as forgiving as digital, but there is still room to make mistakes.
As a general rule, it’s safe to over or underexpose your film by one stop, and you’ll still come back with good negatives.
I’ve screwed up so many times, but I still always have images on the negatives when I pull them out of the developer. So at the end of the day, try out as much film as you can and keep practicing.

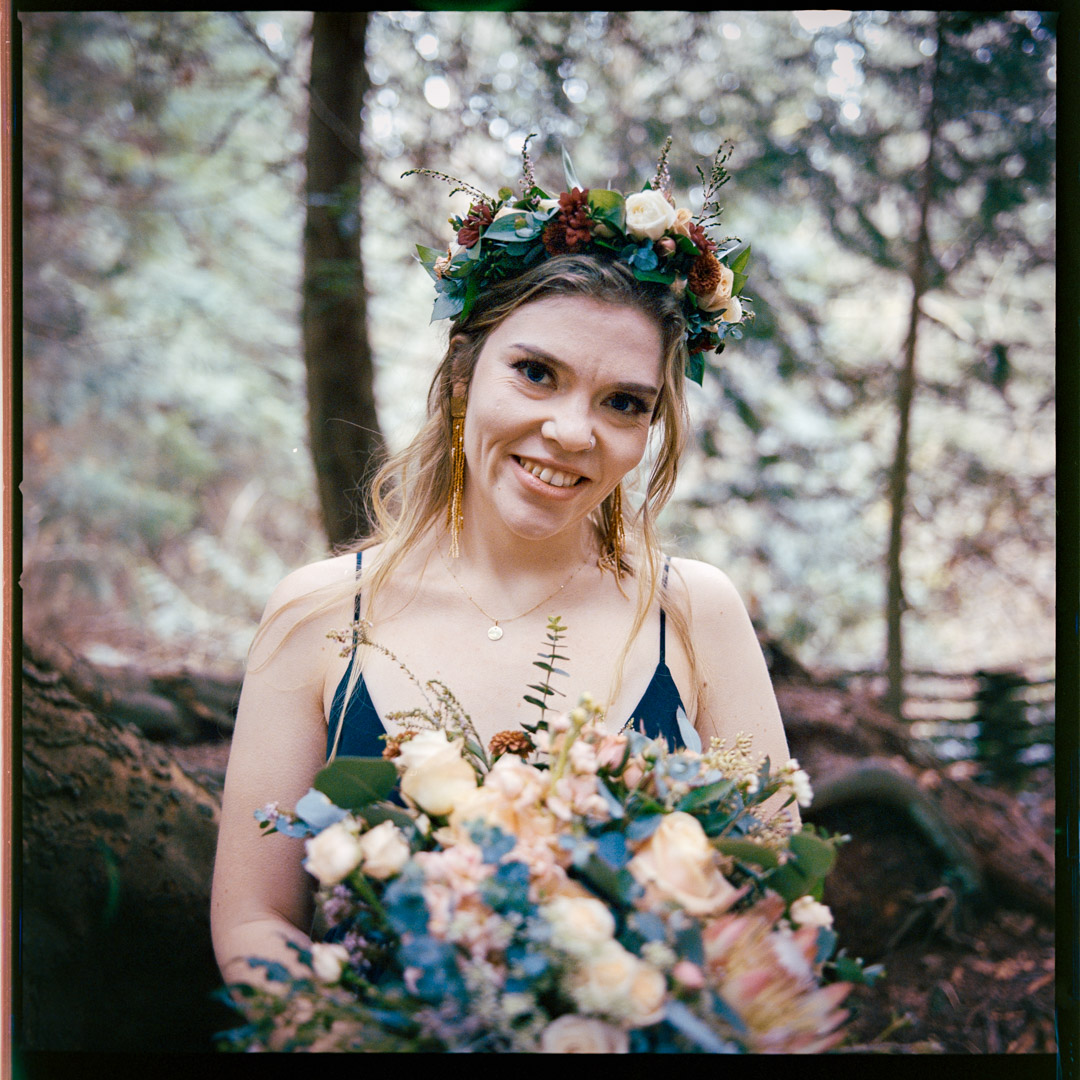
By Daren
Daren is a journalist and wedding photographer based in Vancouver, B.C. He’s been taking personal and professional photos on film since 2017 and began developing and printing his own photos after wanting more control than what local labs could offer. Discover his newest publications at Soft Grain Books, or check out the print shop.
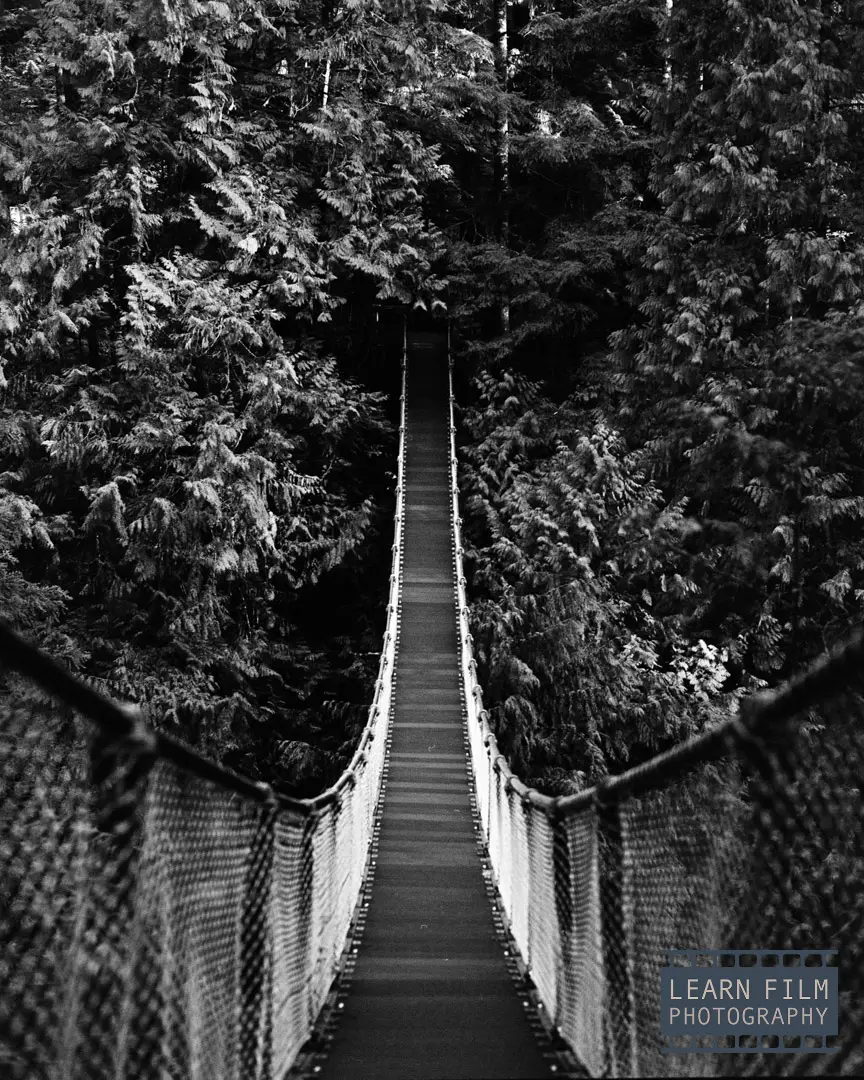
It is a wonderful picture along with good light :–RRB-