Life doesn’t always happen at the film speed printed on the film box. If the perfect opportunity occurred at night and all you had was HP5, ISO 400 likely wouldn’t be fast enough to get a good exposure with a shutter speed fast enough to create a sharp image. So what exactly do people mean when they say they are pushing or pulling their film?
Pushing and pulling film is the process of shooting a roll of film at a different ISO than the box speed. Any roll of film can be shot at different ISO values, whether it’s color, B&W, or slide film. Many photographers also push or pull their film to alter the contrast or graininess of their images.
Pushed film is grainier, and has more contrast than, meaning there are fewer details in the highlight and shadow portions of the film. Pulled film, on the other hand, will look cleaner and exhibit less grain and contrast, making the negatives more flexible when printing and post-processing.
In this guide, we’ll go over how to push and pull film at home. The push/pull process is simple and doesn’t require any additional equipment. It’s a great tool to experiment with and it makes film photography more versatile.
How to set your camera to push and pull film?
Pushing the roll starts in the film camera. Set your camera meter to the desired film speed rather than the film’s native box speed, and be sure to meter for the shadows. If your camera reads the DX codes on the film canister, then you’ll have to override that setting in the camera menus.
Most film cameras that read DX codes do have a setting that’ll allow the user to override the film speed. However, there are many point-and-shoot cameras that do not have this function.
If you’re metering with a mobile phone meter (like this one that I recommend) or a hand-held light meter, then simply change the ISO reading to your desired setting.
Be aware that you cannot only push just half a roll of film. You have to choose from the moment you load the camera if you’re going to push or not.
And with most films, you can get away with over or underexposing the roll by one-stop without changing the way you develop it. That means you can shoot a typical 400-speed film between ISO 200 and 800 without having to push or pull that film.
How do I push or pull film when developing at home?
Pushing film at home is easy. If you’ve already developed a roll or two of film, then the process won’t take much of an adjustment.
Most of the developing times for push and pull processing are available on the Massive Dev Chart. Especially when using popular film stocks, this resource will have tested formulas for almost every combination possible.
If you’re looking for a push/pull recipe that isn’t available, however, there is a simple rule to follow.
To push film, add 30% per stop more development time, or to pull, reduce the developing time by 20% per stop. Every film is different, but if the push and pull development times are not listed on the Massive Dev Chart, then the 30% rule typically results in good negatives according to The Film Developing Cookbook by Bill Troop and Steve Anchell.
If you’re pushing or pulling film by extreme amounts, it’s always important to test the combination before using negatives that contain precious memories. That way you’ll know beforehand if you need to adjust the developing times to produce better results.
Can I get my lab to push or pull my film?
Most analog film labs will push or pull film by a stop or two. However, not all labs are willing to push and pull film because it isn’t as economical as simply developing every roll at box speed. If you’re not sure, contact your lab or check online. Most labs that will push and pull film typically include a $1 – $5 fee for the service.
Make sure that you properly label the film that you want to push or pull before dropping it off at the lab. If the film isn’t labeled, the lab will always develop at box speed.
What happens when I push film?
Pushing film is the process of developing it for longer periods of time with the expectation that the film developer will have a better chance of finding developable grains, and turning them into metallic silver. Learn how film grains work here.
This technique has been used for over 100 years by photographers looking to get the most out of their films when shooting in dark environments. The process is simple: simply expose your film to less light than it is rated for by using a faster shutter speed or a smaller aperture, and make up for it by leaving the film in the developer for longer.
But what does pushing film do to the resulting images?
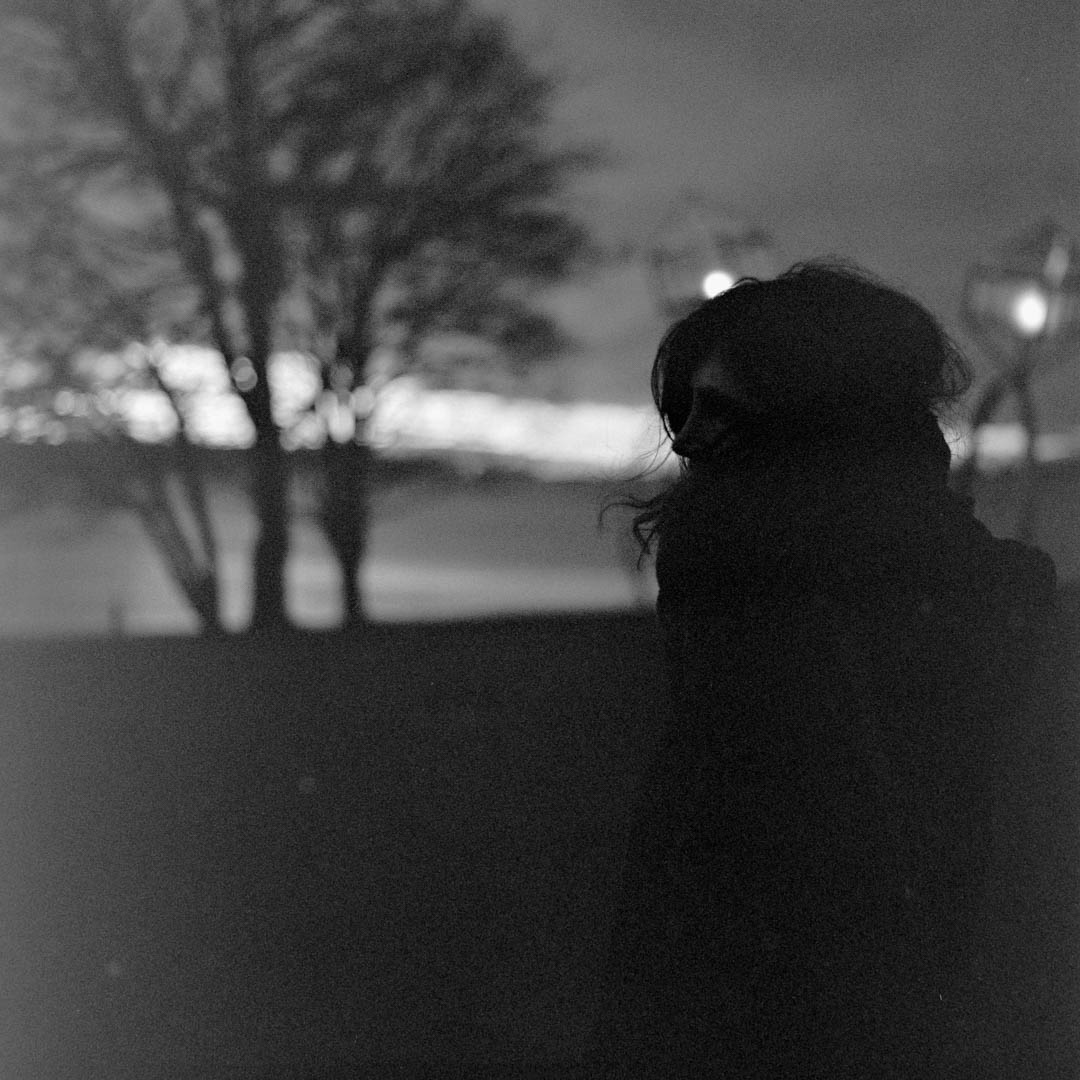
Pushed film appears grainier and contrastier than film shot and developed at base ISO speed. The highlights become brighter, while the shadows stay mostly the same. The look created by pushing film is loved by street photographers looking to create that classic film look in their images.
The shadows in pushed photographic film will appear to have less detail than they would if the film had been shot at its base ISO. That’s because even if more developable grains are found in the shadows of the film, there may not have been enough light physically captured to show a noticeable change.
That said, the highlights and mid-tones of the film negative almost always contain more developable grains that the developer solution finds during normal development cycles. So the image in those sections will appear brighter, and can even lose some detail in normal scans. In this case, I recommend using HDR scans to capture all of the detail available on a single negative.

How color negative film reacts to pushing
Color films obviously have more variables than B&W. When pushing these films, they tend to show the effects by changing colors.
When pushing more than 2 stops, color film exhibits greater contrast, increased grain, saturation, and color shifts. The most common sign of pushing film is when the shadows take on a green tint, and skin tones become less natural.
Some color films do push better than others. For example, Kodak Portra 400 is an exceptional film for pushing and pulling, while Kodak Gold loses shadow details quickly and tends to become overly grainy and saturated after the second stop
What are the best developers for pushing film?
Some developers are better than others when pushing film.
According to The FIlm Developing Cookbook by Bill Troop and Steve Anchell, the best developers for pushing film are the ones that aren’t designed to create fine-grain negatives. A good pushing film developer will also need to produce low levels of developer fog, which is caused by an over-active developer that developers grains that weren’t hit with enough light.
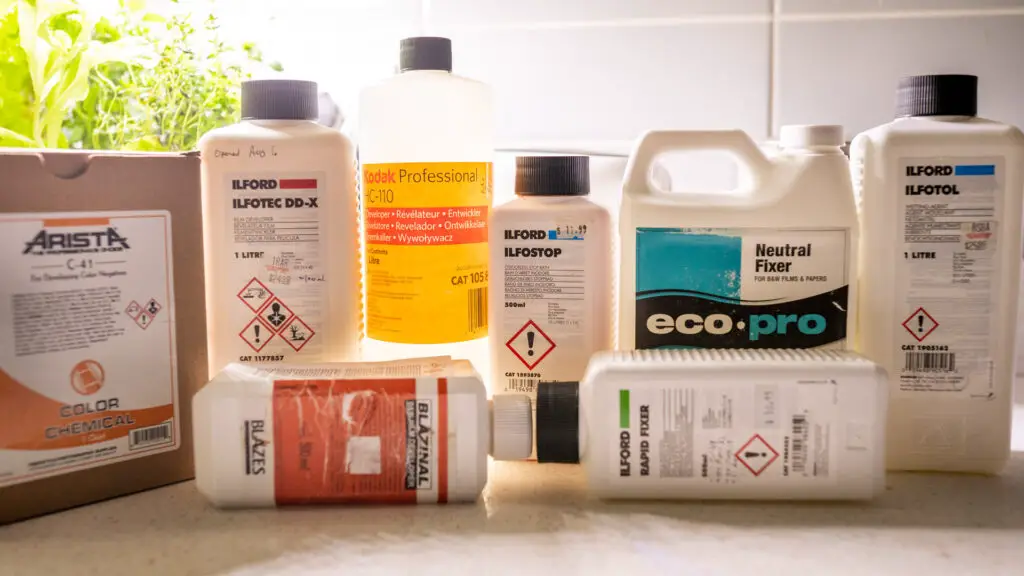
The best developers for pushing B&W film are Microphen and DD-X. Both of these developers are known for boosting shadow details and creating noticeably denser negatives with rich tonality.
Microphen specifically will create an immediate 1-stop push on any film, meaning you can shoot a 400 speed film at ISO 800 and develop it normally. DD-X is almost as good, but the reason most photographers choose DD-X is because it comes in a convenient liquid format instead of powder.
Although, perhaps the most commonly-used developer for pushing film is Rodinal. Even though it’s technically not the best at pushing film, this developer is ubiquitous on film photographer’s shelves. Rodinal is the cheapest liquid B&W film developer, and it has the longest shelf life on the marketplace. It is also known for producing large-grain film results photographers are drooling over on Instagram.
There are more battle-tested developing formulas on the Massive Dev Chart for Rodinal than any other developer on the market.
Learn which black and white developer is the right one for you in this article.
Pro tip: push film in dilute film developers for the best results. Developing for longer times in diluted developer lowers the contrast and reduces highlight blocking by allowing the developer to exhaust in the dense areas during the development cycle. Learn more about stand developing your film here.
What happens when I pull film?
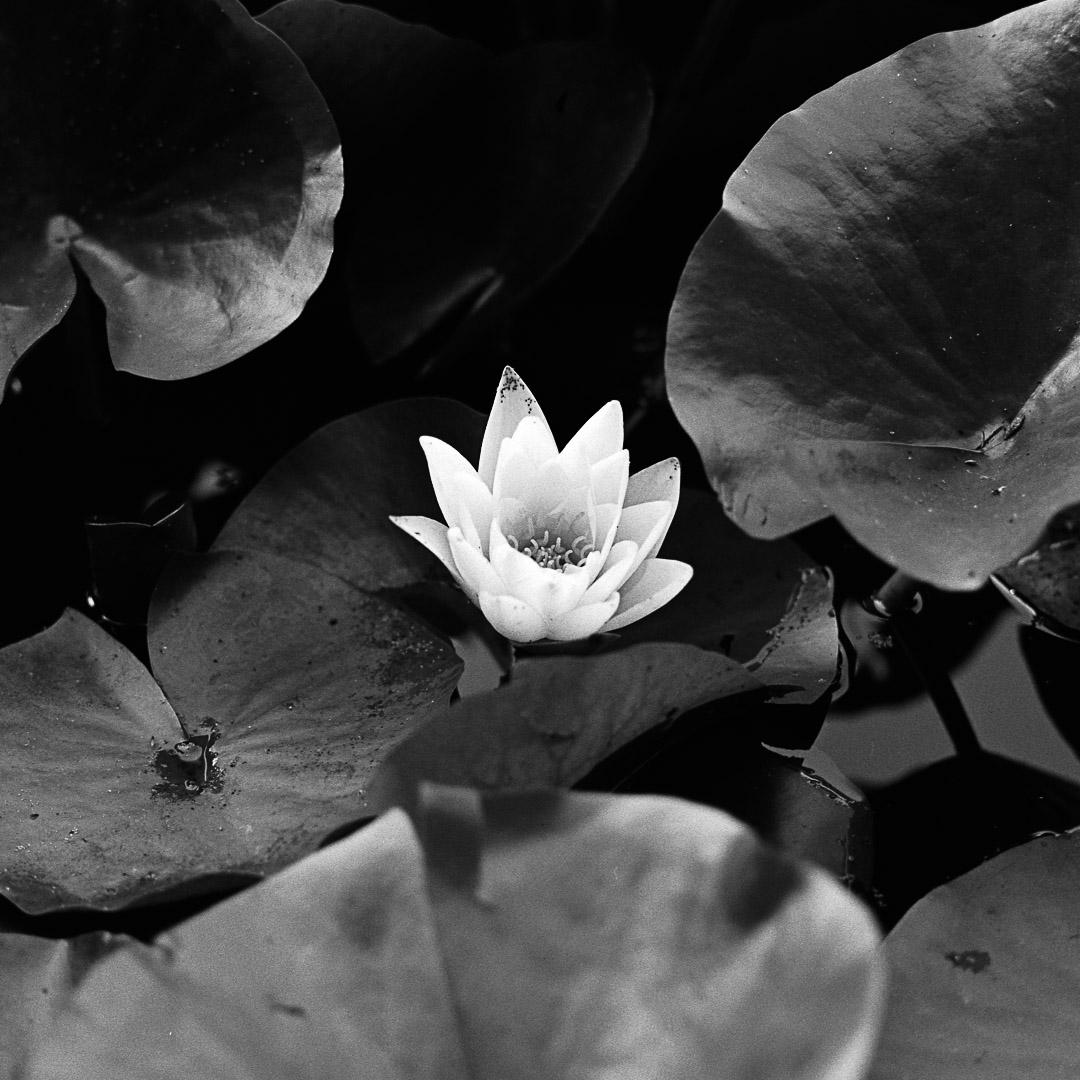
Pulling film is an important technique when you’re photographing in bright light, or when you want to reduce the amount of overall contrast and grain.
Color and chromogenic films have a remarkable tolerance to overexposure and often produce brilliant images even when overexposed by as much as 3 or 4 stops. Black and white film is less tolerant of overexposure but also sees a lot of benefits from over-exposure.
The reason film appears grainy is not because of the grains themselves, but the spaces between the grains. So by pulling film, you’re exposing the grains to more light, which means there will be fewer empty spaces on the negative. Pulled negatives typically have extra shadow detail, and are remarkably flexible when printing.
Scanning pulled negatives can be difficult, however, as flatbed scanners, like the Epson V550 or V600, may struggle to produce high-quality images through dense negatives. Just like when capturing an image in low light, the scanners have to increase their ISO to create a proper image. That ISO produces noticeable digital noise and reduces the amount of detail in the image.
Images on pulled film also aren’t necessarily sharper than images shot at box speed. That’s because the reduced contrast can mean that mid-tones don’t appear to have as much differentiation from the black lines that make an image appear sharp.
Overall, if you’re looking for clean, detailed negatives with a lot of detail in the shadows, the best move is to overexpose by 1 stop.
How do I pull film?
Pulling film is easy. All it requires is a 20% reduction in the development time per stop pulled.
So for example, if you are pulling color film 2 stops (such as shooting Portra 400 film at ISO 100), you would start with the standard development time of 3.5 minutes, multiplied by .8 for the first stop, then multiple the number by .8 again for the second stop. Your developing time then becomes 2.24 minutes, or approximately 2 minutes and 15 seconds.
The same calculations will work for black and white film in any developer that you choose. That said, slower developers, like Black, White, & Green by Flic Film will give you better results when pulling film than fast developers like HC-110.
How does color film react to pulling?
Most photographers love the look of pulled color film. When color films are pulled, the colors become softer and less saturated. The images will also have lower contrast, which makes them easier to print.
All color film is chromogenic, meaning it forms an image using a dye that spreads into the film base when the silver is developed.
Unlike traditional B&W films, chromogenic film emulsions can be overexposed by 3 or more stops and still produce printable results without any pulling during development and still produce images with rich highlight tones. When overexposed by the same amount B&W film will lose all highlight detail and can become flat and uninspiring, where those overexposed highlights in color film can be easily recovered.
Since color film is so tolerant of overexposure and pulling costs extra at the lab, many film photographers opt to skip the pulling process altogether.

What are the best developers for pulling film?
Most developers are good at pulling film, but some do it better than others. The best overall developers for pulling film are ID-11, D-76, Perceptol, and Xtol. Fast-acting developers like HC-110 are typically not very good for pulling.
All of these developers will produce incredible results, especially with films slower than ISO 200. Faster films will suffer a loss in quality when using Perceptol and ID-11, because these film developers eat away the grains.
Faster films rely on large grains to increase their speed, and when those are eaten away by a fine-grain developer, the films end up losing significant sharpness and tonality. For anything faster than ISO 200, Kodak Xtol is the best developer for pulling.
Which films are the best for pushing and pulling?
The best films are typically 400-speed with classic film grain emulsions. That’s because classic grain films produce the most tonality, making them far more flexible than modern, sharper emulsions like those made from T-Grains. As a general rule, 100 speed or slower film stocks do not push as well, (but are excellent for pulling) because they almost always exhibit much greater saturation and contrast than 400-speed film.
The best B&W films for pushing and pulling are Kodak Tri-X and Ilford HP5. HP5 shows better results with large pushes because of it’s lower overall contrast. But Kodak Tri-X looks the best when shot between ISO 200 and 800. Both films can be shot between ISO 200 and 800 on the same roll and developed at box speed with good results.
Cheaper films like Fomapan, or Kentmere film stocks don’t push as well as the professional films. These films typically use less silver in the emulsion than the professional film stocks, which means they become grainier and lose their sharpness when pushed or pulled. That said, you can still get away with pushing them a stop or two. In fact, films like Kentmere 100 push well above their weight when pushing.
For color film, the answer isn’t as simple. In this case, the more expensive color negative films are the best for pushing and pulling. Kodak Portra 400 and CineStill 800t are by far the best films for pushing, making them excellent choices for night photography.
Slower films, like Kodak Ektar, are typically not as good for pushing because the film stock relies on using smaller grains to produce cleaner results. That means when pushed, the film will lose a lot of detail in the shadows.
I do not recommend pushing and pulling color positive films like Ektachrome or Velvia. These films have a very small dynamic range, and are known to require almost perfect exposures to produce good results.

By Daren
Daren is a journalist and wedding photographer based in Vancouver, B.C. He’s been taking personal and professional photos on film since 2017 and began developing and printing his own photos after wanting more control than what local labs could offer. Discover his newest publications at Soft Grain Books, or check out the print shop.
Tried this once, did not work out , but will try try again!
https://www.photrio.com/forum/threads/hydrogen-peroxide-steaming-to-gain-addl-speed.100360/print
A friend and I nicknamed it; Ilfopush as in Ilford!
TB
ID-11 bad. D76 good. Yet they are the same thing. Confusing.
Thanks for that, I fixed it. This was one of the earliest articles that I wrote for this blog, so it definitely needed a bit of a re-write. Thanks for leaving that comment and letting me know about this — always happy to correct the record.