Over the last two years, I’ve spent most of my time perfecting my night photography on film. Film presents some unique challenges over shooting digital, but the results are clearly worth it.
Shooing film at night requires three key considerations to create a proper exposure: 1. using the right type of film, 2. adjusting for reciprocity failure, and 3. adjusting the ISO to work under tungsten light sources.
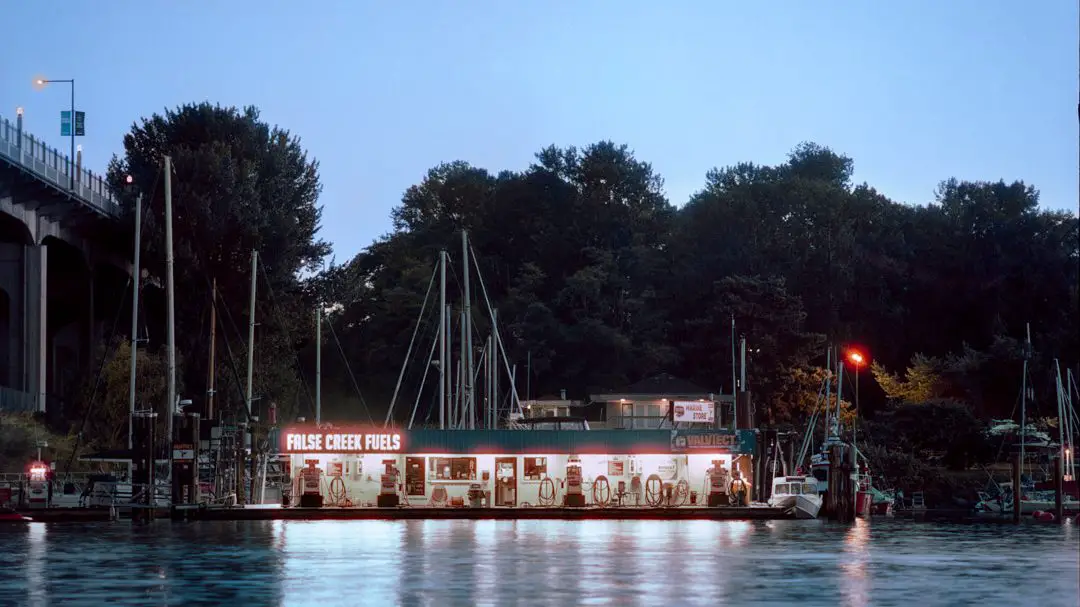
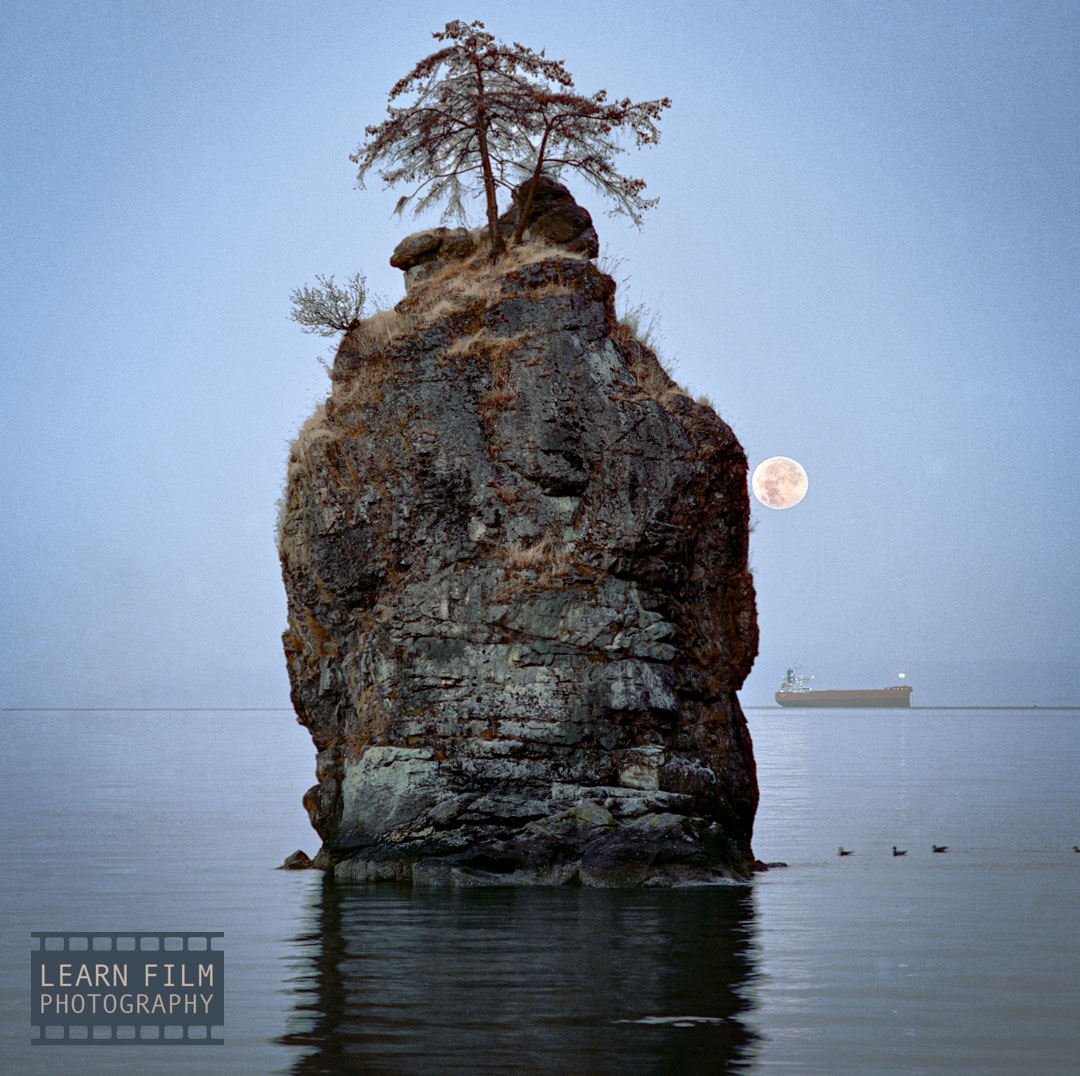
Most of my favorite shots lately have happened after dark — especially when there’s just a little bit of light left in the sky, but all the interior lights are still on. There’s such a cool mood to these photographs, and it’s that time of day when I’m continually inspired to go out and capture some of the best shots possible.
1. Choose the Right Film Stock
Using the right film stock for low-light photography is essential. Using film stocks with an ISO lower than 400 will require a tripod or an extreme push in the development process that will leave you with grainy and contrasty photos.
The best B&W films for taking photos at night are Ilford Delta 3200 and Kodak T-Max 3200 (find them on Amazon here). Both of these films are actually ISO 1000 films, but they have excellent pushing potential and create exceptional image quality even pushed to ISO 6400.
The best color film available for low light is CineStill 800t, which pushes to ISO 3200 surprisingly well, and doesn’t need an exposure adjustment under tungsten light. Find CineStill film on Adorama, or Amazon here.
2. Meter for the Shadows
Shooting film at night always requires careful metering to create the best images.
As a general rule when shooting film, you will create better photos when exposing for the shadows in low-light situations. Film is very hard to overexpose — it always captures more detail in the highlights than it does in the shadows, so it is always safer to use a longer exposure time to ensure you have good shadow details.
It’s possible to overexpose the highlights and still bring back all of the detail (especially if you use an HDR scan). But if the shadows are underexposed, it will not be possible to bring them back.
The best way to get a perfect exposure on film at night is to use a spot meter to read the exposure in the shadows. The cheapest spot meter option is a phone app called Light Meter by WBPhoto. I personally use this app for all my metering because of its spot meter and exposure preview functions.

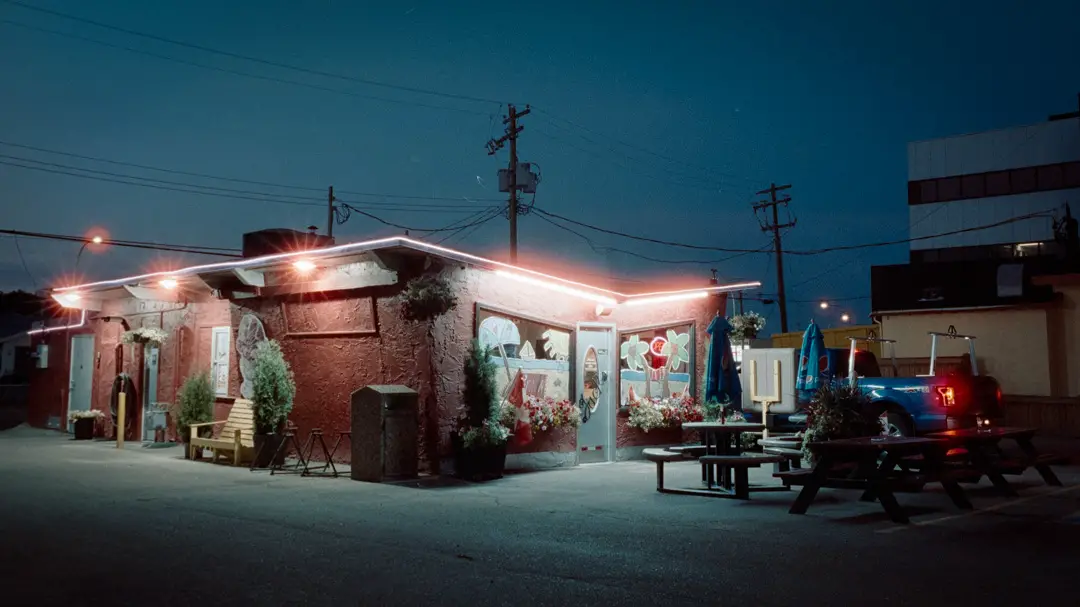
3. Place your Subject in the Highlights (or use Flash)
Always place the subject of your photo in the light. That way, they will pop even if you lose a little shadow detail when pushing the film. When the rest of the image is in shadow, it will create images that are uncluttered and feel intentional.
If there aren’t any good light sources, then you’ll need to use flash to capture a sharp image. Most point-and-shoot cameras (including the incredibly popular Ilford Sprite 35-II) have a built-in flash, though most manual film cameras can be used with modern flashes using a PC-Sync Cable, like these ones on Amazon.
4. Check if your film needs an exposure adjustment at night
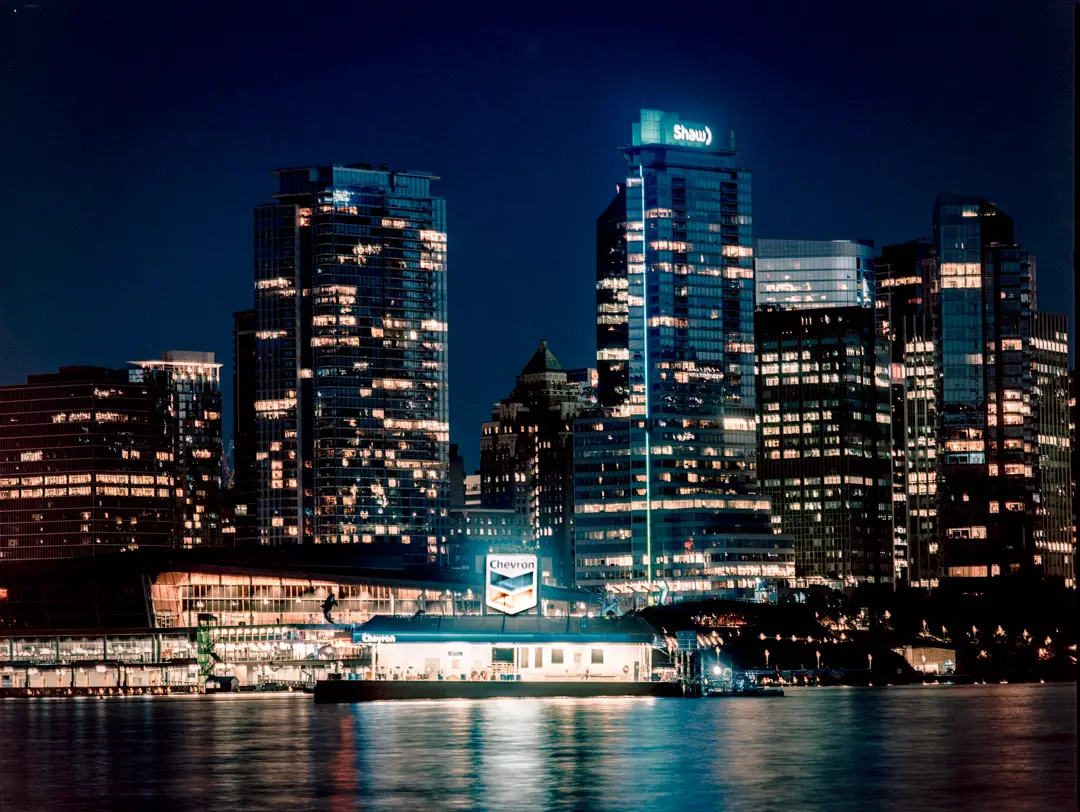
Most color film is designed for daylight and will require an exposure adjustment under tungsten light sources like street lamps. This was a big adjustment for me, and one that I had to learn the hard way.
For example, Kodak Portra 400 can be shot at ISO 400 in daylight, but works like an ISO 100 film under tungsten street lamps.
Most black and white films are panchromatic can be used without an ISO adjustment under tungsten light. However, take care to adjust exposure when using Orthochromatic film, which is not sensitive to red light.
Always check the technical data sheets before using your film at night. These sheets provided by the manufacturers contain a treasure trove of information.

5. Calculate for reciprocity failure
Reciprocity is the concept where opening the aperture by one click will let in as much light as using a one-click shower shutter speed. For example, if you’re shooting at 1/125 and f/5.6, you will get the exact same exposure using f/8 and 1/60th, or f/4 and 1/250th. But with film, reciprocity breaks down when exposure times are longer than one second.
Reciprocity failure happens because there is less energy carried per unit of low-intensity light. So the film grains require more of the low-intensity light to become developable — at least in most film stocks. After 1 second, almost every film will need a simple exposure adjustment to create a perfect exposure.
The only exception to this rule is Fuji Acros II, which uses a patented film sensitization technique that allows the film to not need a reciprocity failure adjust until needing to expose for longer than 2 minutes.
| Metered Time (seconds) | Adjusted Time (seconds) |
| 2 | 2.5 |
| 4 | 6 |
| 8 | 15 |
| 16 | 38 |
| 30 | 86 |
| 60 | 215 |
The simple formula for calculating reciprocity failure
Every film has a different spectral sensitivity in low light and will require a slightly different exposure adjustment. But most film falls in the same approximate range, which makes it possible to use a single calculation for nearly any film.
The simple calculation is this:
Adjusted time (seconds) = Metered Shutter Speed (Seconds)^1.31.
Using this reciprocity recipe you’ll be able to ensure perfect exposures every time. And if you’re concerned it’s not enough, you can always expose a little longer without blowing out the highlights.
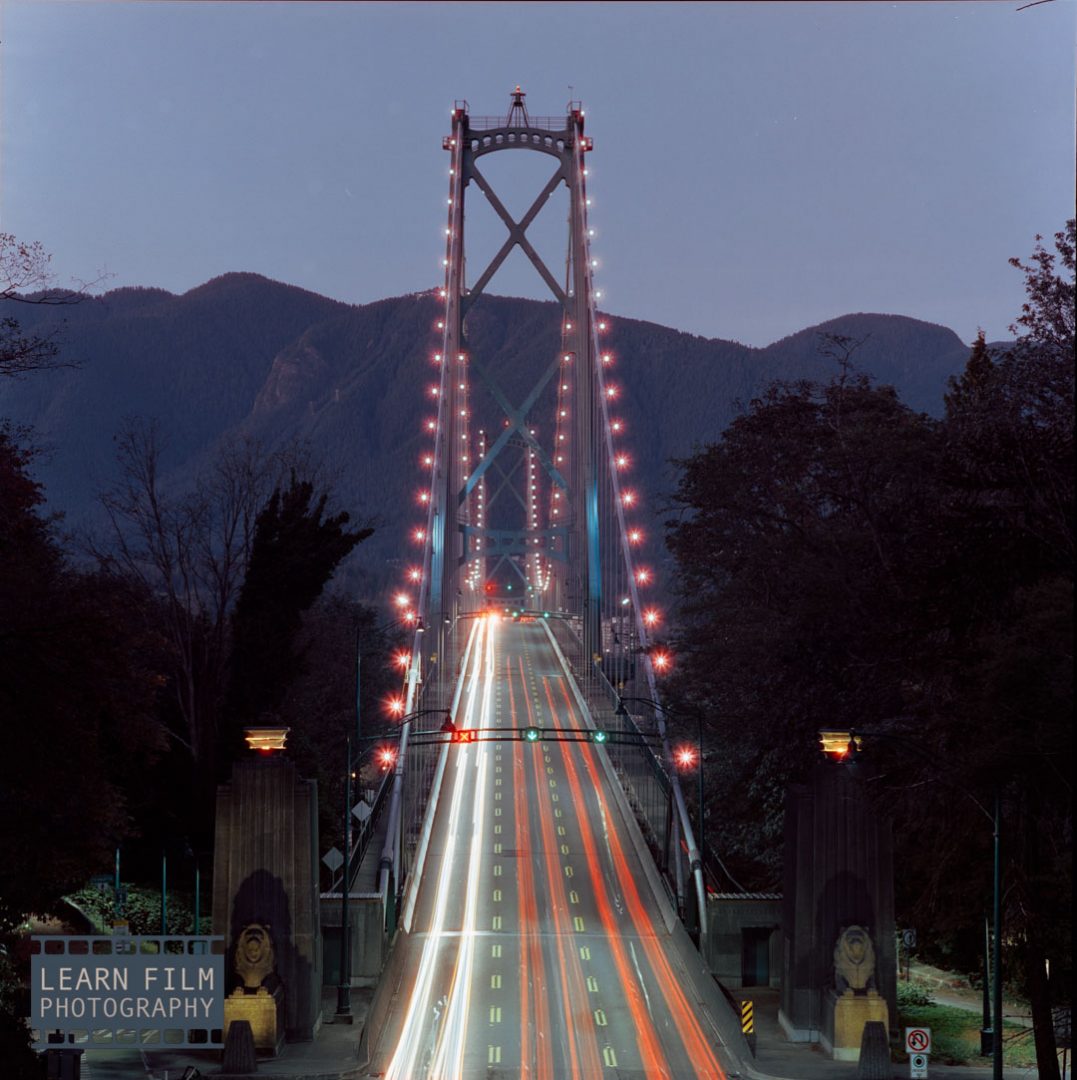
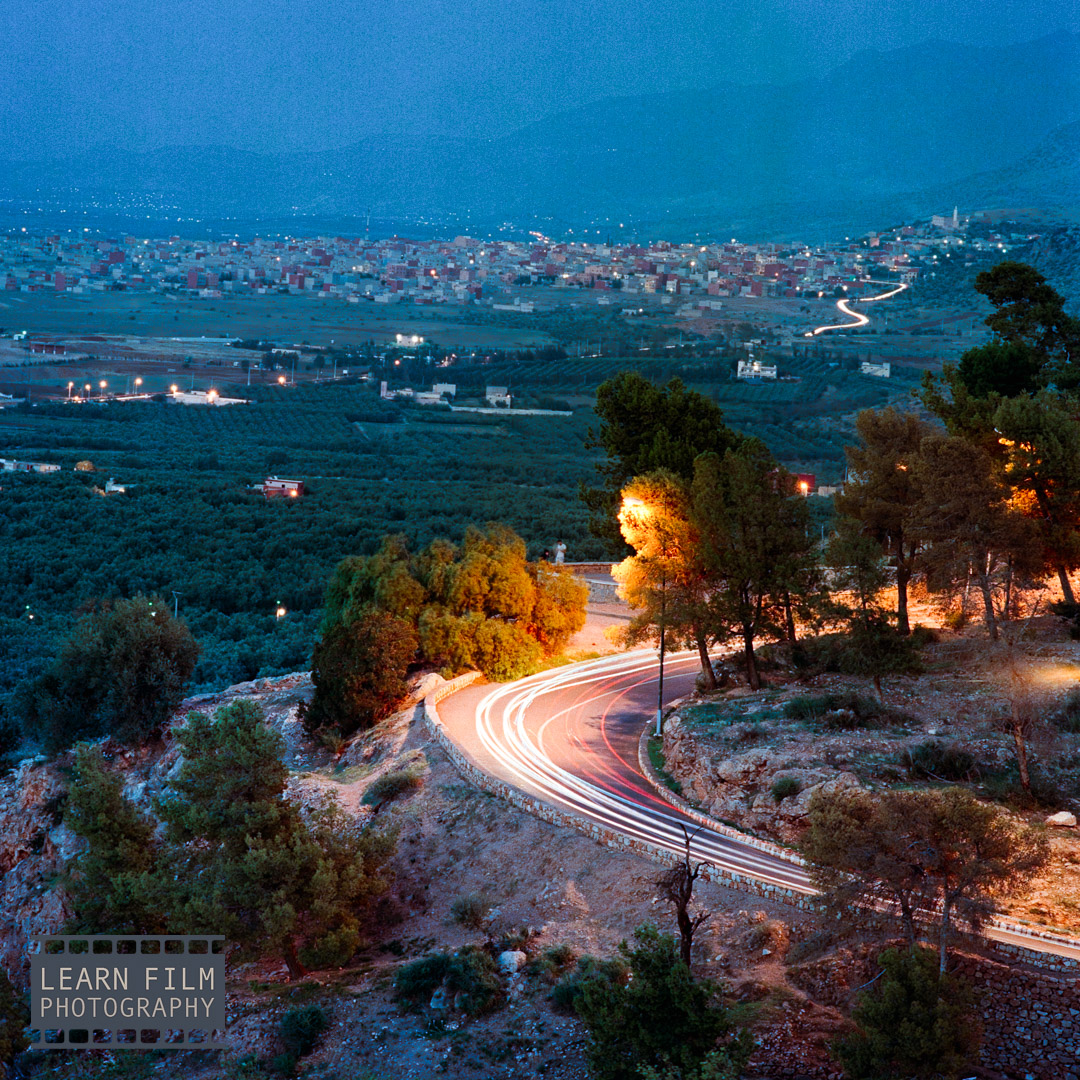
6. Use a remote shutter release and a tripod
Using a remote shutter release and a tripod will allow you to capture better film photographs at night.
You can also use a remote timer on your camera, and mirror lockup to reduce shake. However, using a remote shutter release will allow you to time your photos better — which is especially important when there’s action in the frame.
Remote shutter releases (like this one I use on Amazon) are universal, so a cable release will work on any manual film camera.

7. Push your film when you need faster speeds
What if you don’t want to use a tripod at night? It’s definitely possible to get night photos with shutter speeds that are fast enough to create a sharp image handheld. When you need a faster shutter speed to handhold your images, you’ll need to push your film.
Pushing film during development can boost the ISO, allowing you to use faster shutter speeds, but it does add contrast to your images.
There are methods (such as stand development) and film developers (like DD-X) that reduce contrast, but at the end of the day, it’s only really a good idea when you absolutely need that extra speed.
Just make sure to mark any film you’d like pushed before giving it to the lab. There may be an extra charge for this service.
Final thoughts
This article could easily extend another 1,000 words and still not fully cover the topic of getting perfect exposures on film at night. If you have any other questions, or tips that you’ve learned about shooting film at night, let me know down in the comments below! I always love hearing feedback, and your questions will help this article reach more people.

By Daren
Daren is a journalist and wedding photographer based in Vancouver, B.C. He’s been taking personal and professional photos on film since 2017 and began developing and printing his own photos after wanting more control than what local labs could offer. Discover his newest publications at Soft Grain Books, or check out the print shop.
Hey, thanks for posting this. Just wondering if you have any tips for minimizing bright, overblown halation in night shooting. Smaller aperture? Minimizing exposure to large, bright light sources within the frame? Cheers.
Hi Craig,
If the halation is overblown, that’s usually because the light source is either very large in the frame, or it’s out of focus. So stopping down the aperture can definitely help here to get the light more in focus, as well as standing back a bit further/using a wider lens. The other technique I can suggest may actually be creating an HDR scan of the negative if you’re able to. Halation reduction was one effect I noticed when I tested making an HDR scan for this article, but I’m not certain if it was a one-off effect or not.
Hope that helps! I’d love to see the image if it’s possible, perhaps I could give you better tips that way.
Cheers,
Daren
Hi Daren,
I can fill in for Craig and share my images instead. (: I have the same issue, and I would love to hear your take on it.
Exhibit A. My first night out shooting nighttime film, so I went for f/1.4 everywhere since I was scared of long exposures: https://www.lomography.com/homes/fromanggio/albums/2385600-srt-101-x-kodak-ektar-100/25270581
Exhibit B. After I read your comment above, I went out and took some test shots with f/8 or stopped down even more (can’t remember exactly at this point, but it was f/8 at least): https://www.lomography.com/homes/fromanggio/albums/2385877-kyiv-x-kodak-gold-200/25279009
To me, the results are quite similar, in that both shots have blown out light sources. How do I get a cleaner result? Maybe I was exposing for too long? Shadows don’t seem too overlit to me though.
P.S. There’s some more examples in the albums linked if you’re curious, I just didn’t want to include too many links here
Hi Roman, thanks for sharing these photos.
These are definitely a different story that what I was thinking. I’ve noticed this when shooting 35mm film as well. It seems that the longer the exposure, the more pronounced this halation effect is.
When I ran into this issue, I was shooting around f/8-f/11 at night to create a 15+ second exposure. So that rules out closing down the aperture.
The way to reduce this effect completely would be to use medium format film (which has a dark color dye layer on the back designed to stop halation), but that’s not an option for most photographers. If you do run into it in a severe sense like this, then the best move should be to use a faster shutter speed.
Hi Daren,
I see, thank you so much for your insight! I suppose I’ll try some faster film and/or try pushing it a stop or two to increase shutter speed. And I was actually thinking of getting a cheap medium format camera soon to try my hand at it. Didn’t know they performed better in such scenarios, that’s awesome!
Cheers,
Roman
No worries!
There is one other solution that I just thought about — you could always use some Kodak cinema film, which has a remjet backing that is designed to prevent this kind of halation. You will have to develop it at home with an E6 kit, or have it developed at a lab that can handle E6, though.
Regards,
Daren