
DSLR scanning can require a lot of specialized equipment. For many photographers out there, it may mean spending a lot of money on items for this one specific purpose. And when you’re building up a kit, you’ll likely be looking to save money everywhere you can.
Amazon has a plethora of cheap LED tracing tables made under a variety of different brands. The majority of these tracing tables are actually made by the same manufacturer, but just have a different logo on the edge of them. I personally bought a Gaomon LED tracing table, which has served me well so far, but I’ve never been able to tell if some of the off characteristics in some of my film scans comes from the LED tracing table, or the negative itself.
During a conversation with Nate, the creator of Negative Lab Pro, he mentioned that one of the biggest pitfalls that reduces image quality is when users scan with a cheap tracing table from Amazon. The Negative Lab Pro forums are filled with posts by users wondering what went wrong with their scans, and usually it comes down to the light source, the lens, or shooting without any extraneous light.
So in this article, I’m going to try scanning a single negative on the Gaomon LED tracing table, and an old iPad from 2013 to see which gives the best results.
My scanning setup for this test
The setup is the most important part of the scan. Having a bad input will create a bad output, no matter how hard you try. If you’re building a rig for film scanning, I don’t believe this is the perfect setup, but it can be a quick guide for anyone looking to get started. There will be cheaper ways to build a robust scanning rig if you don’t already have these parts lying around. The test is on the next section, so you can skip this little bit of context if you just want to jump right into the action by clicking here.
Here’s what I used to scan the film for this test. Over time, I guarantee at least a few of these parts will change.
Essential Film Holder. This is a simple, 3D printed scanning holder that elevates the negatives off of the light source. It keeps film perfectly flat when scanning with or without film borders, and has a built in clear plastic base that softens the light coming in. This has been a major help in reducing glare and making it exceptionally quick to scan a single roll of film. The Essential Film Holder is perfect for using screens like an iPad for scanning, as it’s just slightly too large for a mobile phone.
Sony A7III Camera. This is my go to scanning setup. The Sony A7III isn’t the highest megapixel camera on the market, but it has incredible dynamic range, and makes files that aren’t so large that I need to purchase a new hard drive every 6 months. It is also jam packed with features that make it easy to scan film. I use ISO 50 and a 5-second timer to get the shots perfect every time. Soon, I’ll certainly pick up a remote shutter release so that I can scan without even touching the camera. The camera is likely the least important part of this process — even an old used body with more than 20mp will give you great results. But if you want one of these bodies anyways, purchasing a Sony A7III on Amazon through this link will be a major help in keeping this blog running.
Sigma Art 70mm F/2.8 Macro. A 1:1 macro by Sigma. The Sigma Art 70mm macro lens is small, lightweight, and does an exceptionally good job at scanning negatives. It produces a perfectly-flat focal plane, and handles flares better than any other macro lens I’ve used, in fact, in real world experiments, this lens performs better than lenses that cost more than twice as much, and almost as good as lenses that cost 10x as much. This has been one of the best upgrades to my kit, and it’s my number one recommended lens for scanning negatives. Find the best price for this lens on Amazon.
Manfrotto XPro tripod with a horizontal center column and a fluid video head. This is not perfect, but it allows you to get the camera perfectly flat overtop of the negatives with a bit of work. It’s not as convenient as having a copy stand, which will likely be one of the next upgrades. But since I already had this incredibly sturdy tripod for video and studio work, I decided it would be a good enough option for film scanning.
Negative Lab Pro. This Lightroom Classic plugin is a powerful addition to any film scanning workflow. It automatically converts negatives into positives, and gives users control over metadata, and color while enabling batch scanning and other measures that make it so easy to get professional results.
But now, let’s get onto the comparison at hand.

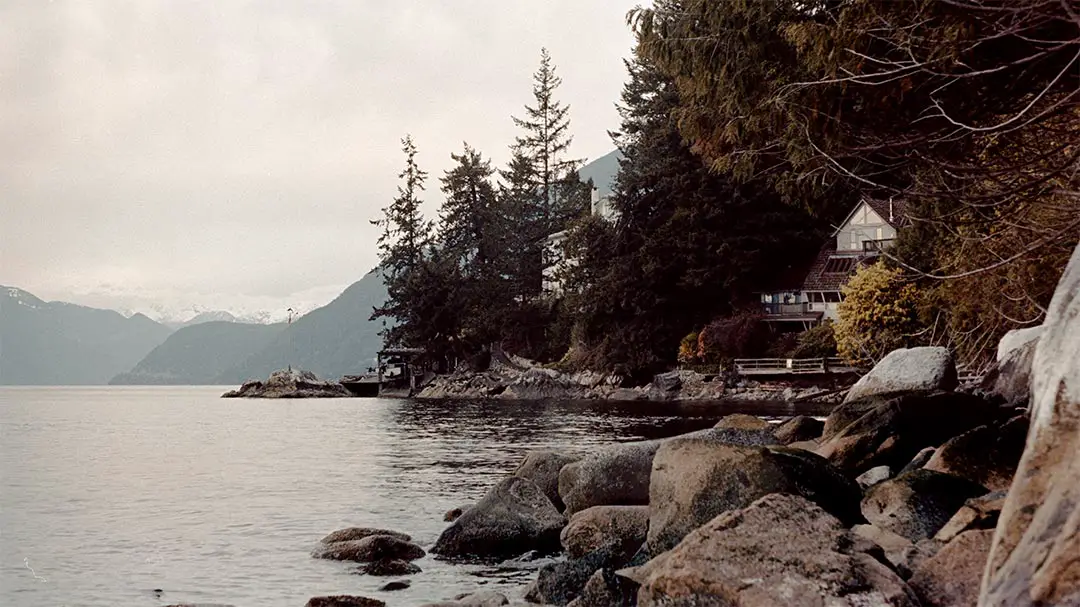
The image scanned on the iPad on the left, with the LED tracing panel on the right. As you can see, these two light sources make a massive difference in the way the image is rendered. So much so, that when the same settings are used in the conversion, the images will appear completely different.
Testing a cheap LED tracing table versus a 2012 iPad
Now that the gear is out of the way, let’s get into the comparisons. Negative Lab Pro has a couple of ways that make film scan comparisons an easy task, but right away, there was a startling difference between these two methods.
I started scanning with the iPad and made a scan that was +.6 EV overexposed. One of the biggest revelations of my conversation with Nate from Negative Lab Pro was that overexposing your scans will create the best results, because the camera captures more data in the highlights. To get that exposure, I needed 15 seconds on the iPad, but only 2.5 seconds on the LED tracing table.
And then, when I brought them into Lightroom, I immediately cropped them, selected the White Balance off of the film border, and scanned them both through Negative Lab Pro using the Noritsu color profile, and set pre-saturation to low. The iPad was the first negative I clicked on, and I used Sync Scene and Sync Settings so that Negative Lab Pro would copy the same interpretation from the iPad scan over to the LED tracing table scan. Here’s how they turned out.
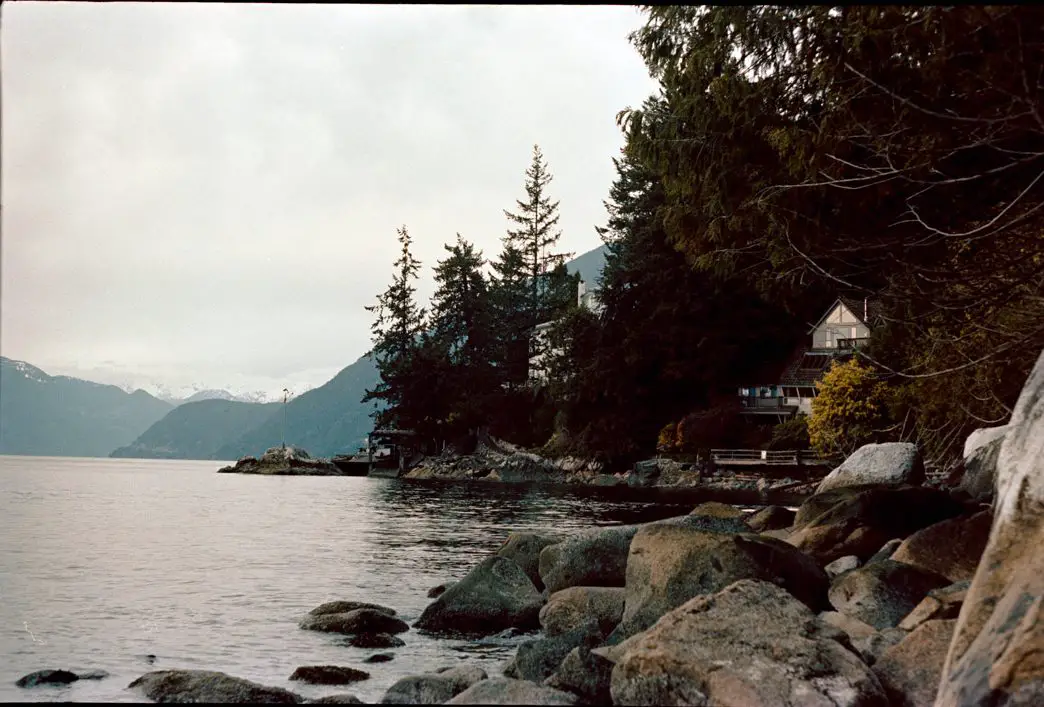
The film scan on the left was made with an iPad, and the scan on the right was made with the tracing table.

Here are the two images scanned in Negative Lab Pro Version 2.3. The images were scanned with the “basic” color model, using low pre-saturation, and contain no further edits. These two are straight out of the scanner.
Does the light source make a big difference in Negative Lab Pro?
As you can see from the scans above, the lightsource made a big difference in the way the images scanned. Applying the same settings from the iPad to the LED light table made the LED image overwhelmingly red.
So the next step was to convert and edit them each individually with Negative Lab Pro. I used the “Basic” scanner setting with Pre Saturation set to Low. After converting, I made no further adjustments so that the scans would show how Negative Lab Pro renders the images from the different sources.
The light coming from the sources is obviously different, but if you saw these two images next to each other in a blind experiment, I sincerely doubt that you’d be able to pick out which one is which. The iPad version is slightly cooler, while the tracing table becomes slightly warmer. The differences are so minor that the can be easily fixed with simple temperature/tint adjustment.
And that goes to show you the intricacies of Negative Lab Pro. This application is so good at understanding how to convert a negative that it can create almost the same results regardless of the light source. So there’s a lot happening behind the hood to makes everything come out as consistent as possible.
Next, let’s take a look at what’s happening in the highlights, where most issues with the light source tend to occur.
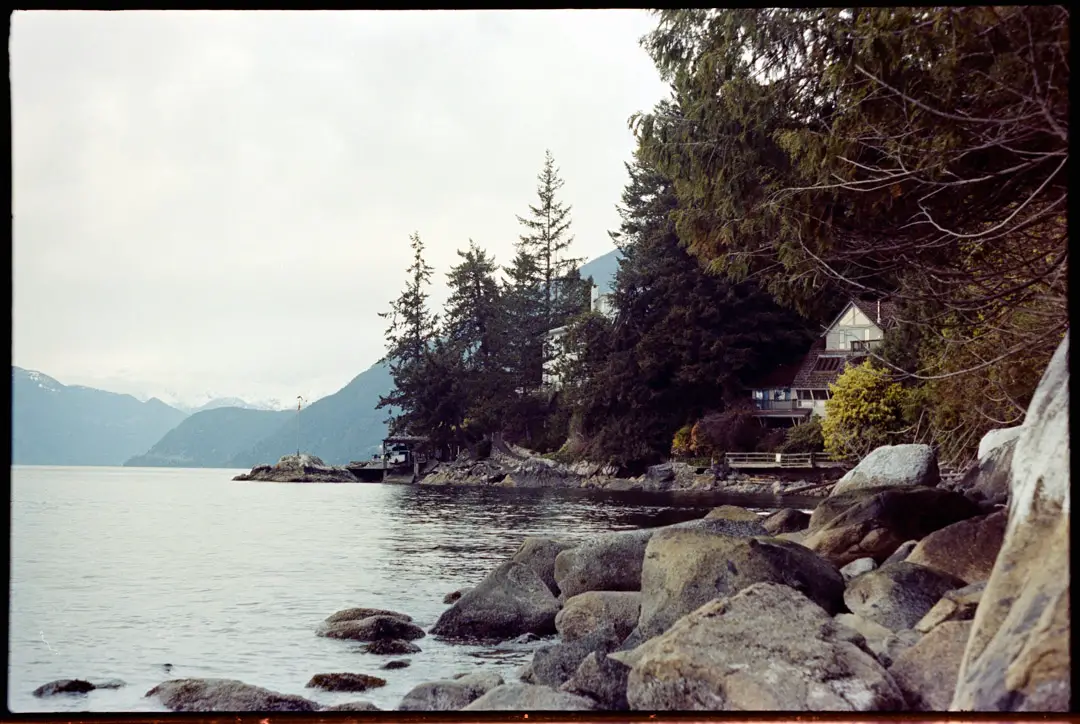
The image on the left used the iPad as a light source, while the one on the right used the LED light table. These images were both converted using Negative Lab Pro v2.3 with the brightness down to -26 to clearly show what’s happening in the highlights.
Scanning the highlights for defects.
One of the biggest issues that occurs from using the cheap LED light tables on Amazon is that the light isn’t consistent throughout the pad. And where that shows the most is in different patches of density or color on the highlights. In practice, that means that it’s impossible to bring down the highlights without making these patches very apparent.
I’ve seen this a number of times before, and for the most part, I always believed that it was caused by me developing the film inconsistently. So the main purpose of this test for me was to look for these patches to see if the problem was my developing, or the cheap LED panel from Amazon.
To test this, I turned down the brightness control to -26 in Negative Lab Pro version 2.3 (in beta at the time of this update). The Gaomon LED tracing table from Amazon proved very similar to the iPad. In the end, most of either comes from the image itself or my own developing.
Most people suggest that color patchiness comes directly from the light source, and a panel like the one I bought on Amazon should clearly show a difference, but in this case, it doesn’t. Either I scanned the image along a very even patch, or there isn’t much of an issue to be found here.

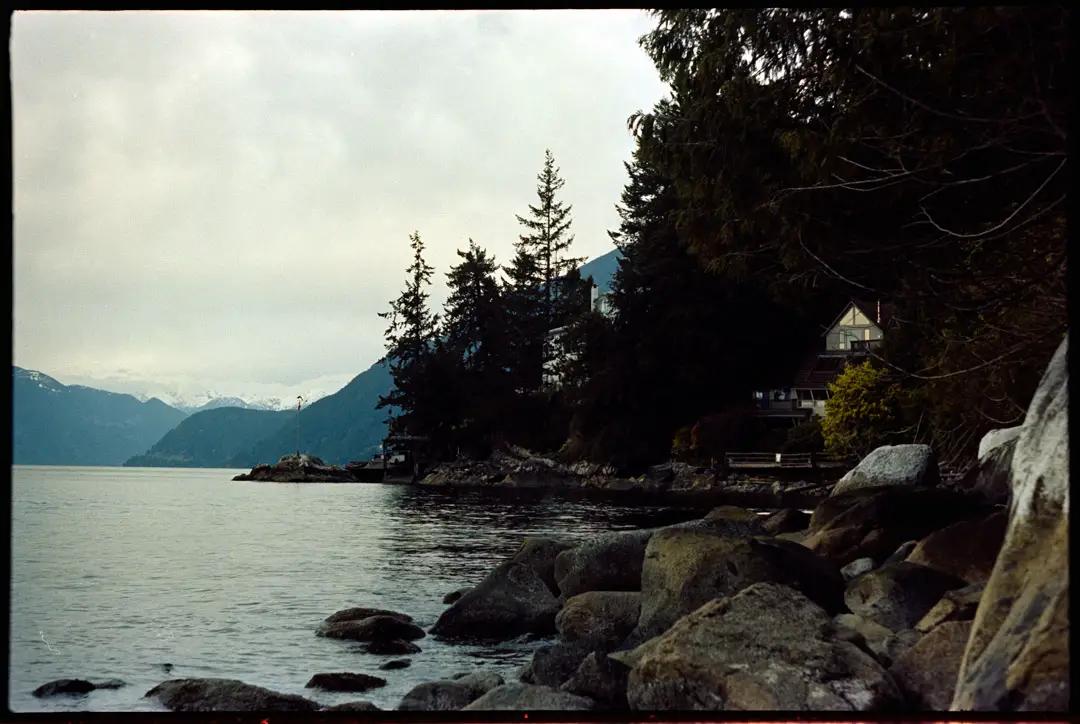
The image on the left is from the iPad scan, and the image on the right is the LED tracing table from Amazon. Both these images were zoomed in around 400% — a place where nothing will truly look sharp.
The sharpness test
At first, I expected that there would be a fairly substantial difference between these two light sources. But with seeing these results, it seems like both light sources create fairly similar results when being scanned with the Essential Film Holder, which has its own built in diffuser.
Overall, the iPad does have an edge in terms of sharpness. If you look at the grain, it is much more apparent when scanned with an iPad than with the Gaomon tracing tablet.
The difference between these two sources is how the light is emitted. The Gaomon LED tracing tablet sends light from the sides which is reflected upwards, while the iPad screen is made of millions of pixels that shine light up directly. The design used by the Gaomon tablet makes it a fairly cheap option because it doesn’t require nearly as many diodes to create the light as the iPad.
Negative Supply, a company that makes tools for film photographers, has a great comparison of the differences between direct light and side diffused light on their website, where they sell both types built specifically for DSLR film scanning.
Direct light sources are supposed to create sharper images than side-lit panels. But I didn’t really find that to be the case, and that’s likely because the diffuser panel on the Essential Film Holder evens out the light overall, and makes it less direct when it shines through the negatives. If you’re using cheaper panels, this is a huge benefit, because there may be small pockets of uneven light that you can’t really see at first.
So, is it possible to get away with using one of these cheap LED tracing tables from Amazon? Absolutely, it is possible to get good results if you have a proper setup. The iPad produces a more reliable light source overall — assuming that you have a proper diffusion panel or are able to get the negatives away from the light source.
This test shows that there are minor differences — at least, when using the Essential Film Holder. But even cheap light panels can create decent results. Users on the Negative Lab Pro forum may have had issues for other reasons, like having their negatives too close to the source, reflections from lights in the room, or potentially even alignment issues. And those are problems that could be solved without purchasing another piece of equipment.
And there’s more to come! In the next iteration of this test, I’ll be testing out another professionally-recognized light source against the iPad with the same negative!

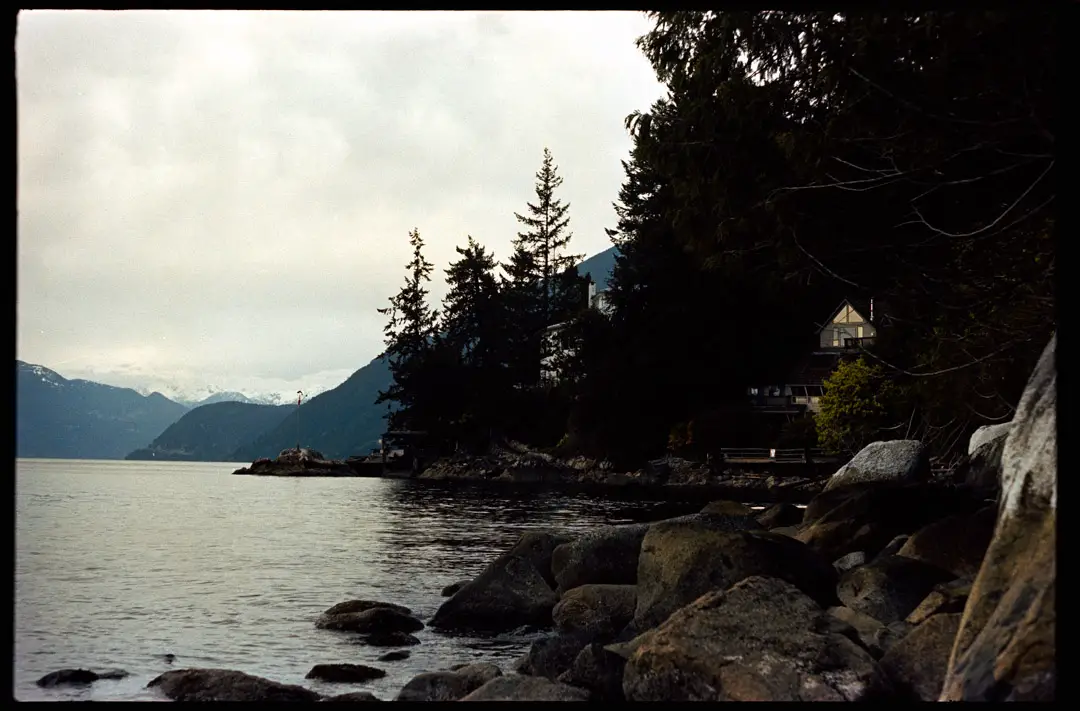
By Daren
Daren is a journalist and wedding photographer based in Vancouver, B.C. He’s been taking personal and professional photos on film since 2017 and began developing and printing his own photos after wanting more control than what local labs could offer. Discover his newest publications at Soft Grain Books, or check out the print shop.