Film developing labs these days are expensive as heck, often costing much more than the film itself. When you’re really getting into film photography, the costs add up so quickly that you’ll need to either take on some professional work to support your film habit or just develop the stuff at home!
In this guide today, we’re going to look into the positives and negatives of developing film at home. So is developing film at home worth it?
Developing film at home is easy, safe, and is the best ways to save money with film photography. The greatest benefit of home development however, is that it enables you to experiment with different developers and techniques, as well as to change the ISO of your film by pushing and pulling.
The process of developing film couldn’t be simpler. And if you shoot more than 25 rolls a year (two per month), you will save money by developing at home.
Here’s why you should start developing your own film at home.
1. You will have more control over your images
When you develop film at home, you have total control over the look and feel of the photos. You can push or pull the film at will, bypass the bleach step, cross-process, stand develop, soup your film in wine, or whatever else your heart desires.
These are all processes that barely any lab will do for you. Even the big ones that people send their film to from across the country are unable to provide these services.
And, if you’ve ever loved opening Photoshop or Lightroom to edit your photos, you’ll get the best results when you develop film at home. No longer will you be subjected to the lab’s vision of what your film should look like — because spoiler alert, there’s no natural, baked-in film look. You have to create it yourself.
2. You will save money
If you shoot more than 2 rolls of film per month, then you’ll save money by developing at home. This amount accounts for the cost of developing ($10-25 depending on scan quality), and film chemical spoilage.
I shoot nearly 80 rolls in an average year, which is about 2x bottles of Black, White, and Green developer and 1x bottle of neutral fixer, and 4x C41 color film developing kits, costing me about $300 CAD per year (though these are MUCH cheaper to American audiences).
If I had those same rolls developed at a lab, I’d be paying about $1,400 (asumming a $17.50 average cost of developing, which is low in Canada).
As you can see, developing at home is the only way to make film a financially-sustainable practice for me.
That means if you want to start taking more photos and improve your film photography, developing at home is the next obvious step.
3. Developing at home helps you understand film better
There are so many lessons I have learned about film only because I develop at home. When you have your hands on the entire process, you will learn so much more about what makes a good image than when you develop at a lab.
The lab scanners will often try to fix any mistake they see within reason. So you may not know that you’ve been chronically underexposing your film, or that you could be getting better results by using a certain type of filter.
You’ll also get to experiment with so many different combinations of developers, developing times, and methods for getting the most out of your film.
Plus, there’s just no cooler feeling than taking film out of the tank and seeing those awesome images for the first time.
Further reading: The Film Developing Cookbook by Bill Troop and Steve Anchell is by far the most recent, and in-depth guide to film photography. This up-to-date book (published in 2018) will teach you everything you need to know about film, developing, and every other aspect of photography that you will ever need to know. This is the most referenced book on the LearnFilm.Photography blog by far.
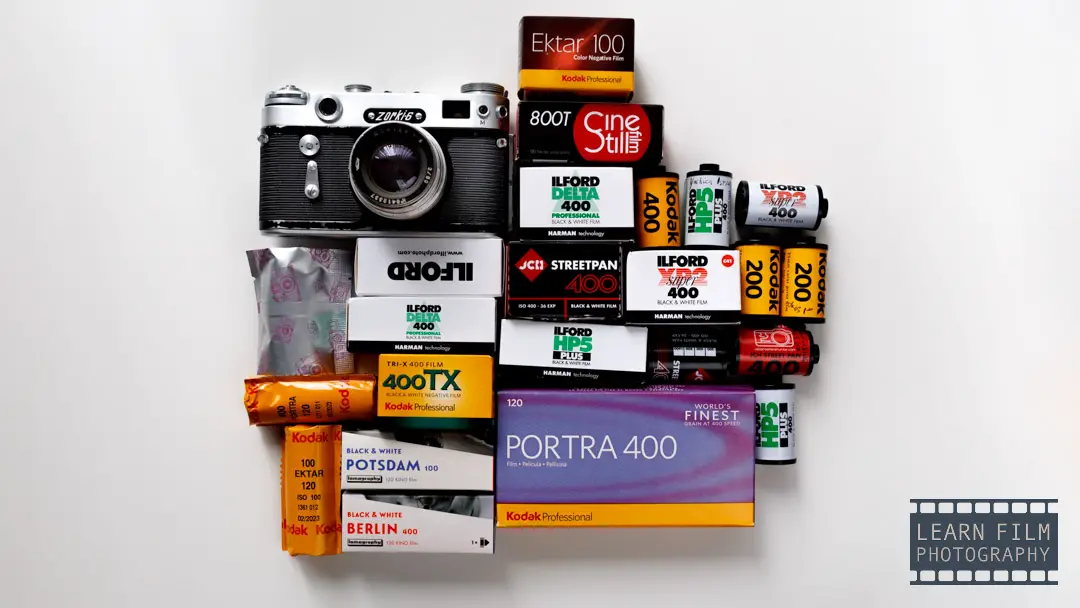
4. Developing at home gives you more choice over film types
Ever wanted to try Adox Scala? Want to save money by using cinema film? Or live in an area where the lab nearest you only develops color film? Developing at home will unlock all of these possibilities.
The point is, that labs don’t have time for custom processes. Most cannot develop ECN-2 (cinema film), and none of them are going to be suckered in to stand developing your film for you.
You gotta develop at home to get this.
5. Developing at home allows you to be more environmentally friendly
There are a number of choices you can make when developing film at home. The biggest choice is the developer that you’re able to use.
Most labs have a standard black and white developer that they use for everything. Most use either TMax developer, Xtol, or DD-X because these are the most popular developers that are a good medium in terms of film speed and graininess.
And if the lab wants to ensure users get the same, dependable results every time, they’re going to always have the same developer formula.
So if you want to use environmentally-friendly film developers like Black, White, and Green, and Caffenol, or better fixers like a neutral fix that allow you to use less water.
At home, you’re the one calling those shots. Check out this article to see a side-by-side comparison of different film developers.
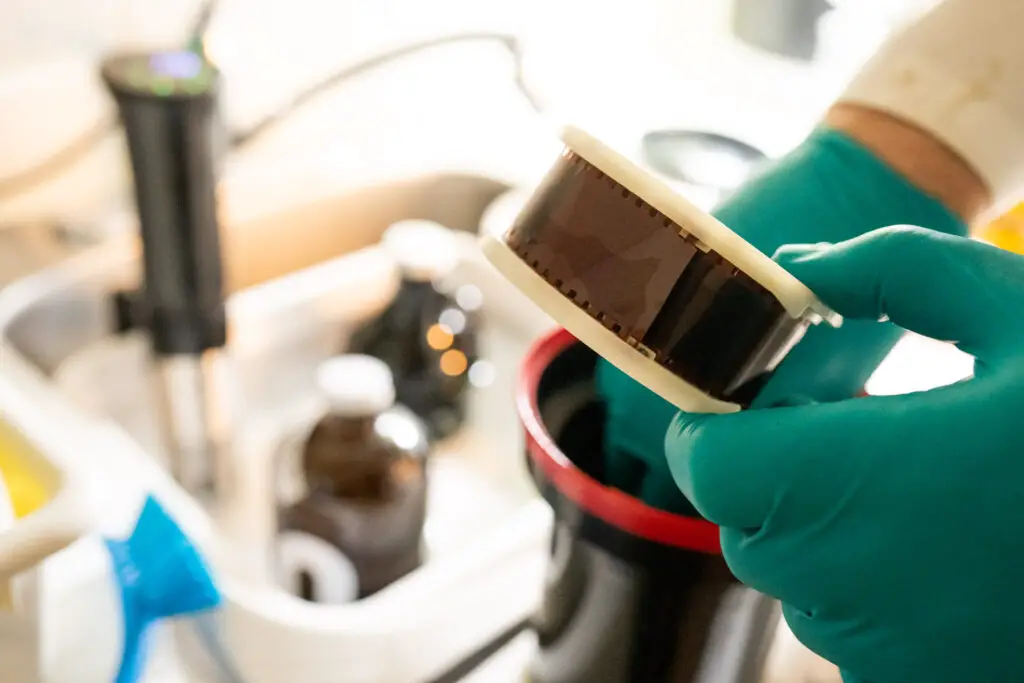
Is developing film at home difficult?
Developing film at home is surprisingly easy. I’ve screwed up almost every way possible, and still come out with good images (you can see all the mistakes and lessons I’ve learned here).
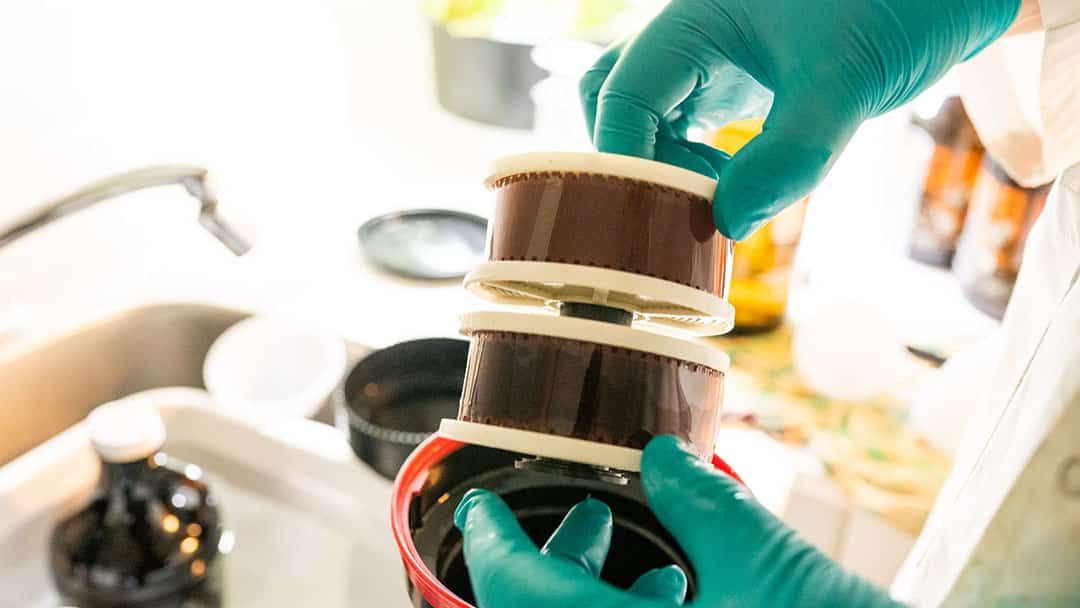
After loading the film into a dark tank like a Paterson Multi-Reel tank, there are only 3-4 chemical steps that have to be done.
For black and white film, the whole process can be completed at room temperature, while color film will need to be at 39°C or 102°F. You can see this article on if temperature control matters to learn more.
Once you learn the basic steps (which you can learn here), it’s so easy you’ll never look back.
How much time does it take to develop a roll of film?
The amount of time varies based on the process, the film and the chemicals used. The developing step for black and white can take anywhere from 3 minutes to 20, while the rest of the steps take ~5 minutes each when you account for washing. In the end, I find I usually spend about 45 minutes to an hour from start to finish, developing between 2-5 rolls at a time using multiple dev tanks.
Color film with a blix kit can be extremely quick in comparison, taking 15 minutes total for a single roll, but the setup time is longer to get a water bath up to temperature.
Scanning afterward often takes a half-hour to an hour per roll.
The time it takes may be one big reason for getting film developed at a lab. If you’re someone who doesn’t have much free time, developing at home may not be for you.
How do I digitize film at home?
There are a few ways to digitize film at home
Most people who don’t have a DSLR camera opt for using a flatbed scanner like an Epson V600. These affordable and easy-to-use scanners will allow you to get the most out of your film without making a massive investment in digitizing equipment.
The problem is that using the Epson V600 is a slow process. This is why most film photographers who have a digital camera opt to scan their film with the camera.
DSLR scanning is faster and typically gives sharper results than a flatbed (at least for 35mm film). But it will be much more expensive to set up if you don’t already have a camera.
In terms of quality, all you need is a 5D MkII (a full-frame DSLR from 2006) to get great images. There’s no need for a top-of-the-line camera like a Sony a7r IV, though it will give you more resolution.
Take a look at this article if you’d like to learn what you need to scan your film with a digital camera.
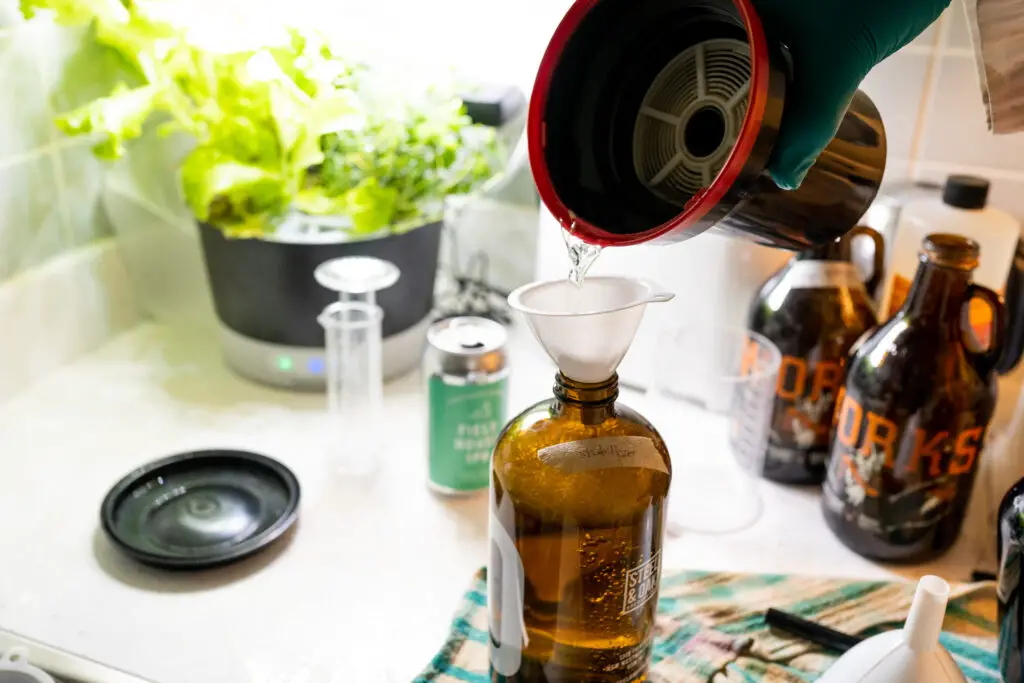
Are the film developing chemicals dangerous?
While film developing chemicals aren’t the most dangerous, they are toxic to the environment.
The primary reason is because the developers are highly reactive phenols, and the fixer solution takes silver out of the film, which is a toxic heavy metal that bioaccumulates in aquatic ecosystems.
That means these chemicals do have to be handled safely at home.
Here’s the LearnFilm.Photography guide for disposing of film developing chemicals, including some tips that I have learned from hazardous waste removal companies.
Final thoughts
Developing film at home is an exciting thing to do. It’s an experience that I absolutely recommend for everyone who is getting into film photography because it truly opens the doors to what you can do in this industry.
I personally have a ton of fun developing at home, and I know many others will, too. Especially when you start experimenting with different films and processes.

By Daren
Daren is a journalist and wedding photographer based in Vancouver, B.C. He’s been taking personal and professional photos on film since 2017 and began developing and printing his own photos after wanting more control than what local labs could offer. Discover his newest publications at Soft Grain Books, or check out the print shop.