
Getting good results on film is fairly easy — it’s an exceptionally forgiving medium. But getting consistent, professional results is another thing altogether. In fact, there’s a reason why back in the day some people preferred shooting, while others preferred the developing or printing side of the ordeal. All of these are their own art forms.
So when you’re starting to take film a little more seriously, and want to take some more professional photographs, this is the perfect place to start. I use all of these every time I’m out shooting a professional event on film. And it’s served me very well over the years.
Accidents do happen, and sometimes that can ruin a roll. But if you follow these steps, you’ll be able to reduce, or minimize how often that occurs.
1. Expose for the shadows
Exposing for the shadows is a classic piece of film advice. The reason that photographers always suggest shooting for the shadows is because of the way film creates an image. Shadowy parts of the negative can have very little density, or silver particle buildup.
If there’s no silver there, then there’s no information to print or scan. The small amount of information in contrasty shadows can make resulting images look muddy and grainy, which is never a good look.
But, film captures a tremendous amount of detail in the highlights. So even if you overexpose the sky by a stop or two, you’ll be able to recover that information without issue. So it’s always beneficial to slow down that shutter speed a touch to get more detail, and less grain overall.
Metering for the shadows is typically easier using a spot meter, or the meter in your camera’s viewfinder (so long as it’s accurate). Point the meter at a shadowy part of the image where you want to have some details, and use the settings from that reading to expose the film.
If you don’t have a spot meter, and your camera doesn’t have a working built-in lightmeter, try looking at mobile phone applications. My personal favorite mobile application is Lightmeter by WBPhoto. This is the best application that I’ve used, because it has a spot meter function that creates consistently good exposures.
Lightmeter by WBPhoto available for free on Android, but has a paid app on iOS. Personally, this app works so well that I think the cost is absolutely justifiable. Here’s a link to the developer’s website for more information.
Otherwise, Reveni Labs in Canada is making some incredible light meter devices, including the world’s newest spot meter at affordable rates. Take a look at their website here, and see an interview that I did with the Reveni Labs founder earlier this year here.
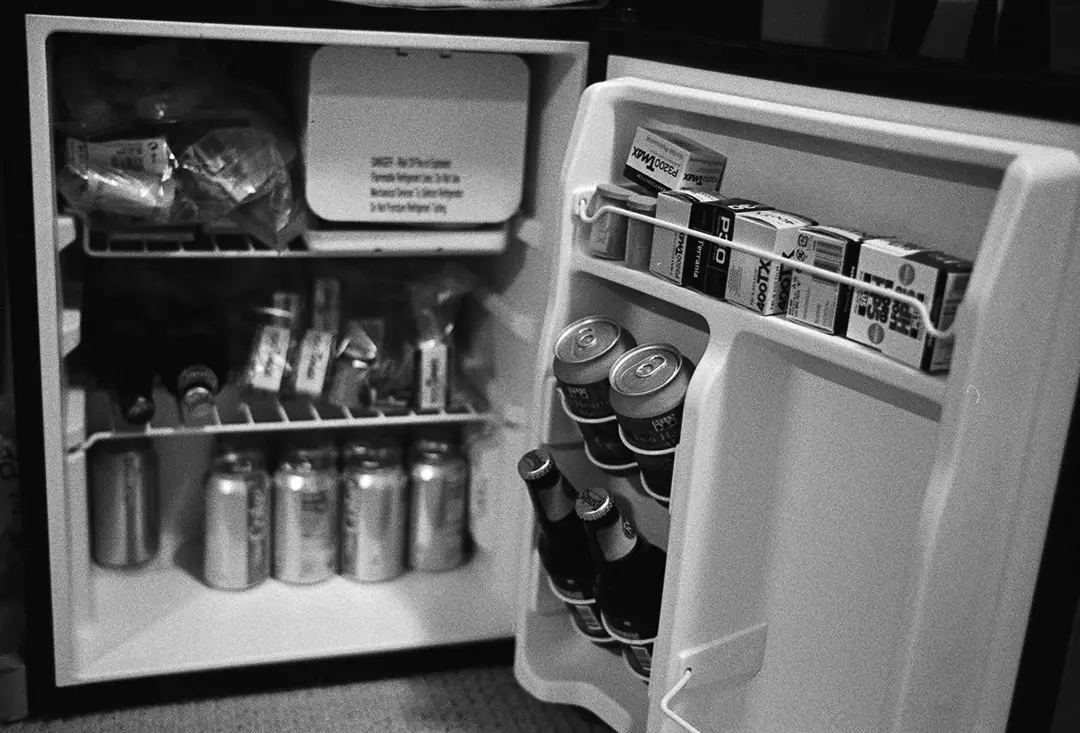
2. Use fresh film
There are plenty of people out there who love the feeling of having a fully stocked film fridge. They look cool, and they make you feel prepared for any situation that comes along. But the reality is that film still ages in the fridge and even the freezer.
Gamma rays are the main factor that breaks down film over time. And neither the fridge, nor the freezer is able to protect film from harmful gamma rays.
Storing in the fridge short term, and the freezer for periods longer than 6 months, will reduce the effects of color film layers breaking down. But it will not affect the fogging and graininess that comes with long-term gamma exposure.
So the best way to get consistent, professional results is to always shoot film as fresh as possible. If you’d like to see what can happen to your improperly stored film, take a look at this article, where I catalogue everything that can go wrong when film is stored improperly.
3. Develop film quickly after exposure
This is a big one that often gets ignored. I get that it’s a pain to take a couple rolls down the lab, or to develop them at home shortly after shooting. Developing film can take up to an hour per roll when you consider everything from setup time to the actual developing and archiving.
Developing film shortly after capturing an image ensures that the negatives are sharp, have details in the shadows, and are less noisy overall. Waiting longer can reduce shadow details specifically, as the latent image disappears quicker from areas of low density.
The film grains contain electrons that become excited when they’re struck by light. That extra energy allows the grain to become developable. And over time, that energy can be released. The shadows of a negative have fewer developable grains as it is, so even small reduction in developable grains can cause issues.
In practice, there have been times when I’ve had film sitting for greater than 6 months, and haven’t noticed a major impact when I finally got around to developing them. But if there’s an important shoot sitting on your roll of film, it’s best to get that to a lab as quickly as possible.
4. Test your light meter
You’ll only make this mistake once. But trusting an old, faulty light meter will ruin at least one roll.
The best way to make sure your light meter is working properly is to test it against another light meter. Mobile apps are consistent, but you can also test your light meter against a DSLR if you want to be sure that it’s completely accurate.
One important note is that DSLR cameras may meter for a slower shutter speed than a film camera at the same ISO. This is because some DSLR manufacturers have intentionally lowered the true ISO values in camera to make their cameras appear to perform better at high ISO values. One way to make your camera create less noise is to make better sensors, but the easier way is to mess with the numbers.
So if your film camera light meter matches up with the DSLR camera, or if the film meter gives you a slightly faster shutter speed, then it’s working properly. If the two numbers are way off, you’re going to need another solution, like the Reveni Labs meters above, or even a mobile phone light meter.
5. Complete routine camera maintenance
If you recently bought a film camera, there are many small factors that can reduce its reliability over time. One of the biggest factors is the lubricants inside the camera.
Over time, these lubricants gum up, or break down. And that can cause a plethora of issues. From the shutter curtains losing their accurate timing, to causing light leaks in the camera.
The best thing you can do to ensure the camera works correctly, and doesn’t spontaneously break down in the middle of a wedding photoshoot, is to complete routine camera maintenance.
The most common measure to take is to bring your camera to a technician to perform a CLA, or Clean, Lubricate, and Adjustment. They will clean out the old lubricants and add in some new solutions that’ll ensure the camera is working properly for the next 10 years.
6. Control developing temperature
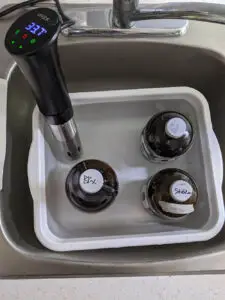
The temperature you develop film at is vitally important to making the process predictable and repeatable.
If you’re just using tap water, then the results from one film to another might be changed by variations in water temperature. Most B&W film developers are designed to be used at 20°C or 68°F. Technical data sheets and the Massive Dev Chart will give the times for developing at 24°C (75.2°F) as well.
Lower temperatures can reduce the developer activity, meaning you’ll have to extend the developer times to create a properly developed negative. The easiest way to ensure your water is at the proper temperature is to let it sit out at room temperature for an hour.
Black and white film is more forgiving than color, which requires a specific temperature (this value varies depending on the C41 manufacturer). So if you’re just practicing with B&W film, then it can be okay to skip the temperature regulation.
But if you want to truly master film, proper temperature control with a good, scientific thermometer (like this one on Amazon) will get you dependable, repeatable results every time.

7. Agitate your film properly
Agitation is a little understood practice in film photography. Yet, agitation can influence a lot of changes in film, like sharpness, density, and even contrast. Everyone has different methods of agitating their film, but some methods are better than others.
For instance, using the swirl stick that comes with the Paterson tanks will work, but it’s not as good for the film as doing inversions. That’s because the flow of water is only in one direction, and it doesn’t ever change. So sometimes there will be consistent streaks along your film that wouldn’t show up with inversions.
I spent an entire week writing a single feature on film agitation methods, and how to get the look you’re going for, and what can go wrong when you don’t get it quite right. Take a look at the agitation article here. Or, find the Paterson tank with reels on Amazon here for the best price.
Bonus tip: make sure Paterson reels are dry before loading
Paterson reels have burned me multiple times. It’s no wonder that everywhere you go on the Internet, people will always suggest getting a tank with metal reels.
If you’re using a Paterson tank, which is the most common developing tank out there for good reason, the main piece of advice I have is to make sure the reels are as dry as possible before loading your film. If you try to load up another roll too early, there’s a good chance that it’ll end up jamming in the reel.
When that happens, you’re in for a bad time. Because getting the film off the reel and starting again can introduce a whole host of problems. The main problems that occur are the unfixable crescent shaped marks that appear on the film. But it’s also possible to get fingerprints, among other issues.
Learn more about loading Paterson reels without ruining your film here.
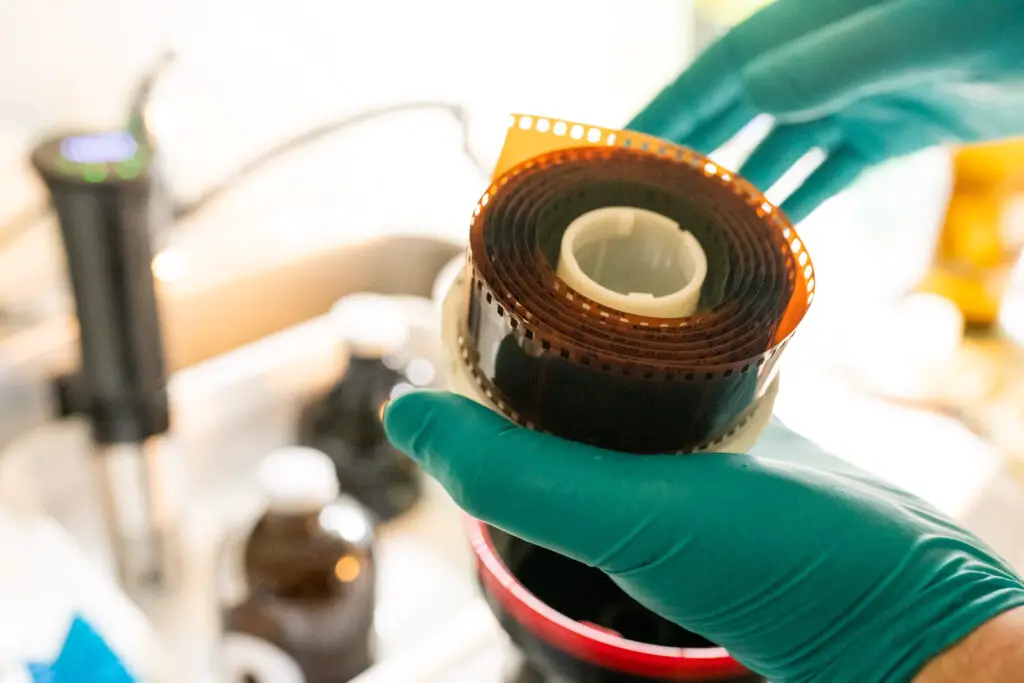
Bonus tip 2: wear gloves
Fingerprints can completely ruin negatives, and are exceptionally difficult to clean off. If you get fingerprints on your negatives before developing, they can actually burn in some irreparable marks on your film.
As well, the oils can get trapped inside the emulsion and ruin the film over time. So the best way to ensure your film stays in tact as long as possible is to use gloves, like nitrile, or museum quality lint-free cotton gloves.
If you’d like to learn more about why you need to wear gloves when developing film, including some glove recommendations for people with sensitive skin, take a look at this article.
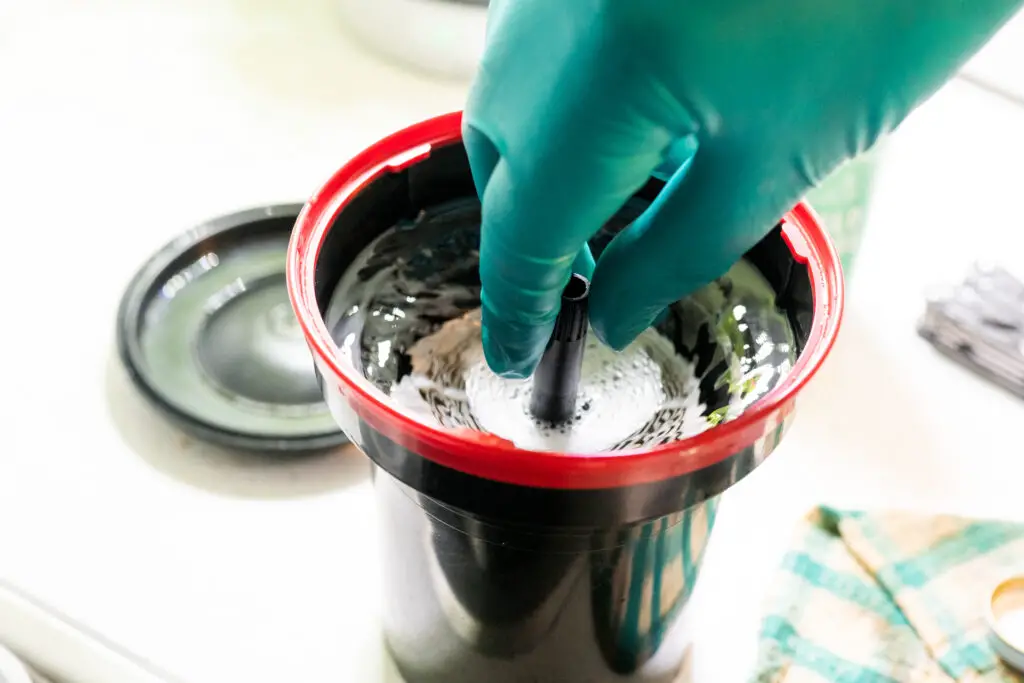
8. Test your developer and fixer before each session
There’s nothing worse than pulling a roll of film out of the tank only to discover that the film didn’t develop, or appears milky.
The second case simply means the fixer didn’t completely fix the film, and this one can be fixed by dunking the negative into a fresh fixer solution. The first issue isn’t as recoverable. If your film comes out partially developed, or not developed at all, then there won’t be any way to recover the images.
The only way to ensure your using a good developer and fixer solution (other than cracking a new bottle) before developing a roll is to do a film leader test. Essentially, you’ll be taking the first portion of a roll, and dunking it into the mixed developer or fixer.
When testing the developer, watch to see the film turning black. If it doesn’t turn black in 5 minutes, the developer has likely gone off.
Next, use a different portion of the leader that wasn’t put in the developer, and place it into the mixed fixer solution. Using the developed leader here won’t work. This time, watch to see the film leader become clear over time. If it doesn’t turn clear in 5 minutes, then store that batch for recycling, and mix a fresh batch of fixer.
9. Use developer only once
It is possible to reuse freshly mixed developers by increasing the developing time by a certain percentage found in technical data sheets. But the results from reuse won’t be as consistent as using a freshly mixed developer solution.
There are developers out there that are designed for reuse, like Cinestill Monobath, which is a single developer, stop, and fixer built into a single solution. Most C41 kits are the same, and require chemical reuse in order to get enough out of the kits for them to be worth purchasing.
But in general, the best developing results come from using developers one shot, or single use. If you’re shooting color, then it may be a good idea to develop the important rolls at a local lab, which can make fresh solutions for each roll of film.
Bonus tip 3: Store chemicals properly, and label EVERYTHING
Proper storage will make all the difference with film photography. Developer and fixer solutions are both oxidizers that react readily with oxygen. That means if they’re not stored in air-tight solutions, they’ll end up losing potency over time.
In fact, the majority of developers and fixer solutions on the market are rated to last 6 months in full bottles, or 2 months in half full bottles. But, that time can be extended dramatically if they’re stored in sealed glass or plastic containers. Take a look at this article to learn more about film chemical storage.
10. Scan film emulsion-side up
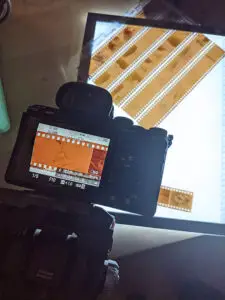
One of the most important rules about scanning film is that it needs to be done the right way. If you scan film with the base layer facing the wrong way, it can get in the way of your image, reducing sharpness and causing weird color shifts.
So to get repeatable results every time, always be sure to scan the film emulsion side up. If you’re using a DSLR, that means that the numbers and letters on the film has to read backwards.
Using a flatbed scanner like the Epson V550, or V600, you’ll need to ensure that you’re following the guides on the film holders. Doing this will make an incredible difference in the look of your scans!
And that’s everything in this little guide! If you have any tips that I missed, feel free to leave them in the comments down below. I always love hearing from readers, and may even add it to the article itself (with credit, of course). The other way that you can interact with us is to find us on Facebook! We’ve got a vibrant group full of up-and-coming film photographers who will gladly answer any questions and give feedback.

By Daren
Daren is a journalist and wedding photographer based in Vancouver, B.C. He’s been taking personal and professional photos on film since 2017 and began developing and printing his own photos after wanting more control than what local labs could offer. Discover his newest publications at Soft Grain Books, or check out the print shop.