On its surface, film photography can feel like a magical medium. Everything from the mechanical feeling of the camera to the way the images are rendered makes this a fun medium to use.
But once you start looking deeper, or try to start using film for professional photography, you’ll quickly learn how to achieve the results you want before pressing the shutter.
In this article, I will show you the top 7 tips that have helped me become a better film photographer over the last 5 years.
1. Learn the limitations of film
Film photography is inherently a lot different from digital photography. Even though the theory and settings are the same, there are some limitations to consider when taking photos on film.
For example, when you need a faster ISO, the images will inherently become grainier and lower resolution because of the physical nature of film grains.
As well, if you ever need a shutter speed longer than 2 seconds, such as at night, your film will suffer from reciprocity failure, which means you need to use a longer exposure than your metered time. Learn how to calculate for reciprocity failure here.
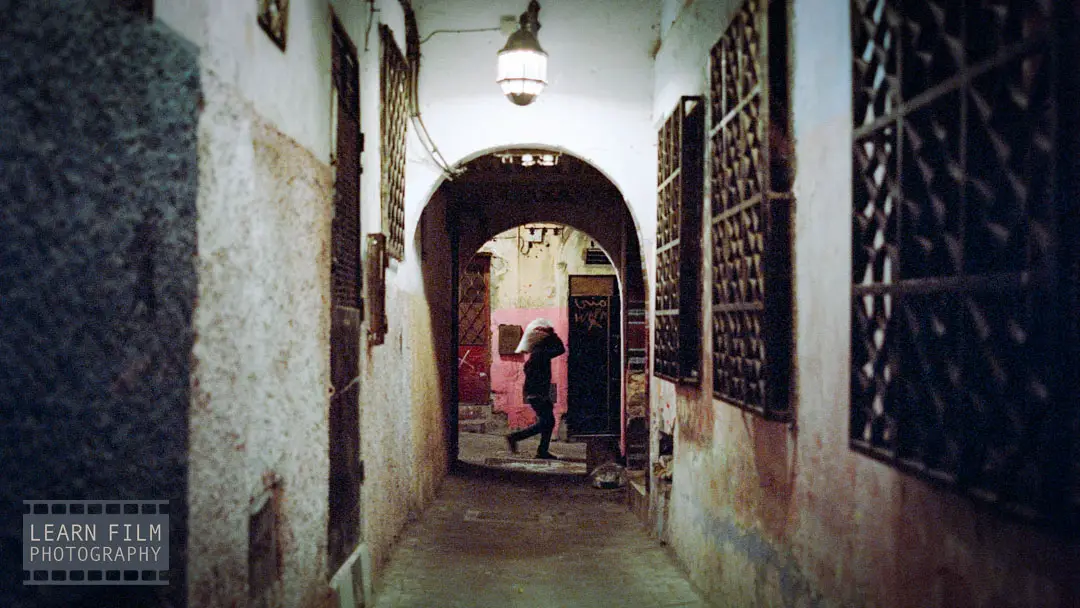
And finally, film does not capture as much detail in the shadows as digital photography does. That means you should always prefer to overexpose film rather than underexpose it, as you’ll be able to recover much more detail in the highlights than in the shadows.
2. When is film better than digital?
Just because digital is the new medium for photography doesn’t mean it’s always better! There are cases where film just does an overall better job.

One advantage of film is that low ISO film has a higher megapixel count than nearly any digital camera on the market. When you shoot ISO 100 film, you can create images with a stunning, 80+ megapixels worth of detail post-development.
But also, when shooting film at night or on a tripod, it’s possible to significantly overexpose the bright parts of an image and still retain detail, which is simply no possible with a digital sensor. This is especially relevant when taking photos at night, where you can expose for the shadows without burning out the detail in neon lights, the moon, or other celestial events.
3. Start using low-contrast film stocks
The secret to any good image is the edit. Back in the day, Ansel Adams used to say dodging and burning in the darkrooms are ways to fix god’s mistakes. And the film stocks that allow you to make the best edits are the ones that might look a little boring when they’re first shot, like HP5 or Portra 160.
When a film has lower contrast, it is capturing more detail in the shadows, which you can then choose to brighten or darken depending on what works better for your image. A higher contrast image, on the other hand, is not capable of having the darker areas brightened, because what makes a film stock have higher contrast is the limited amount of shadow detail it captures.
Flexible, professional film stocks take a bit of work to make the images come out the way you want them to, and they’re designed that way on purpose.
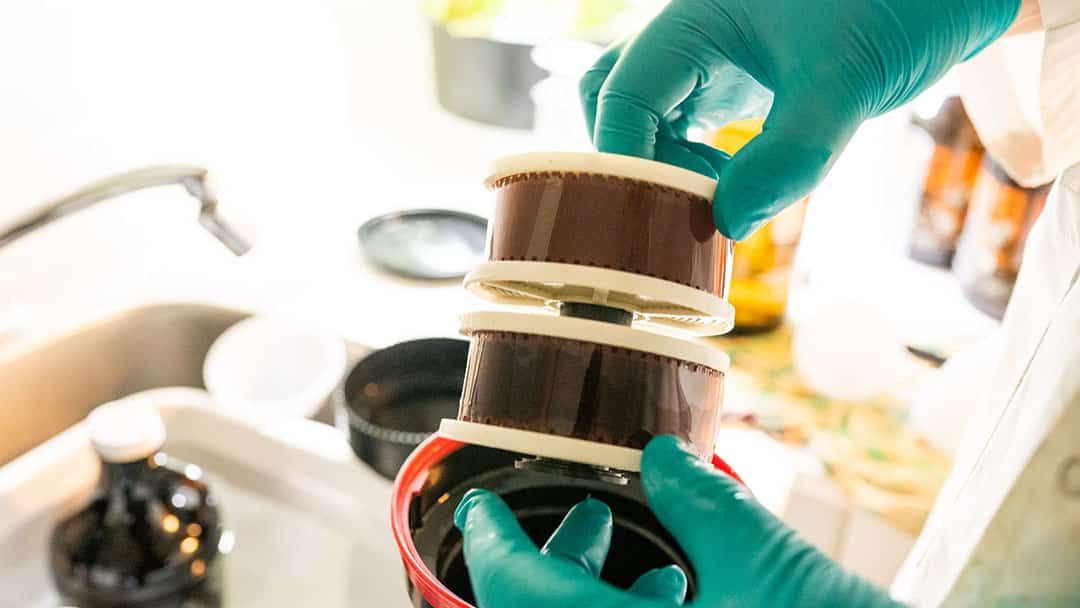
4. Develop your film at home
I learned the most amount film photography when I stopped taking rolls to the lab and began developing at home. That was the moment when everything changed. All of the sudden, I could shoot a roll during the day, develop it that evening, and then nake prints in the darkroom at night.
That change also allowed me to choose the right film developer for my shooting style and gave me more agency in the way I was shooting film. If I wanted to push or pull the film to rate it at a different ISO, it’s no problem. If I want to bleach bypass the film? Easy.\
Developing film at home is also a very simple and rewarding task. All the equipment you need to develop will cost around $100usd at first, and then it saves so much money down the road. If you shoot more than 20 rolls per year (or want to start shooting that much), it’s absolutely worth developing at home.

5. Get inspiration from the master film photographers
One of the easiest ways to get inspired, and learn how to take better photos on film is to look at what master photographers have done before. I’ve learned so much about photography from looking at the works of photographers like Dave Heath, Michael Kenna, Viviane Maier, and others.
If you don’t know where to start, The Photography Book is a fantastic anthology that includes hundreds of the most impactful photographs taken in the 20th century. It’s a fairly small book, which also makes it a fantastic gift for film photographers.
Another book I often recommend is Ansel Adams in Color. Most of Adams’ work was created in black and white, but I personally believe many of his color photos were actually better images overall. Check out this book on Amazon, here.
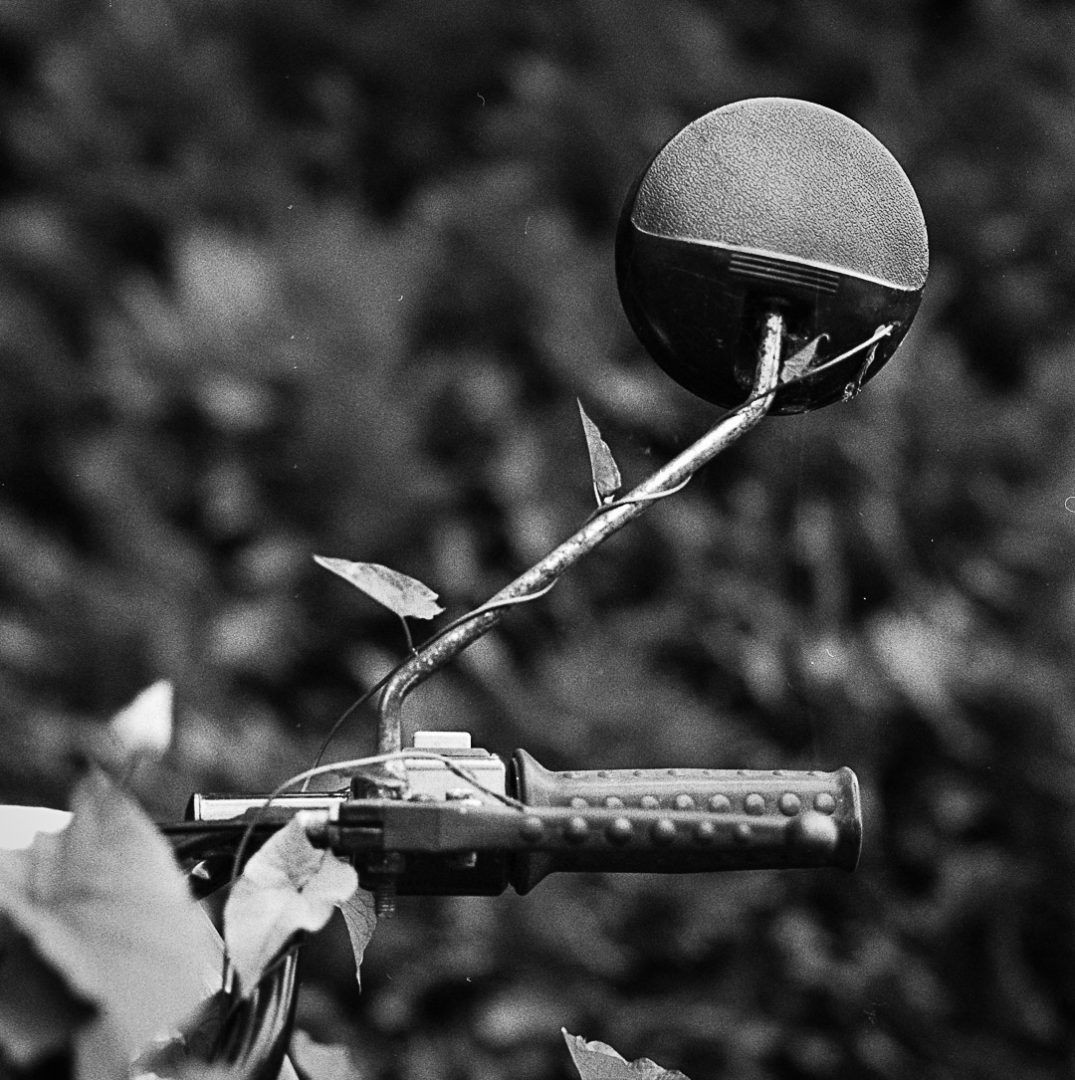
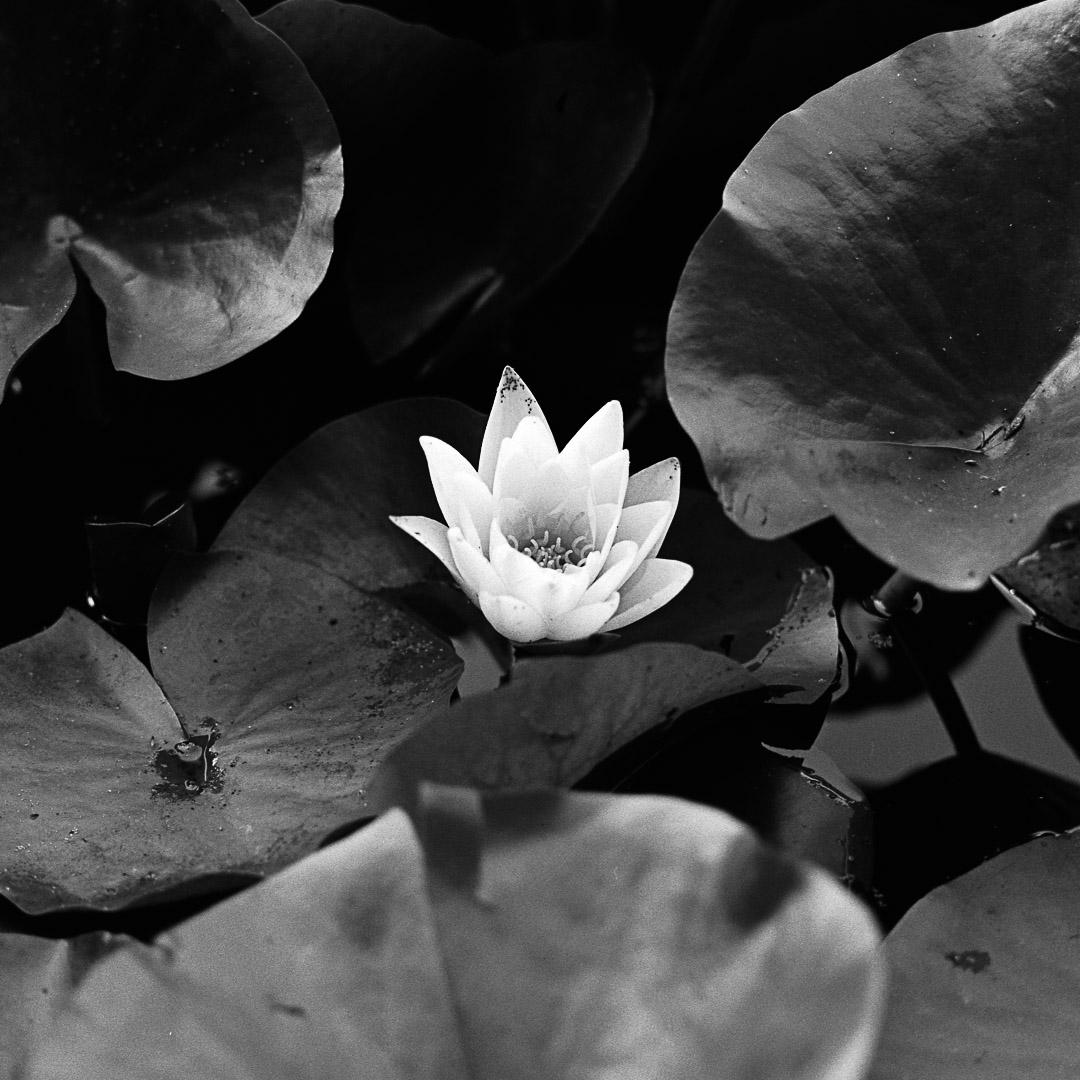
6. Learn how to see in black and white
Black and white is a completely different language from color images. Since humans don’t see in black and white, it can be really tough to learn how to make a good image in black and white.
The main thing that makes a black and white image work is simplicity. There needs to be just one thing that the viewer sees in an image — everything else is just clutter.
Since black and white photos rely heavily on texture to bring attention to your subject, you will need to find a way to reduce the amount of texture in the areas where you don’t want the viewer to look. That can be done using a large aperture to create focus blur, or you can darken the areas where you don’t want the viewer to look.
However, my personal favorite way to reduce the texture in an image is to use a long exposure. Using neutral density filters, it’s possible to completely remove the texture from water, clouds, and anything else that moves in the frame.
Learn more about seeing in black and white in this article.
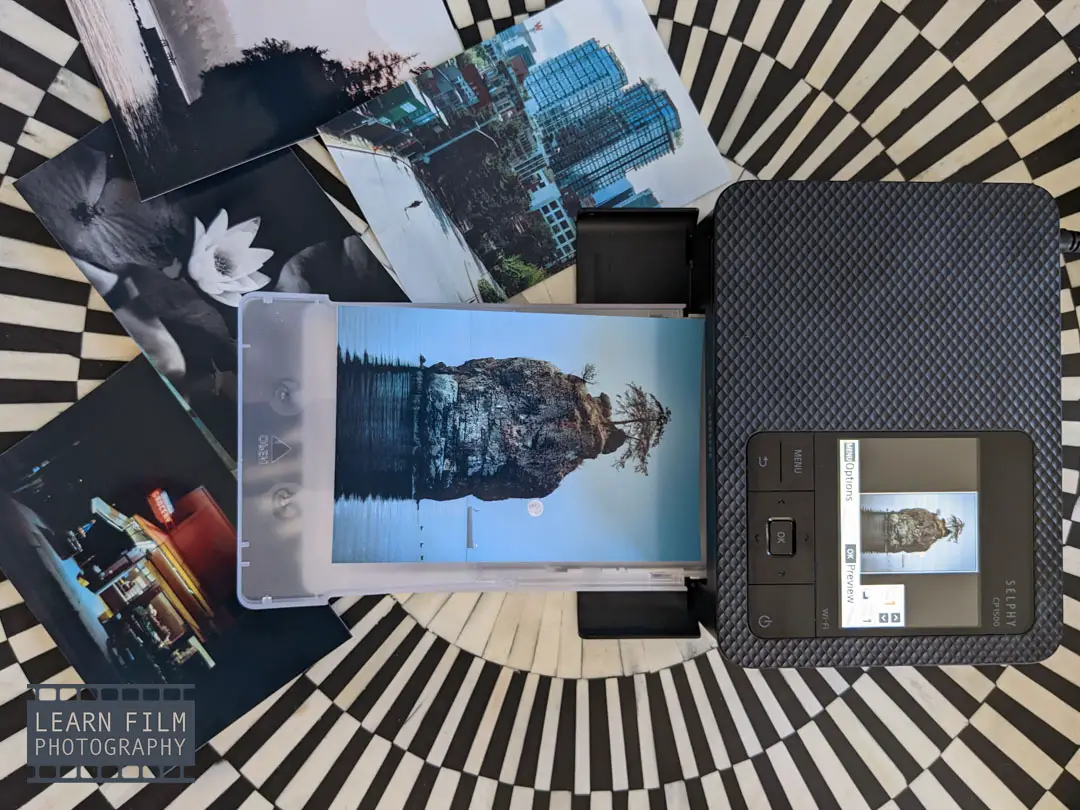
7. Print your best images, improve them, and print them again
There’s no better way to learn what makes a photo work than to see it in print. Computer screens, and Instagram don’t cut it, because the image looks so small. But to actually hold an image in your hands, or to see it framed on the wall is a whole other experience.
And when you print in the darkroom, (or even on a digital printer) you’ll quickly learn how the difference in tonal relationships affects the final outcome of the image.
As well, the process of choosing an image to print, and then going through the entire editing or dodging and burning process will give you a goal, and even a deadline, to create the best photos possible.
That’s why the Canon Selphy CP1500 was one of the best purchases I’ve made recently. It’s a small photo printer capable of making postcard-sized (4×6″) prints that each cost about $0.32.
The coolest thing about printing your photos is that you can start seeing extraordinary details that you don’t necessarily pick up on in the digital file. There’s legitimately no better way to see your photos than in print.
At the end of the day, negatives and digital files don’t last forever. Prints are the only thing that really lasts a lifetime and makes an image permanent.

By Daren
Daren is a journalist and wedding photographer based in Vancouver, B.C. He’s been taking personal and professional photos on film since 2017 and began developing and printing his own photos after wanting more control than what local labs could offer. Discover his newest publications at Soft Grain Books, or check out the print shop.
