
One of the biggest problems I had when I first started shooting film was capturing proper exposure indoors. Even if I metered the image properly, the images would often come out underexposed, and completely lacking detail.
The worst feeling is getting your scans back from the lab, only to not be able to make out any of the moments you thought you’d captured so beautifully. I used to miss a lot of photos, including at important holidays like Christmas, because I didn’t understand how film worked, or how to get the perfect exposures.
In this guide, I’m going to show you everything I learned about getting perfect exposure on film indoors.
Why is it harder to shoot film indoors than digital?
This might sound like a self-defeating question since the obvious answer is that digital cameras can use a higher ISO, where each roll of film has a specific ISO rating that it cannot deviate from.
But there’s more to this than just the ISO.
The reason why it’s harder to shoot film indoors than digital is because digital sensors capture more information in the shadows, but less in the highlights. That means you need to use a slower shutter speed with film than you will with digital to capture the same image.
Due to the physical nature of film, each grain must be struck with enough light to create a developable grain. That means if the film is underexposed, it will lose all information in the shadows.
But the biggest problem is that most color film is not formulated to capture detail under tungsten light — with one major exception, which is Kodak Vision 3 500t, or CineStill 800t. All other color film requires a 2-stop ISO rating adjustment to create a properly exposed image under tungsten light.
That means ISO 400 film has to be used at ISO 100 to create a perfect exposure, which is often far too slow for indoors. Even with a lens aperture of f/1.8, it will be difficult to get a fast enough shutter speed to capture a sharp image.
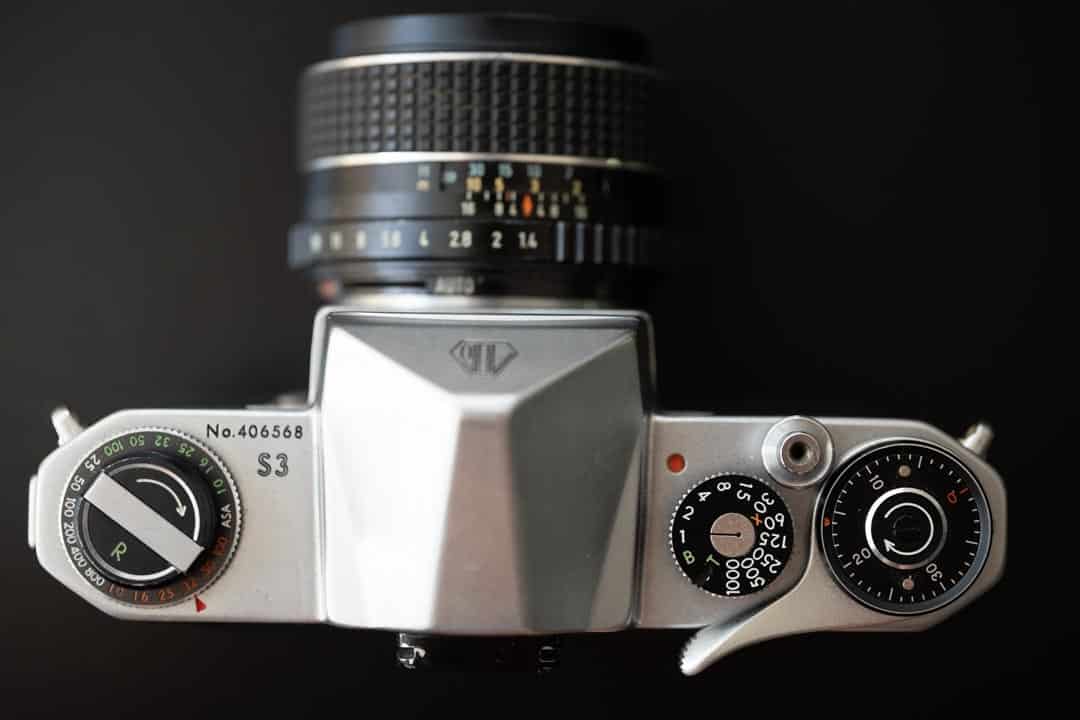
1. Use 35mm cameras
The main thing you need to do to create sharp images on film indoors is to use the fastest shutter speed possible.
I love medium format, but medium format cameras typically have lenses with small maximum apertures. For example, the Hasselblad’s largest maximum aperture is f2.8 on the 80mm kit lens.
But even older 35mm cameras, like my Pentax S3 from the ‘60s has a 50mm lens with an f/1.4 maximum aperture, which lets in over 4x more light, allowing a 4x faster shutter speed for sharper images.

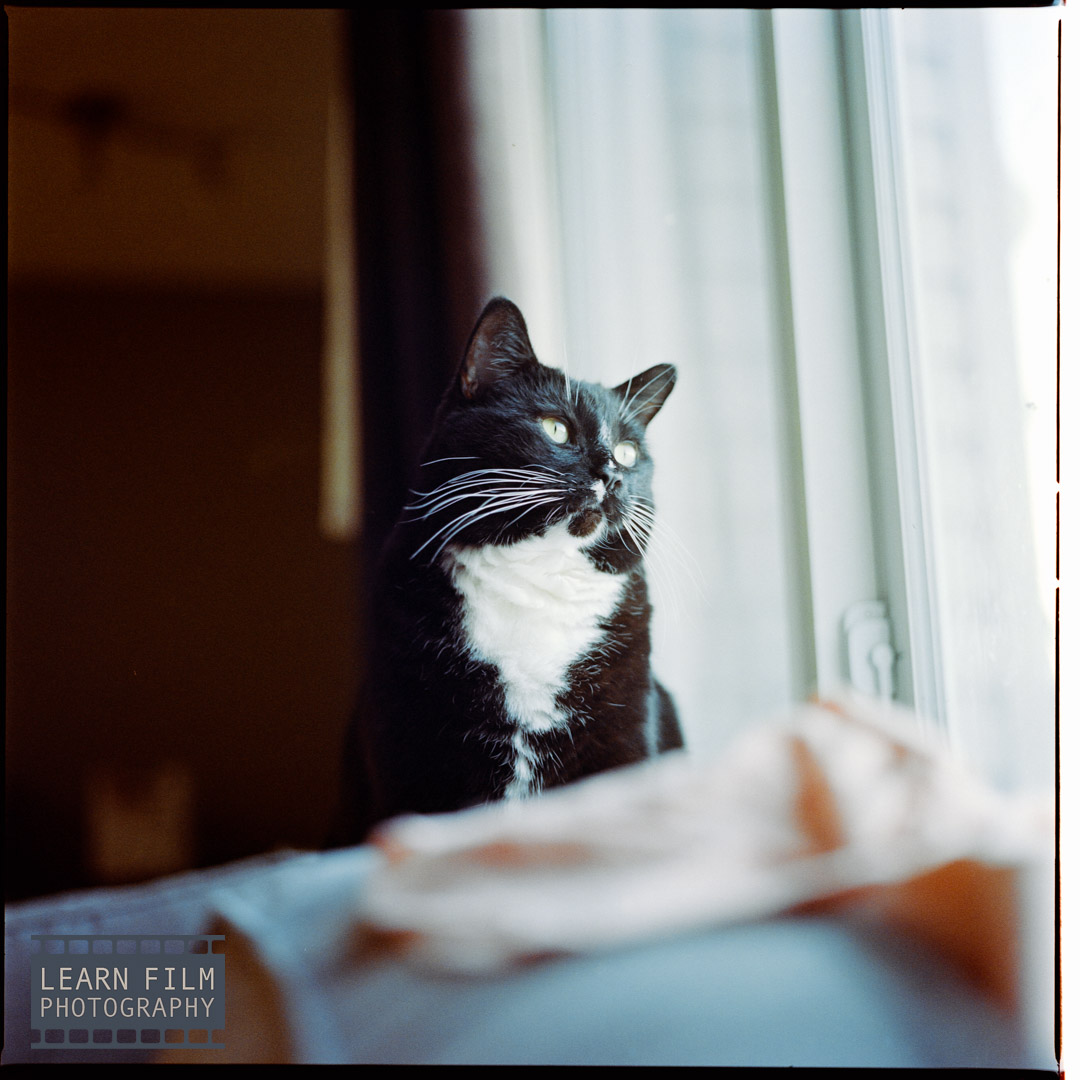
2. Have your subjects facing large windows
Indoor light is orders of magnitude dimmer than outdoor light. So the best way to capture a sharp, detailed image indoors is to be close to a bright window in daylight.
If your subject is facing the window, they will be lit up by a beautifully soft, flattering light. Whereas if they are turned to the side, just half their face/body will be lit up, making a popular, Rembrandt-style lighting.
The best part is you’ll be able to stop down your aperture and use a faster shutter speed (learn more about how to use shutter speed and aperture here). That way you can have the sharpest possible images, even with high-speed film.
Also, using window light, you will not need to make an ISO adjustment for your film (unless you want to capture shadow detail).


3. Expose for the shadows
It may be tempting to take multiple exposure readings and simply use the one that allows you to use the fastest shutter speed. But that’s the exact problem that will cause you to lose all shadow details in indoor light.
Film handles overexposure exceptionally well — especially color-negative film. Even if the highlights are overexposed by a couple of stops, the negatives will still contain enough detail to print.
The best films to capture a sharp exposure while metering for the shadows will be CineStill 800T when shooting in tungsten light in the evenings, or Kodak Portra 800 and Lomo 800 when you have a large daylight window.
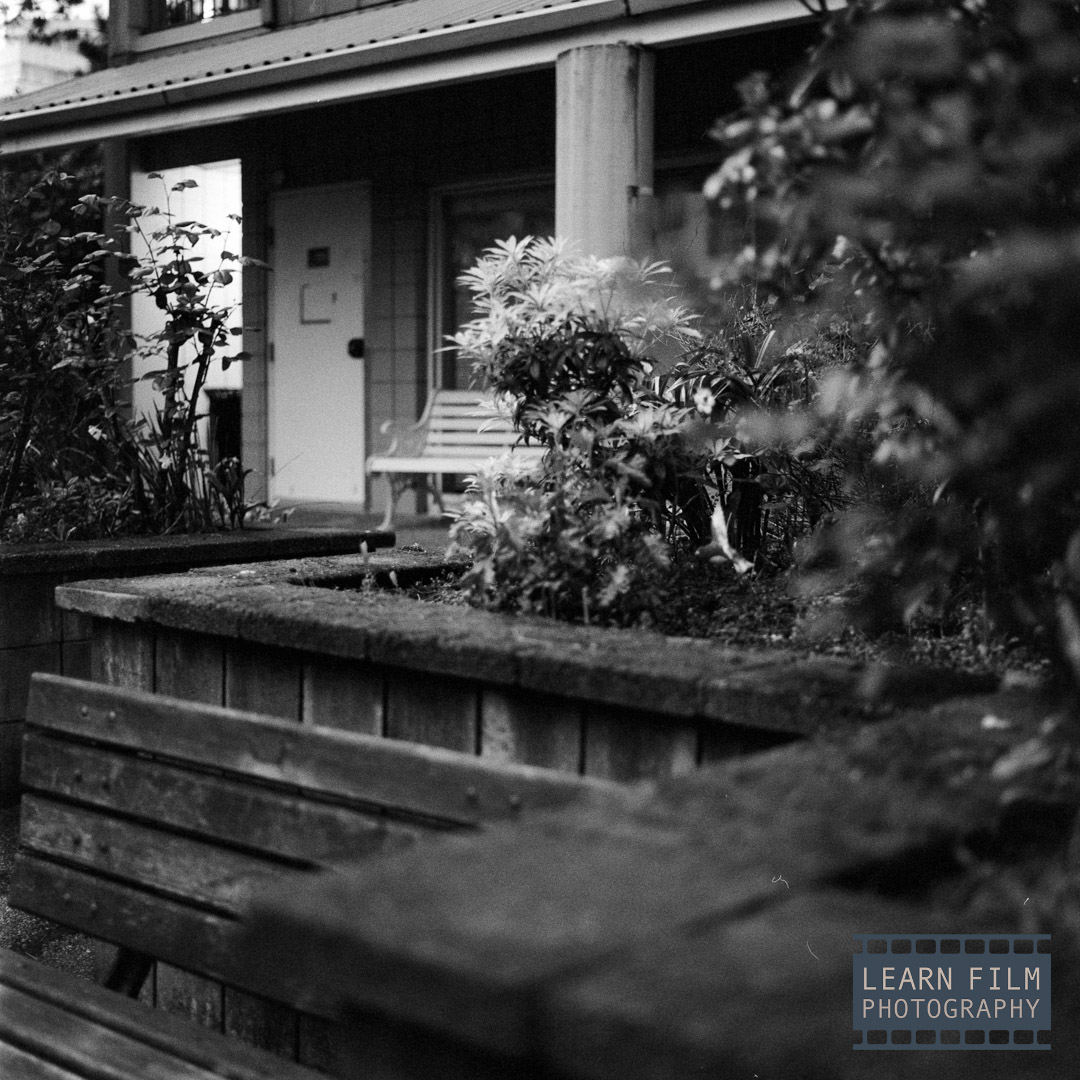
4. Black and white films don’t need an exposure adjustment
No black-and-white film stocks require an exposure adjustment. Simply shoot them at box speed, or push in development to get awesome photos indoors.
There are many black-and-white film varieties that are excellent for shooting indoors. Ilford HP5 specifically has such incredible shadow recovery that it can be shot at ISO 800 or ISO 1600 and still capture perfect exposures.
But when you need a little extra speed, the best fast film hands down is Ilford Delta 3200. This is my go-to film stock for capturing memories on the holidays, as well as at weddings because its extra speed allows me to capture sharp action like nothing else.
Find Ilford Delta 3200 on Amazon here.

5. When large windows aren’t available, use flash
The last, and most reliable way to create sharp images indoors is to use flash. Flash does not require an exposure adjustment with any film, and will guarantee you can use a fast enough shutter speed to capture a sharp image.
The easiest way to use flash is to find a camera with one built in, like the Ilford Sprite 35-II, or another cheap point-and-shoot camera like the Pentax Espio.
But when your camera doesn’t have a built-in flash, it’s possible to place one on the cold shoe on top of the camera. Godox makes the Lux Sr. and Lux Jr. flashes specifically for film cameras. They have exposure guides for easy operation and perfect exposures.
But it’s also possible to use modern off-camera flashes that are designed for digital cameras. As a wedding photographer, I have a set of advanced flashes that I use and am able to adapt to my film photography setup by using a simple PC Sync Cable (find one on Amazon here) that has been standard for film cameras since the large format press camera days.

By Daren
Daren is a journalist and wedding photographer based in Vancouver, B.C. He’s been taking personal and professional photos on film since 2017 and began developing and printing his own photos after wanting more control than what local labs could offer. Discover his newest publications at Soft Grain Books, or check out the print shop.