Here’s the simplest guide I could make on how to get started with film photography.
Just like digital photography, there is so much information that you have to know to really understand how to get the most out of this medium.
Shooting film over the last 3 years has completely changed my photography. I’ve shot over 500 rolls in the past two years, and have made nearly every mistake in the book. This article is going to be all about how you can sidestep those mistakes that I’d made, and have an easier time getting started with film photography.
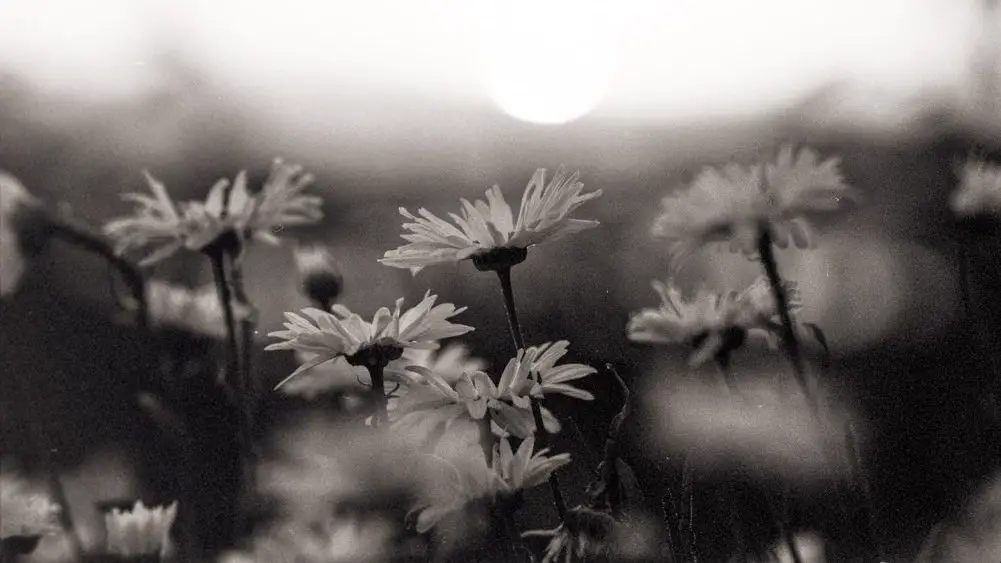
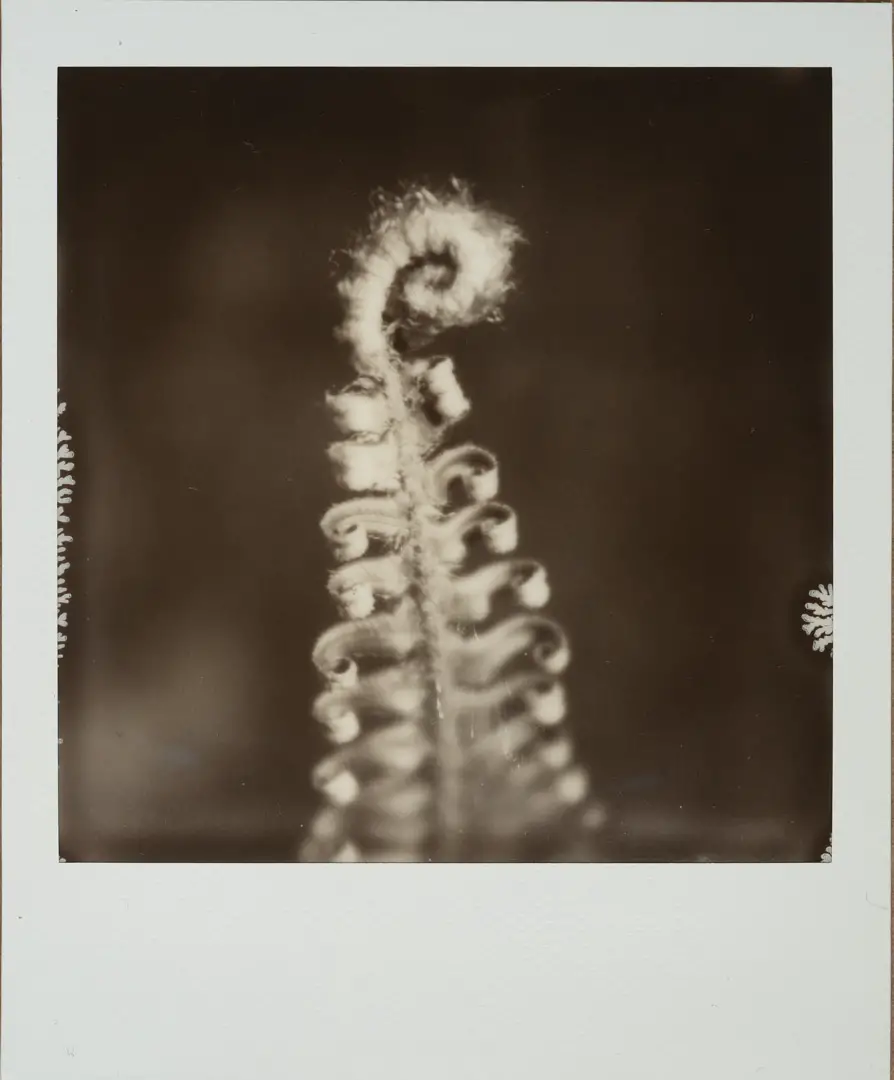
Film photography is all about having fun, connecting with the camera, and making images that look and feel truer to life than digital photography. Film is tangible and more artisanal in nature than digital photography, which is a big reason why film is resurging so quickly.
The digital revolution was awesome for professional photographers, but the Analog Revitalization promises to make photography fun again. So here’s the best advice for photographers who want to start shooting film!
1. Look for a camera in your parents’ or grandparents’ house
The best place to look for film cameras in good condition is at your grandparents’ house.
Most families had at least one photographer who would take snapshots on vacation, or when the family gathered. And because they were so new and exciting at the time, people really valued their film cameras and kept them in good condition.
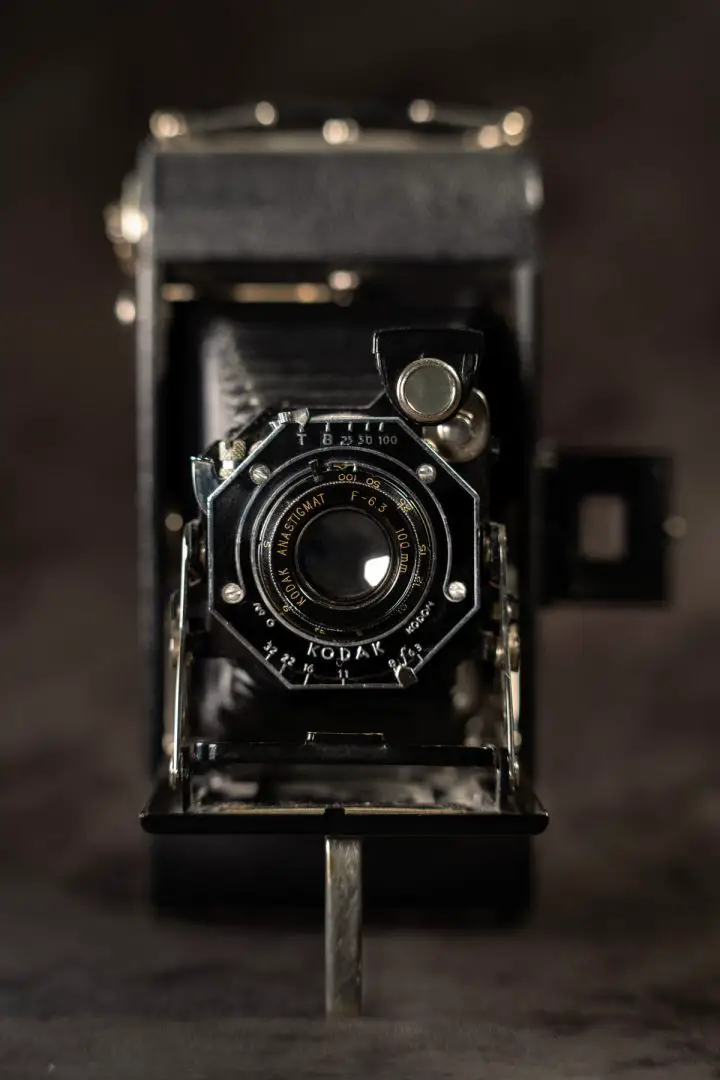
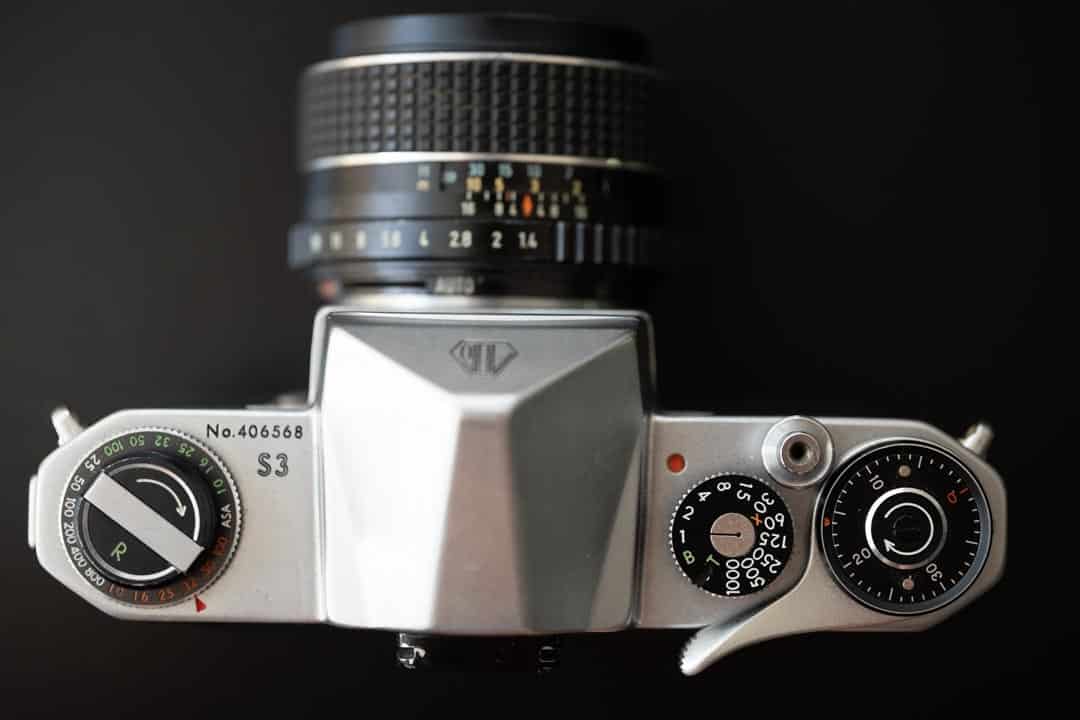
I can tell you that any damage that happened to the Pentax S3 film SLR I had passed down from my great grandfather came from me. He kept that camera in perfect working order and followed the instruction manual that came with it to a tee. To this day, that analog camera is in almost perfect working order.
Plus, if you get the camera from your grandparents’ house, they may also come with some free expired film!
But if you can’t find one there, there are a lot of film cameras available online. I always suggest looking at local camera stores, and even on services like Facebook Marketplace, where these cameras are often sold in really good condition at lower prices.
If you can’t find the one you’re looking for in your local marketplace, then eBay and KEH.com are usually the next best options. These websites do come with a guarantee that the film cameras will come as described in the listing, or they can be returned free of charge.
I don’t ever recommend looking for film cameras in thrift stores, flea markets, or swap meets. Film cameras found in these places can be of dubious quality, and high-pressure sales tactics make it difficult to fully test the camera before making a decision.
For example, I recently picked up a beautiful Yashica rangefinder camera at a flea market, and because of the pressure, ended up buying one with a mold problem. Do these 5 tests as soon as you get a new (to you) camera in your hands to be sure it’s worth keeping.
Start with a 35mm film cameras
The best thing you can do is to make your first film camera a 35mm camera because they are the most accessible. 35mm film cameras are small, lightweight, cheaper, sharp as heck, and give you up to 36 exposures on a roll.
I started shooting film with a medium format camera, and I think that was a mistake.
Medium format 120 film only has enough space for 8 and 16 photos per film roll depending on the camera. That means your developing costs when starting out are going to be astronomical, and it can be difficult to really explore what options are out there.
There is also a larger variety of film available for 35mm cameras. Most niche film manufacturers only produce analog film in 35mm format because of its popularity.
There are major benefits to shooting medium format film. You can create rich tonality and image sharpness that rivals digital cameras. Medium format also benefits from creating more background blur with smaller apertures because of the larger sensor size.
In fact, digital camera manufacturers are currently making $10,000+ medium format cameras to get some of these same benefits for professional digital photographers who need that extra detail.
But medium format is less familiar to most photographers. The cameras (and film) are more expensive, they are heavy, bulky, and prone to breaking down — especially if it’s one that uses bellows and a rail system for focusing. If you do want to get a medium format camera, I recommend looking into the 645 format for the best deals in film photography.
I’ve made a full guide to medium format film photography, which contains everything from film choices, to a full breakdown of each major camera type available. Find it here if you’re interested in all the benefits that medium format has to offer
The best analog cameras that I’d suggest for new photographers are Pentax cameras like the K1000, ME Super, or S3. These cameras are the cheapest fully-manual SLR cameras that use underrated Takumar lenses, which are cheaper to find, and create incredible, 3-dimensional film images. The SMC (Super-Multi-Coated) lenses in particular are legendary for their underrated sharpness, large apertures, and anti-glare coatings.
But my favorite camera to use over the last year has been the Ilford Sprite 35-II. It is a simple, fixed focal length disposable camera that was made to be reusable, meaning it doesn’t take the sharpest images. But it is simple to use, gets the right exposure every time, and is so fun to use that it captures more smiles and life than any other camera in my collection can. Read my full review on the Sprite 35-II here.
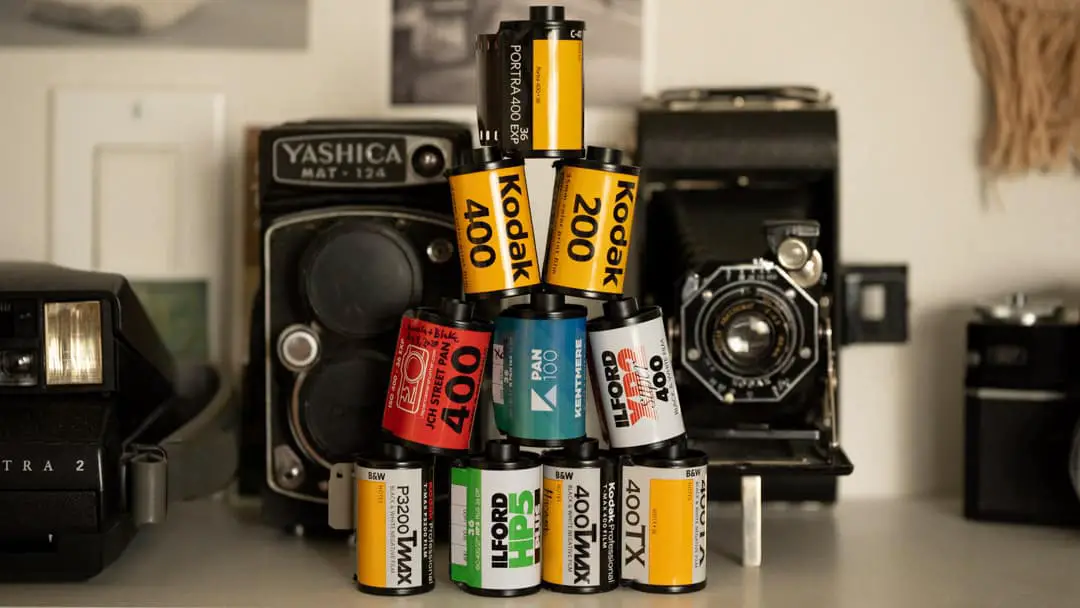
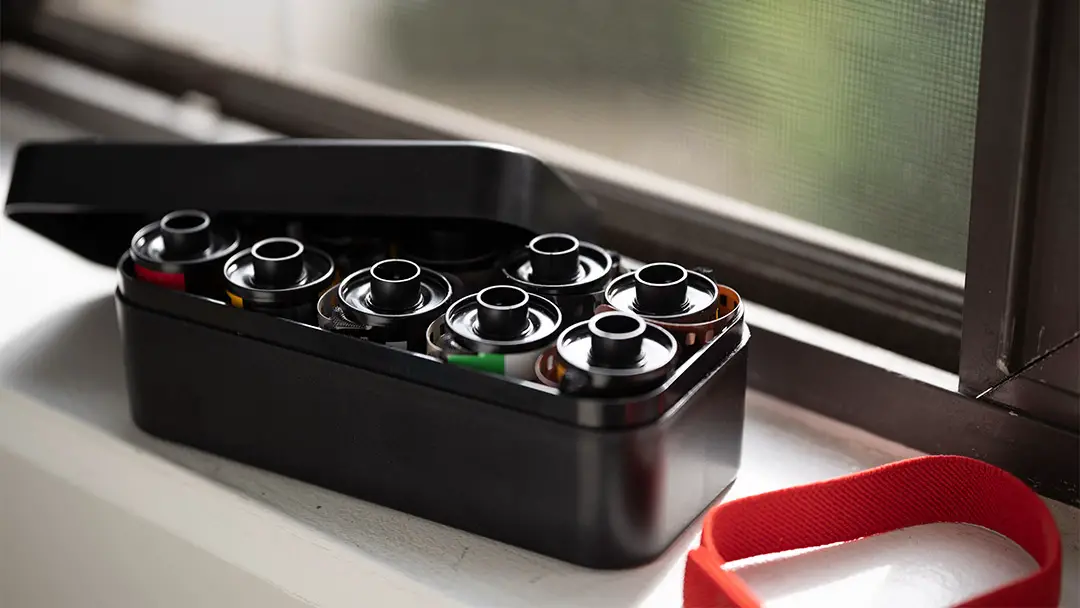
2. Buy the cheapest roll of film you can find
When you get your camera, the first thing you have to do is test it with a single roll of film. My advice is to purchase the cheapest roll of film, shoot it, and drop it off at a lab on the same day. Even if that means shooting it in the parking lot in front of the camera store.
This will allow you to see if there’s anything wrong with the camera. There could be something as minor as light leaks, to as major as the shutter getting stuck mid-roll. So the only way to know exactly how it will function will be to see the negatives. Take a look at this guide if you’d like to learn about, or diagnose a camera issue based on the negatives.
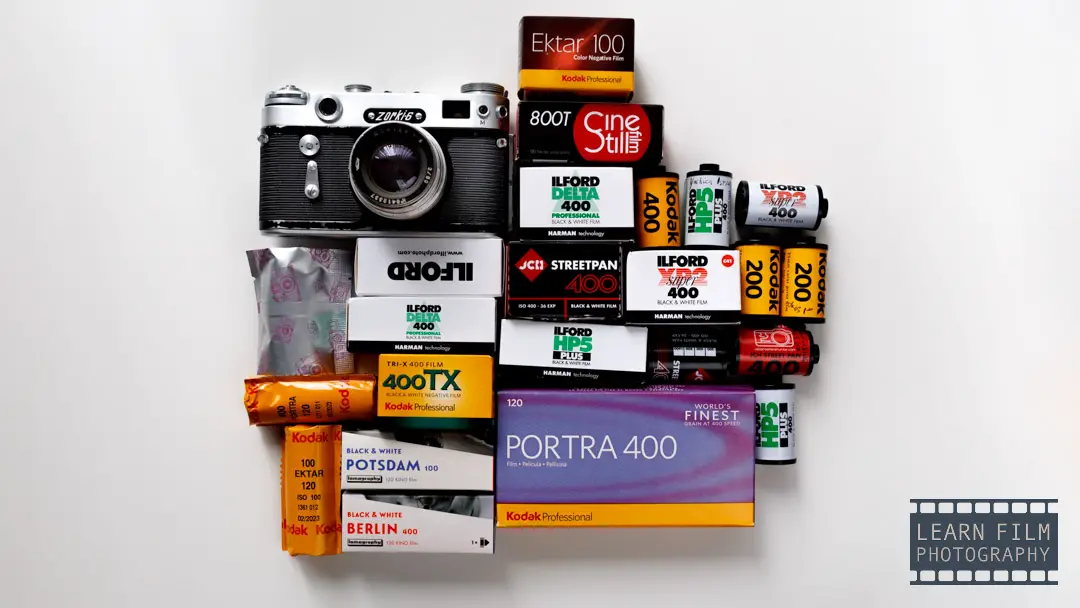
The cheapest rolls are Kodak ProImage 100, Fuji C200, or Kodak Gold depending on where you are in the world. Just note that cheap color film might cost $1 more than B&W, it will be cheaper to have developed professionally at a lab.
Take both of these costs into consideration before buying a roll. And over time, experiment with as many different film stocks as possible. I guarantee you’ll fall in love with a couple of different film stocks, and you might even like Kodak Gold more than Portra 400.
The C41 process is standardized across films, meaning any lab can develop it. But the lab may need to process B&W film by hand or adjust their processing machines to the needs of each individual film. Because of the extra time and effort needed, B&W film usually costs more to buy and develop professionally — although it can be much cheaper if you have a home-developing setup.
How to choose the right film speed
Film speed is how sensitive the film stock is to light, which will determine the camera settings you can use. Faster films have a higher ISO rating (or box speed) and can use faster shutter speeds, than slower films. But the tradeoff is that faster films produce grainier images.
The most popular film emulsions are the ISO 400 variety. That includes film stocks like Kodak Portra 400, Ultramax, Fuji Pro400H (RIP), Tri-X, and HP5 among others.
The reason 400-speed films are the most popular is because they work in the largest variety of lighting conditions. 400-speed film will give you a good shutter speed for hand-holding your camera when shooting outdoors at nearly any time of day. 400-speed films can also be pushed to ISO 800 or 1600, making them better films for shooting indoors if necessary.
The final images from an ISO 100 film may be sharper and nearly grain-free. The lower ISO means you can use a wider aperture to create a shallower depth of field when shooting portraits in bright light. But these films may require a tripod in the evening light.
No matter what, it is always good to have a couple of extra rolls of film ready in your camera bag. Lighting conditions change all the time, and there are times when a roll of ISO 100 film will be much more practical than an ISO 400 film.
Talk to the cashiers at the camera store before you buy film. They will often make some great recommendations and give you some personalized tips on how to get the most out of each roll. If you ask nicely, they may even help you load the film if you have never done it before.
Learn about the top 10 film stocks that will still be available in this article.
3. Download a light meter app on your phone
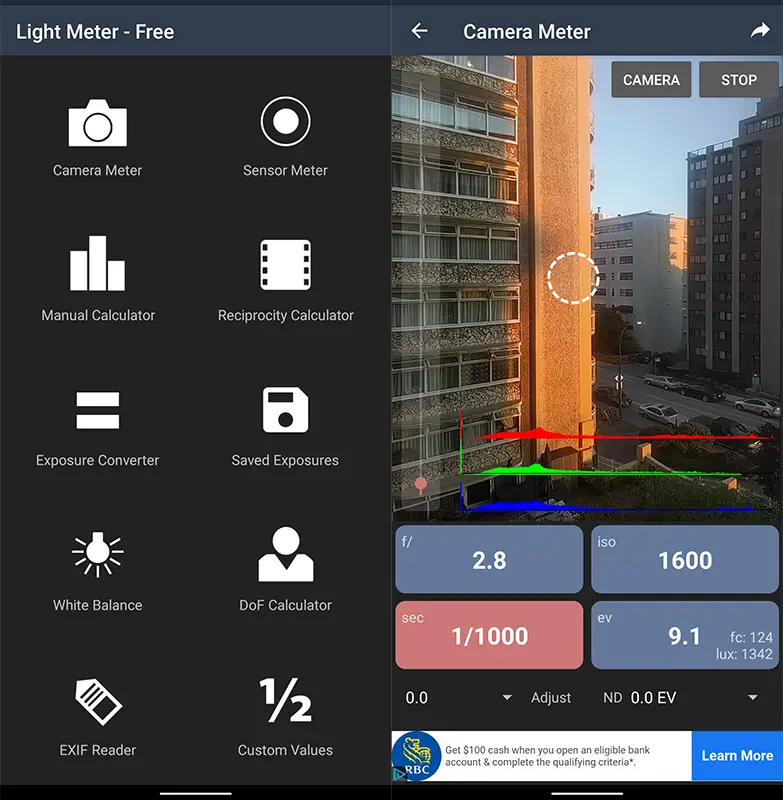
Unlike modern cameras, most analog cameras have unreliable light meters. If the meter on the camera doesn’t require a battery to operate, (or if it requires a battery that is no longer produced), chances are it won’t give an accurate reading.
The best way to ensure you’re creating accurately exposed film photos is to use a light meter application on your phone. I personally use the Light Meter App by WBPhoto, because it has a spot meter function, and is so far the most reliable light meter I’ve ever used.
It also comes with a ton of other, easy-to-use features that make it one of the best available apps. You can find it for free on Android, but unfortunately, there’s only a paid version on iOS. Personally, I think it’s well worth the cost. Links to the iOS and Android versions of the app can be found on the developer’s website.
Or, alternatively, you can learn how to use the Sunny 16 Rule, which allows you to get a perfect exposure without even using a light meter.
4. Meter for the shadows when shooting film
The hardest lesson for digital photographers entering into film photography to learn is that film doesn’t like underexposure. Since it is a physical photographic medium, there’s no such thing as recovering lost shadows.
But unlike digital images, there is no bit limit for overexposure. As a general rule, film can be overexposed by up to 2 stops without a problem.
Color film (also known as color negative film, or color print film) has more overexposure latitude than B&W film, but in the end, all film loves that extra light. And when you give it a bit more exposure than normal, it will reward you with luscious colors, gorgeous skin tones, and finer grain.
But if you meter for the highlights, the film will appear contrasty and will lack any recoverable detail in the shadows. For concerts, portraits, or night photography, where the film photographer has control over or uses available light to accentuate a subject, that can be a beautiful look. But when you’re shooting landscapes or other forms, it will not make for inspiring images.
Color slide film and Polaroids require careful exposure
One of the most fun types of film is slide film. These film negatives render positive images, which is a wonderful thing. There’s nothing better than pulling out positive film images where you can instantly fall in love with the film colors and saturation.
The difficulty with slide film is that it has very small dynamic range compared with color negative or black and white film. Color-positive film has no tolerance for under or overexposure, and very little tolerance for pushing and pulling. So your subject will have to be perfectly exposed.
You can use a mobile phone light meter with a spot meter function (like the one mentioned above) to get just the right exposure every time. But the best practice will be to carefully meter every single photograph, rather than just the first one.
To be safe, you can always bracket your exposures. That means taking multiple different exposures of the same scene. But it can get expensive, as purchasing and developing slide film using the E6 process are usually more expensive than regular C41 color negative film.
5. Get your first rolls of film developed professionally
Unless you’ve got some killer editing skills, you’ll get the best results with film photography when you get your first rolls of film developed at a professional lab.
Modern print film is designed to be as flexible as possible, meaning the images need some massaging before they really show their true colors. The technicians at a good lab are professionals at finding those true film colors, so it’s best to give your first rolls to them before trying to scan them on your own.
The other benefit of a professional lab is that you’ll be able to get some feedback on your rolls of film. The technician can tell you if you’re underexposing, or if they noticed a subtle issue with your camera. Plus, they’ll be able to recommend good films for your style of shooting.
6. Shoot film fresh, and learn how to store it
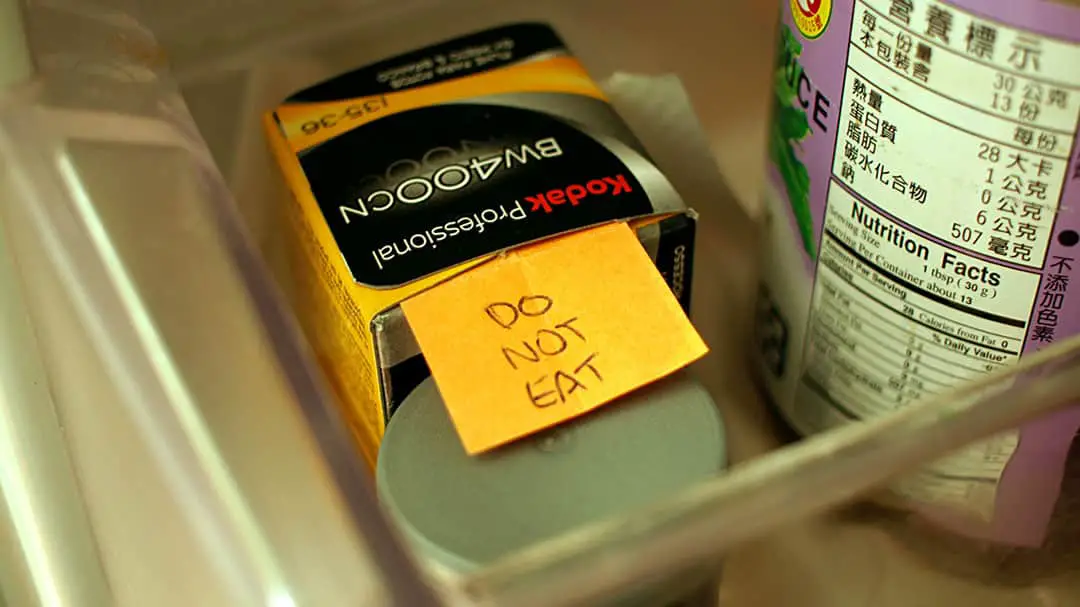
The average roll of color film should be shot and developed within 6 months of purchasing. If you’re planning to keep it longer than that, store it in the freezer.
Color film should be kept in the fridge for short-term storage, or the freezer for long-term storage. It will degrade if it’s left in a hot, humid climate without air conditioning. Black and white film does fare better at room temperature but should be no hotter than 75°F (24°C). That means it will be best not to leave it in the car during the summer.
Don’t take film out of the plastic film canister or foil wrapping until you’re loading your camera. The packaging ensures that the film doesn’t get any moisture inside, which can ruin the emulsion. Click here to read more about proper film storage conditions.
How long can I keep a film roll?
Film lasts about 2 years from the manufacturing date but is usually best when shot and developed within six months of purchasing. That way you can ensure that you are going to get accurate colors and that you’ll be capturing as much shadow detail as possible.
Over time, everyday radiation or environmental contaminants can penetrate the film and cause it to degrade or become grainier. So it is best not to hold onto film too long before sending it off for development, as the latent image (or the exposure) may degrade.
Kodak suggests developing their professional films within 2 days of shooting. But, of course, that’s not practical for every film photographer out there. In my personal experience, you won’t likely notice a difference so long as the film is developed within 6 months of shooting.
7. Join a Facebook community, or go on photo walks
When you have questions about film photography, there’s no better place to go than Facebook communities. People in the groups are always willing to help review camera gear/film stocks, or even get into the nitty-gritty about issues you’re facing.
I’ve also learned a lot from film photography groups on Facebook, where some questions are so specific that you’ll simply never see a blog post about them.
Check out the official Learn Film Photography Facebook group. It’s growing steadily, and we’ve built up a diverse group of photographers who are more than willing to share their thoughts and experiences with anyone interested in film.
Film-specific photo walks are another great place to meet photographers and learn about film. It’s always great to talk to a bunch of people and see how everyone else is composing their images. Plus, you’re guaranteed to get a new profile photo, and maybe even a print if you’re lucky!
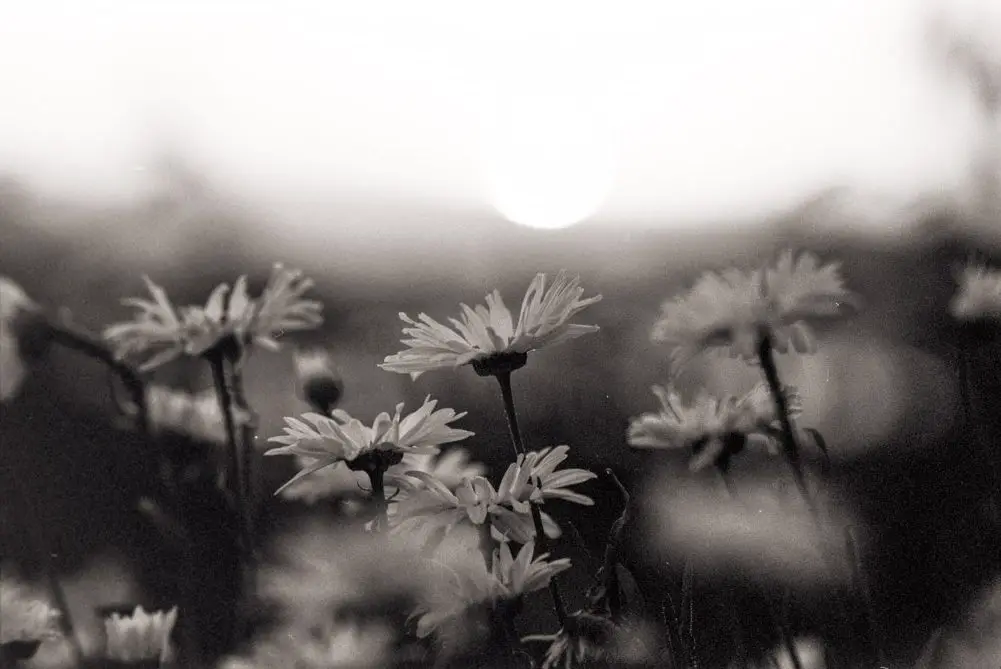
8. Learn when black and white does it better
There’s a time and place where nothing captures it better than B&W film.
To start, B&W film photography gives you much more control over the entire process. There are many different film developers out there that all have a different effect on the final image. Some bring out the grain, while others tame it. B&W film is also much easier to push and pull, making it more versatile and fun to use.
Black and white will be a challenge for users at first. The medium is notoriously tricky to understand since our entire world revolves around color. But a good black-and-white image can say way more than color.
The best advice I can give to start is to put your subject in the highlights of the film, that way, the subject will be bright while everything else is dark.
Since humans tend to focus on the brighter part of the image, this is a surefire way to make sure the viewer is at least looking where you want them to look when seeing the printed film photographs. If you’re having trouble deciding which film to choose, here’s a link to my guide on choosing a B&W film stock for your purpose.
And when you want to learn more about how the silver halide crystals in film work, take a look at this article. It’ll help you understand how and why film works the way it does.
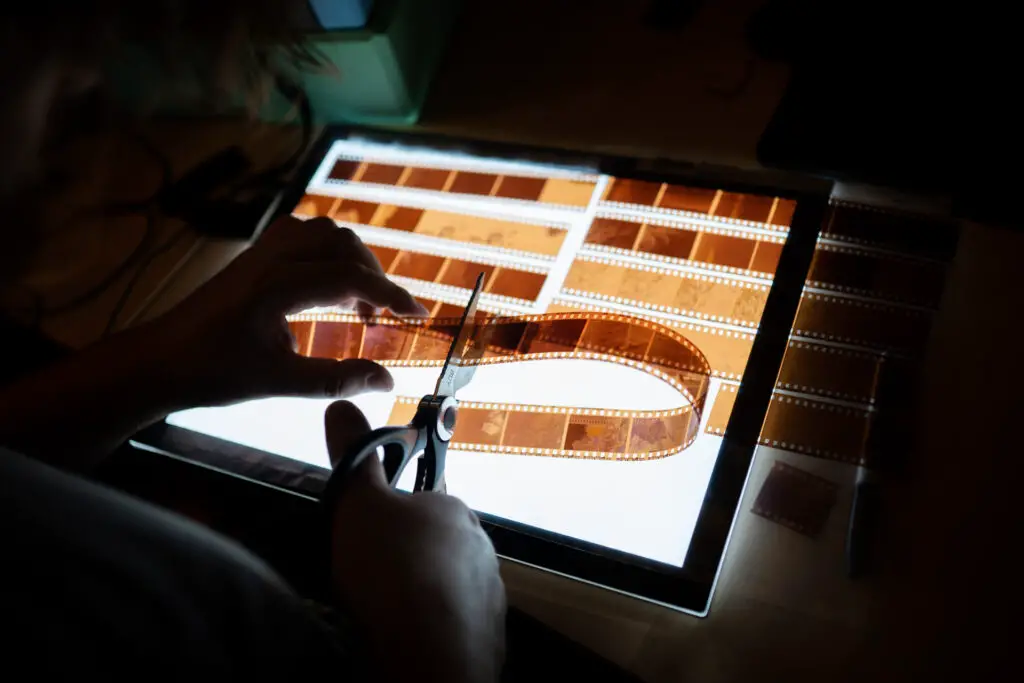
9. Learn how to develop film at home
Once you find that you love film photography, you’ll want to find a way to shoot film without breaking the bank. My general rule is that if you shoot more than 20 rolls of film per year, then it’s worth it to develop film at home.
Developing film at home is surprisingly easy, and an extremely forgiving process. There are all kinds of people online who give rigid guidelines that you must follow to a tee or risk ruining everything and burning your house down. I’ve broken their rules many times and I still have my house, so joke’s on them, right?
But honestly, the freedom and the tactility of film photography comes alive when you start developing yourself. If you want to rate your film at a different ISO than what’s on the box, you’ll have an easier time doing that at home than at the lab (most charge extra for the service, and some won’t do it at all).
I calculated the 20 rolls per year rule by adding up the costs of new developing equipment (you can find it cheaper on eBay or at garage sales) and accounting for the amount of chemical spoilage you’ll have.
Most film-developing chemicals will expire within 6 months of opening, so it’s only going to be worthwhile if you develop a certain number of films to use them up on time.If you’d like to learn more about developing film at home, here’s a simple guide that we’ve created on how to get started, including a handy list of the required items.
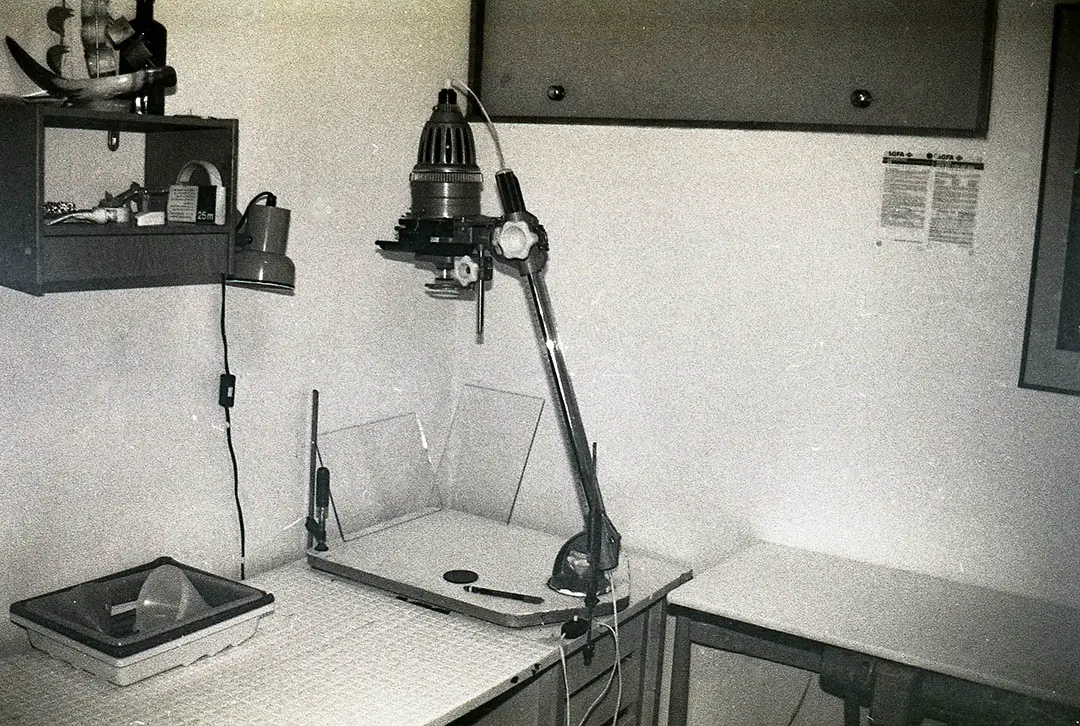
10. Find a community darkroom, or build one of your own
Once you’ve started developing your own film, the next move to make is to print your own images in the darkroom. The darkroom is where I’ve learned the most about film photography, and it’s one of my favorite places to spend time.
If you live in a big city, there will always be at least one organization that has a darkroom that’s open for public use. Learning how to print your images in analog format is one of the coolest experiences surrounding film. Especially when printing B&W images, where you actually get to see the image appearing before your eyes.
Over the last two years, I haven’t been able to attend the community darkroom because of renovations and Covid-19. It’s something that I’ve truly missed, and can’t wait to get back to asap.
Final thoughts
When you’re just starting out, film photography can feel like a mystical practice. I remember reading hundreds of blog and forum posts on how to get the best results when shooting film, but always feeling like they came up short, or were just being ornery about the small details. So I hope this guide to film photography has helped demystify your questions.
Overall, shooting film is the most fun photographic medium, and I truly recommend it for everyone who loves to take photos. With a little knowledge, film photography is surprisingly easy and incredibly fun.
The best way I’ve ever heard someone describe what it’s like to shoot film was that it’s like making your own ceramic mug: it may be somewhat ugly and imperfect, but you love it so much more because you made it with your hands.If you have any questions about getting started, I’d love to hear them in the comments down below, or on the official Learn Film Photography Facebook page.

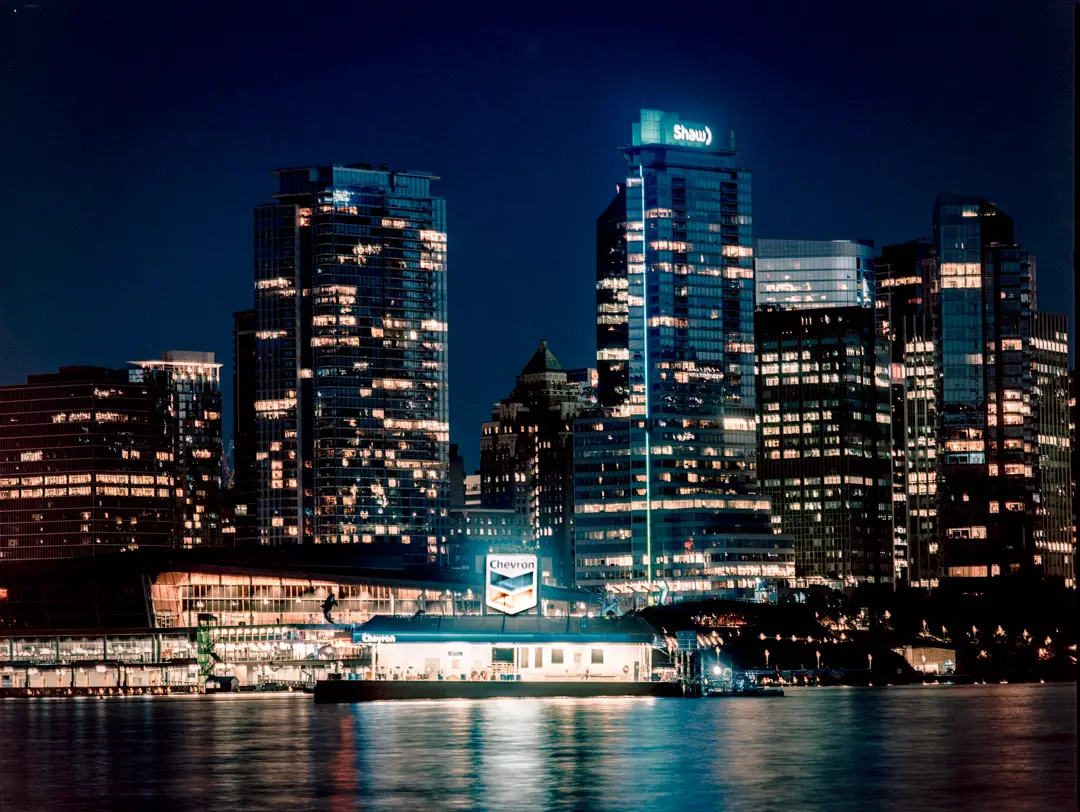
By Daren
Daren is a journalist and wedding photographer based in Vancouver, B.C. He’s been taking personal and professional photos on film since 2017 and began developing and printing his own photos after wanting more control than what local labs could offer. Discover his newest publications at Soft Grain Books, or check out the print shop.